How to Create Animation with Presets for Vector Logo
How to Create Animation with Presets for Vector Logo
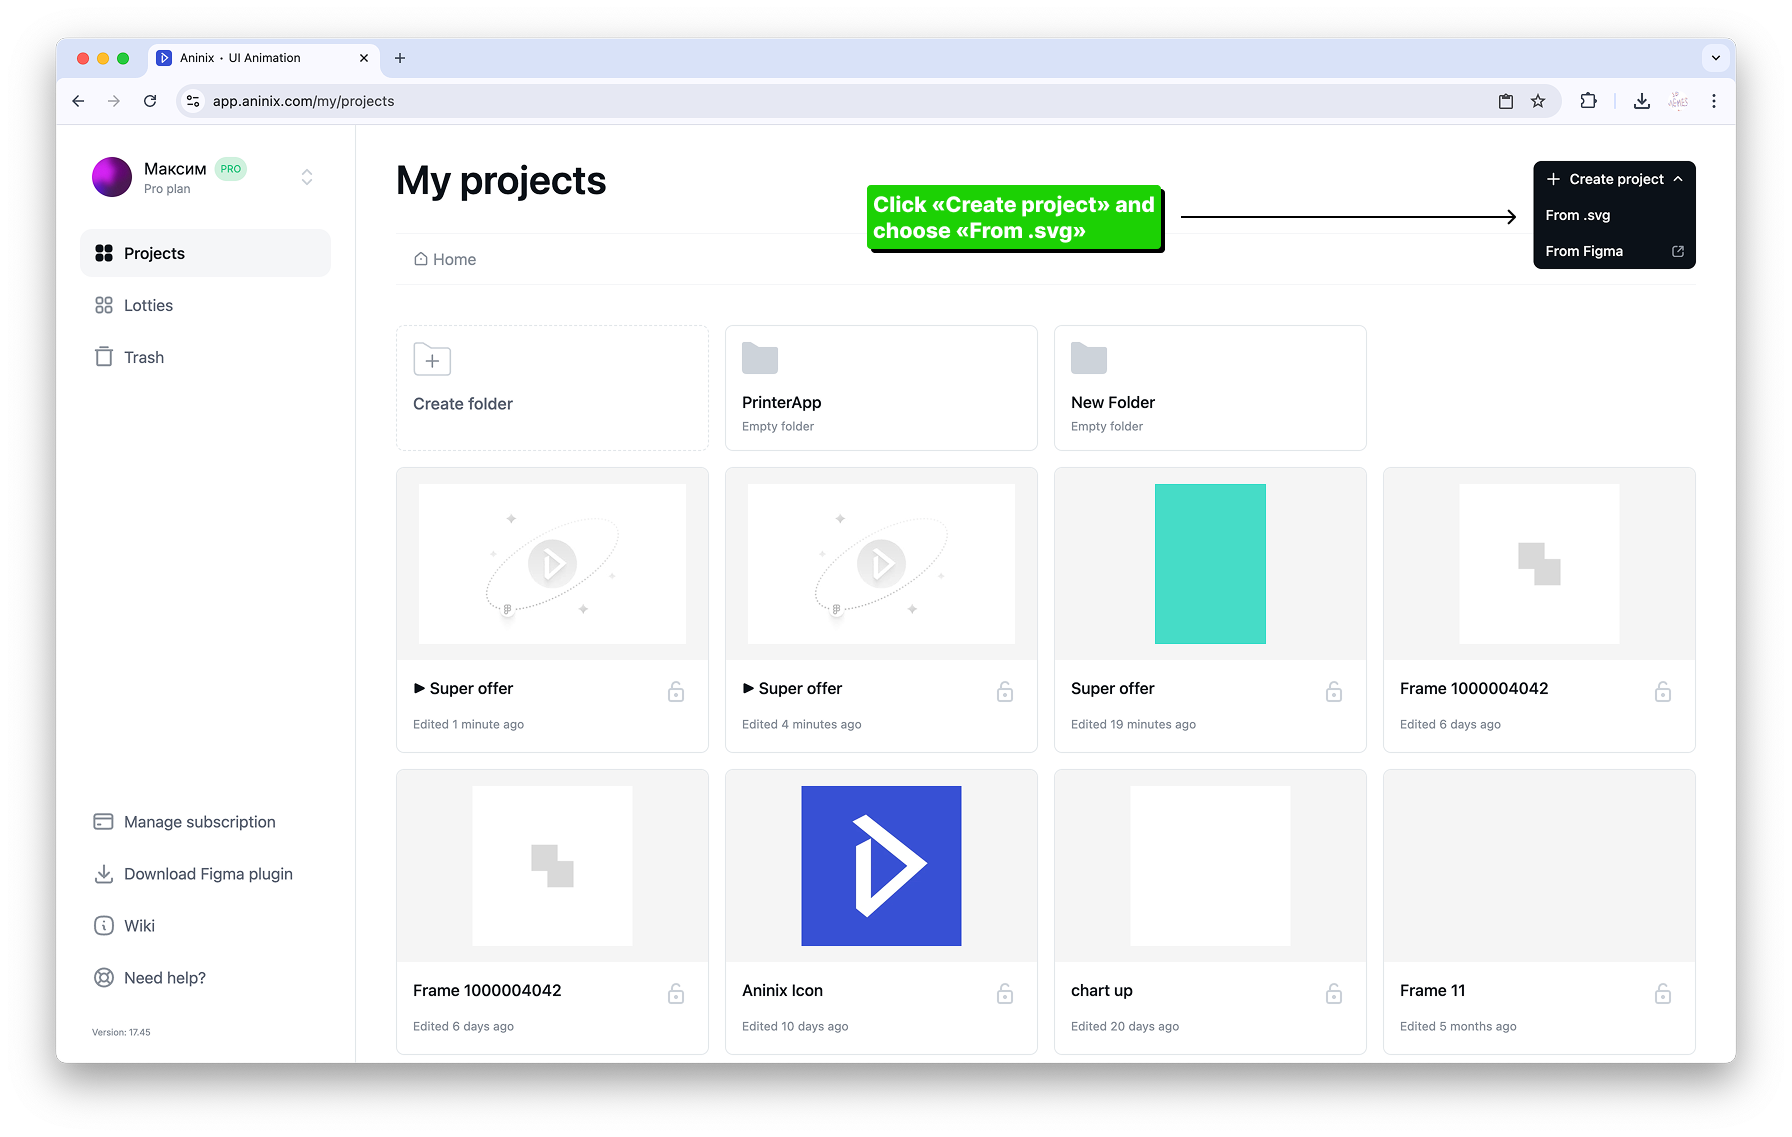
## Step 1: Create Project from SVG
1. Go to [app.aninix.com](https://app.aninix.com) and click on `Create project`
2. Choose `From .svg` option to import your SVG file
3. Select your SVG file from your computer and upload it
4. Aninix will automatically process your SVG and create a new project with your design ready for animation
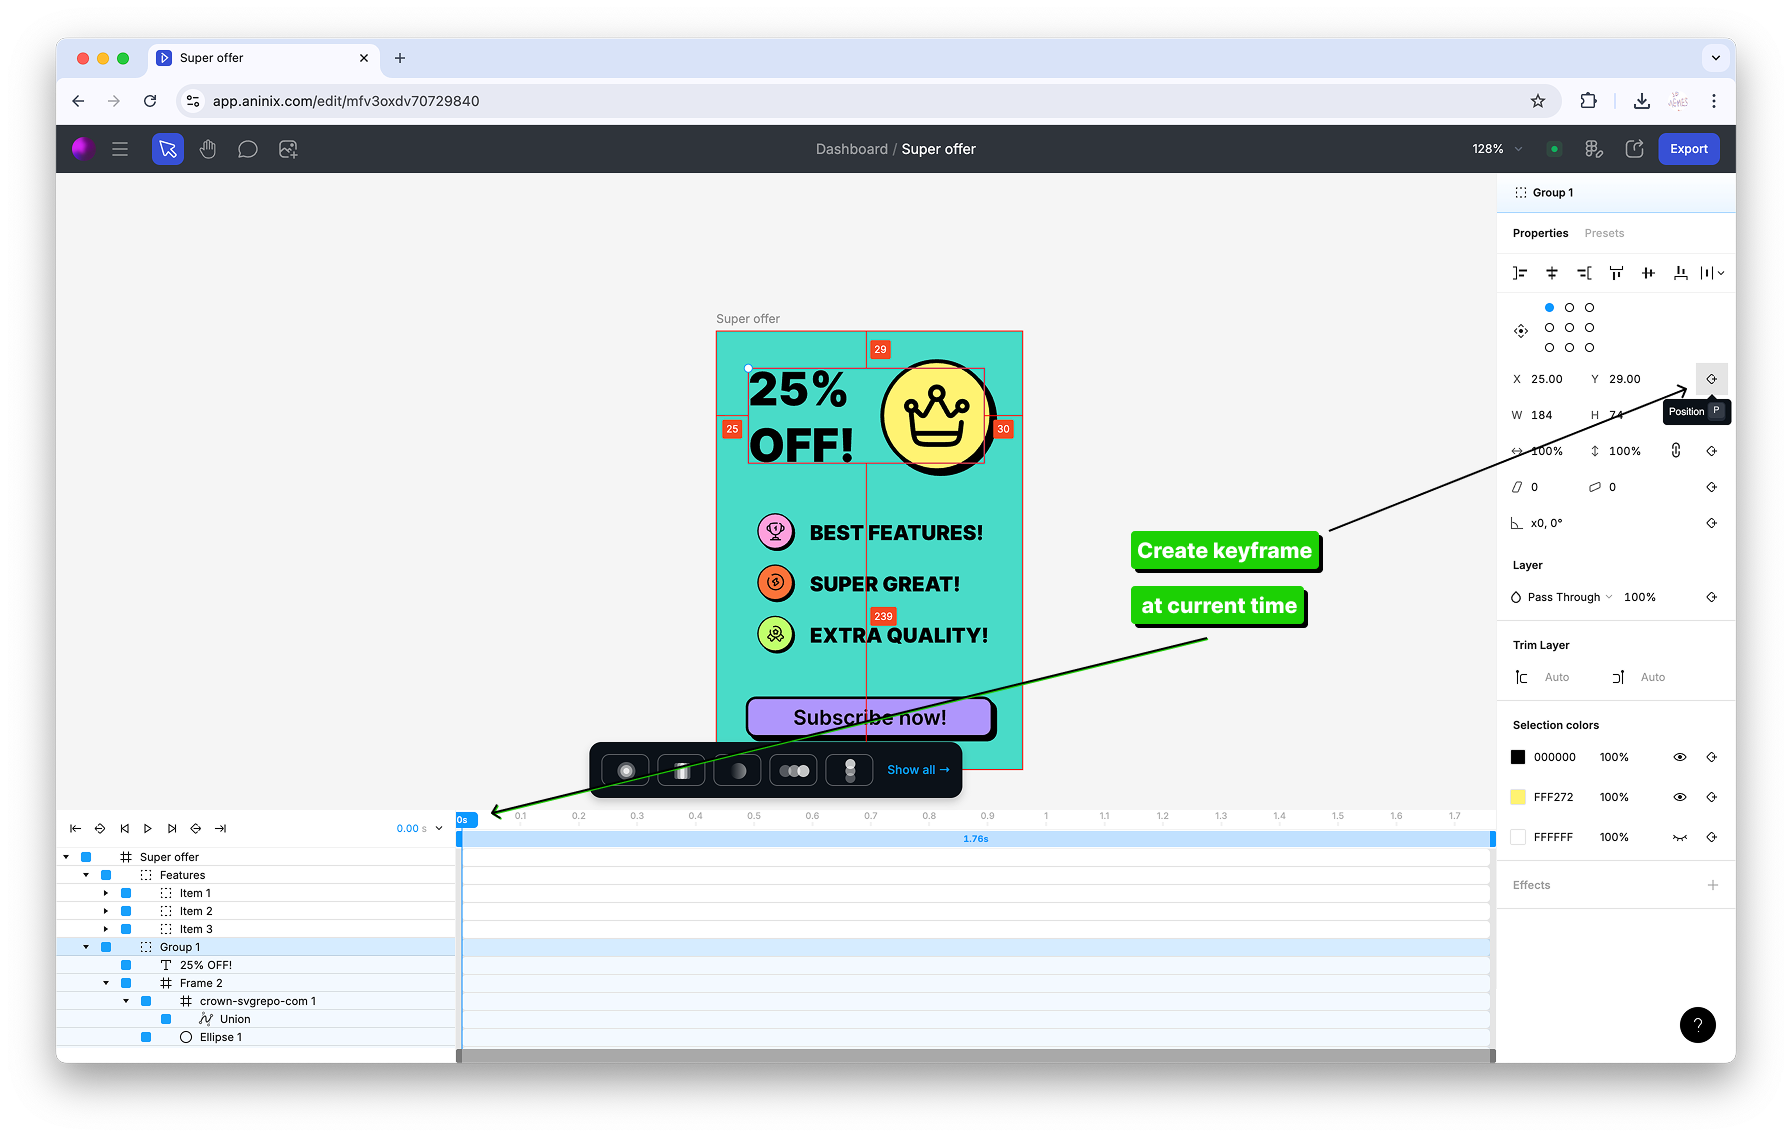
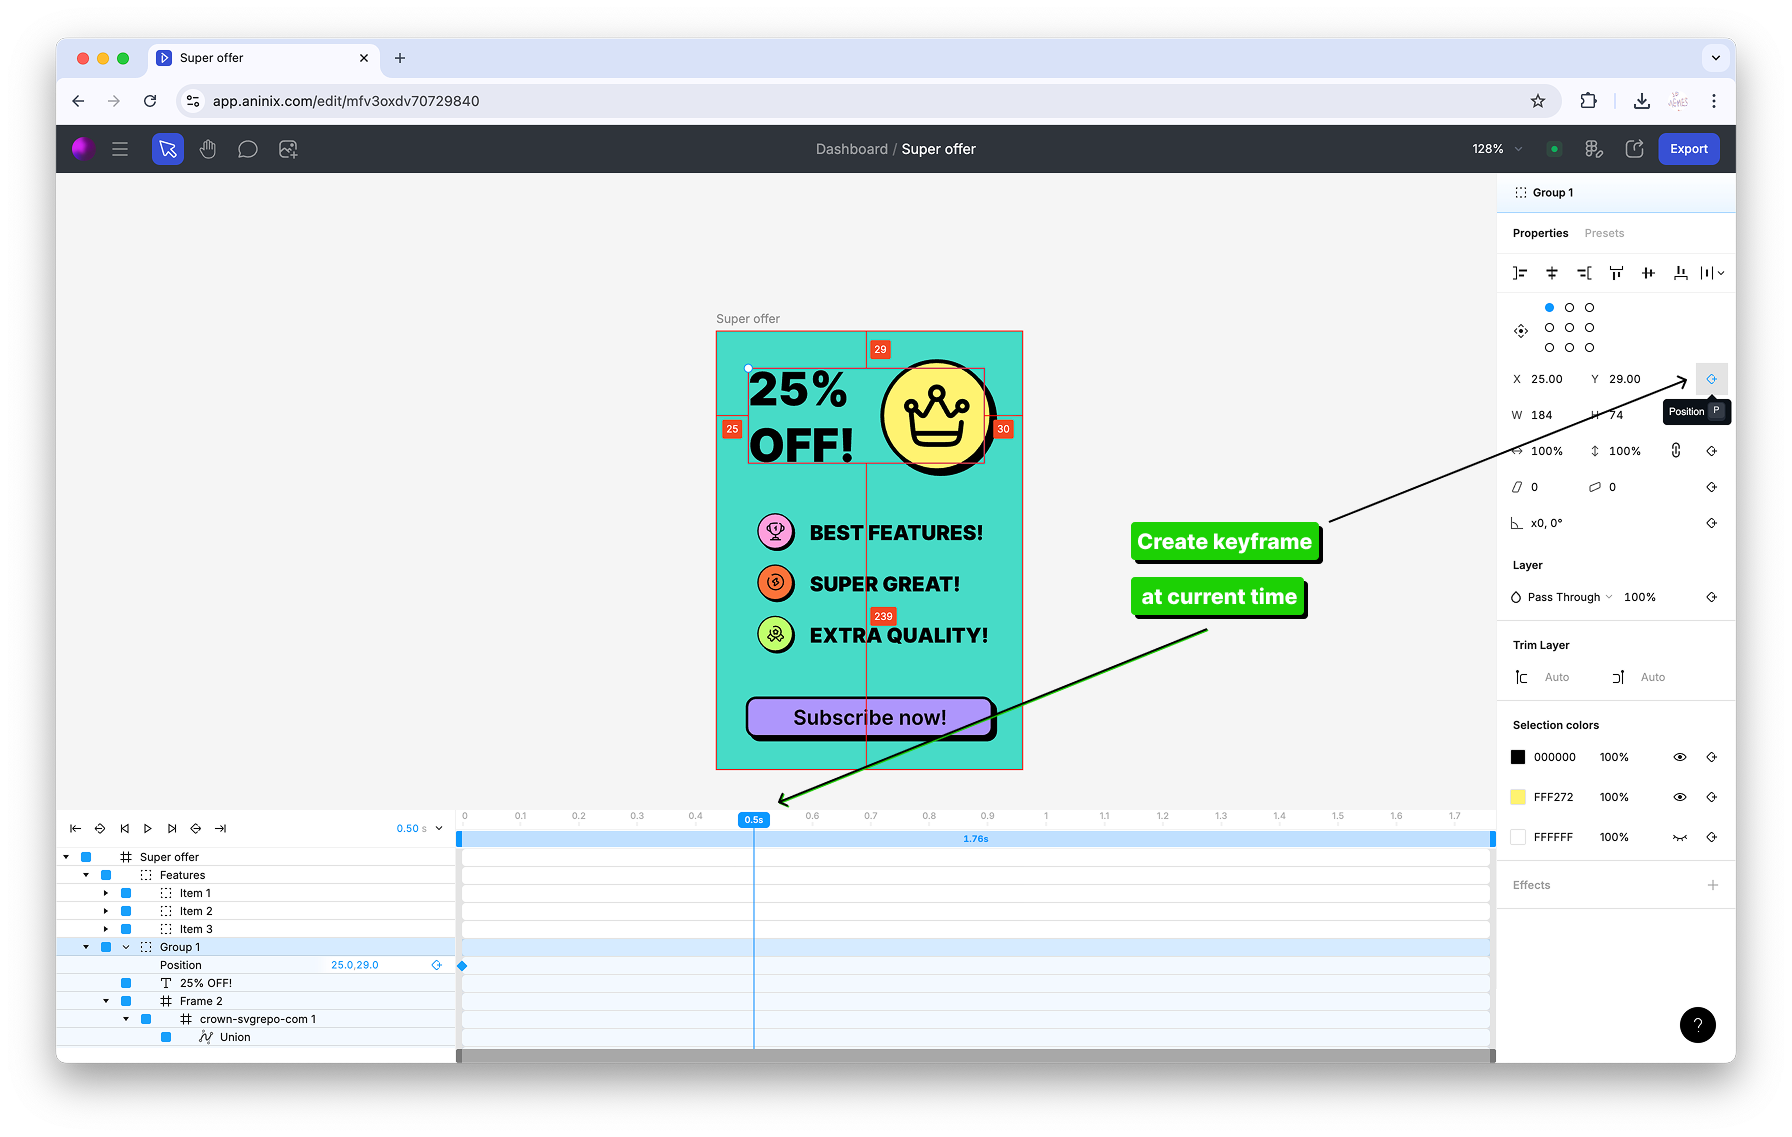
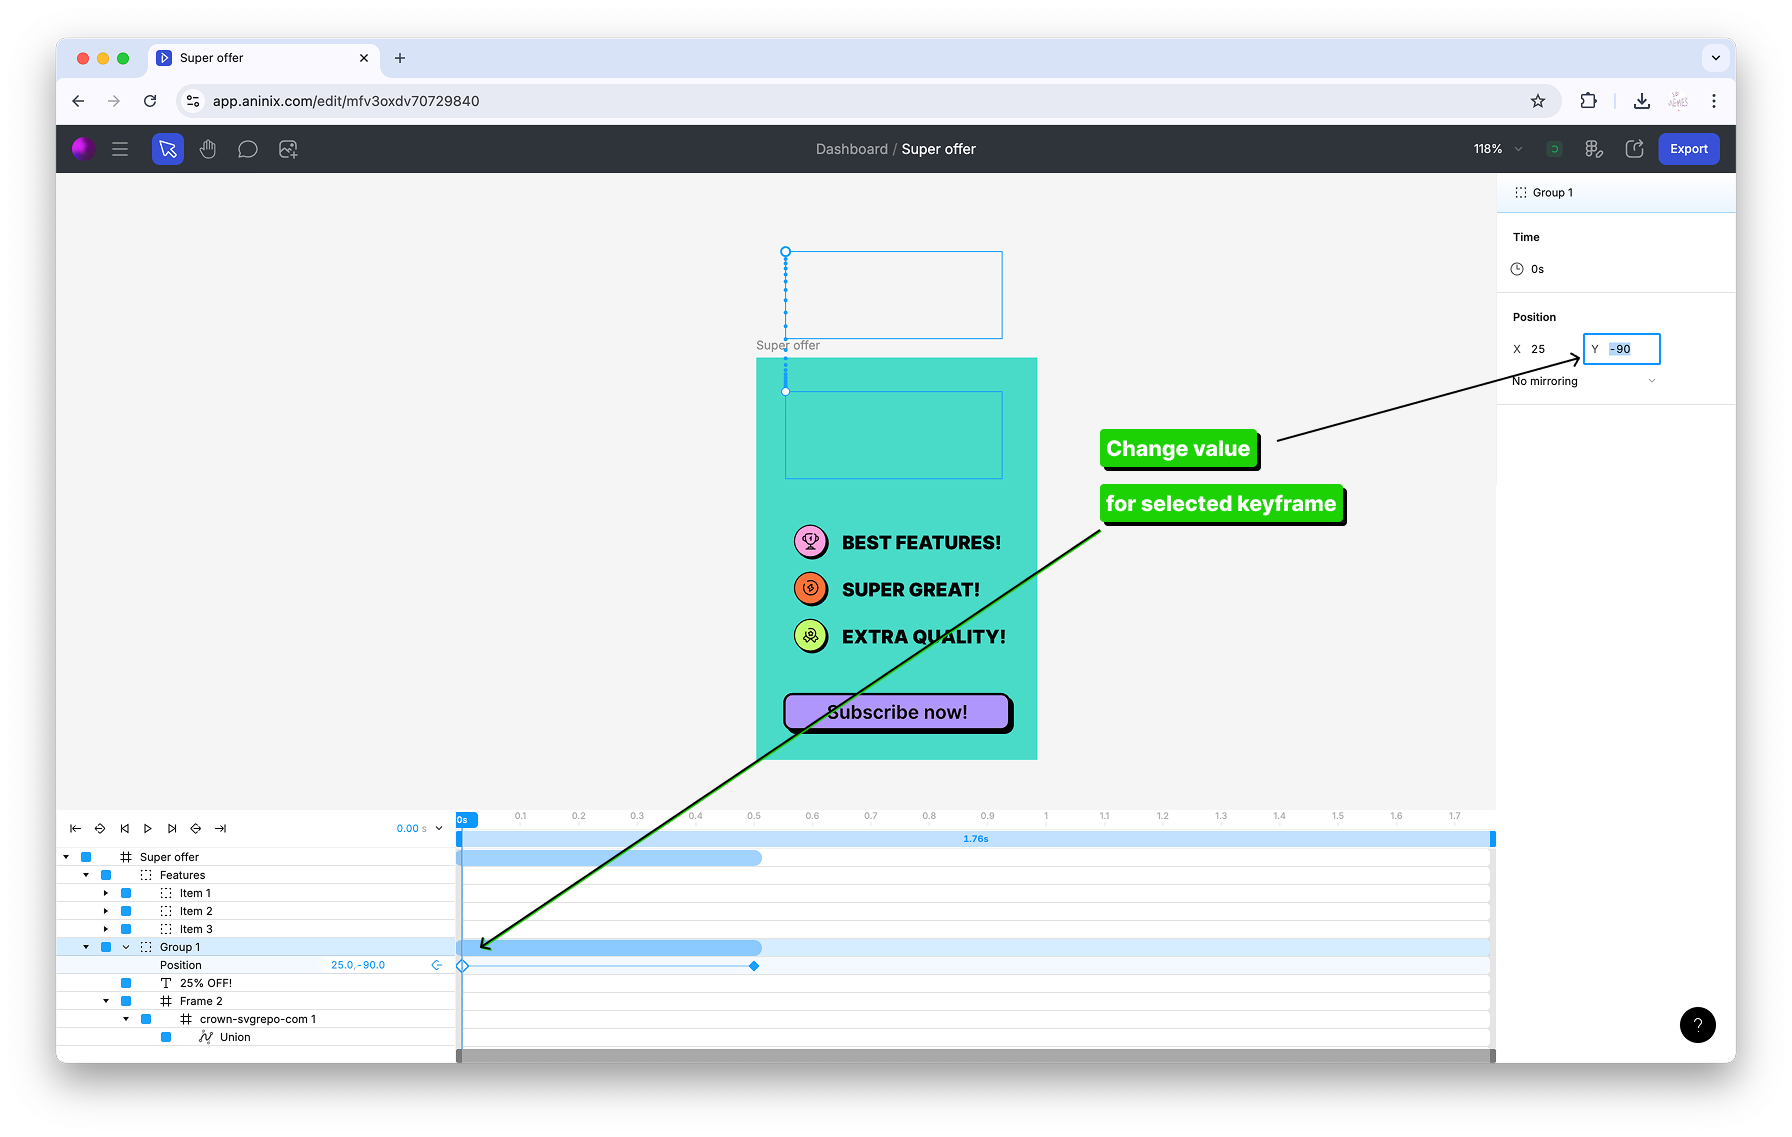
## Step 2: Create Keyframe Animation
1. Create your first position keyframe at the current time
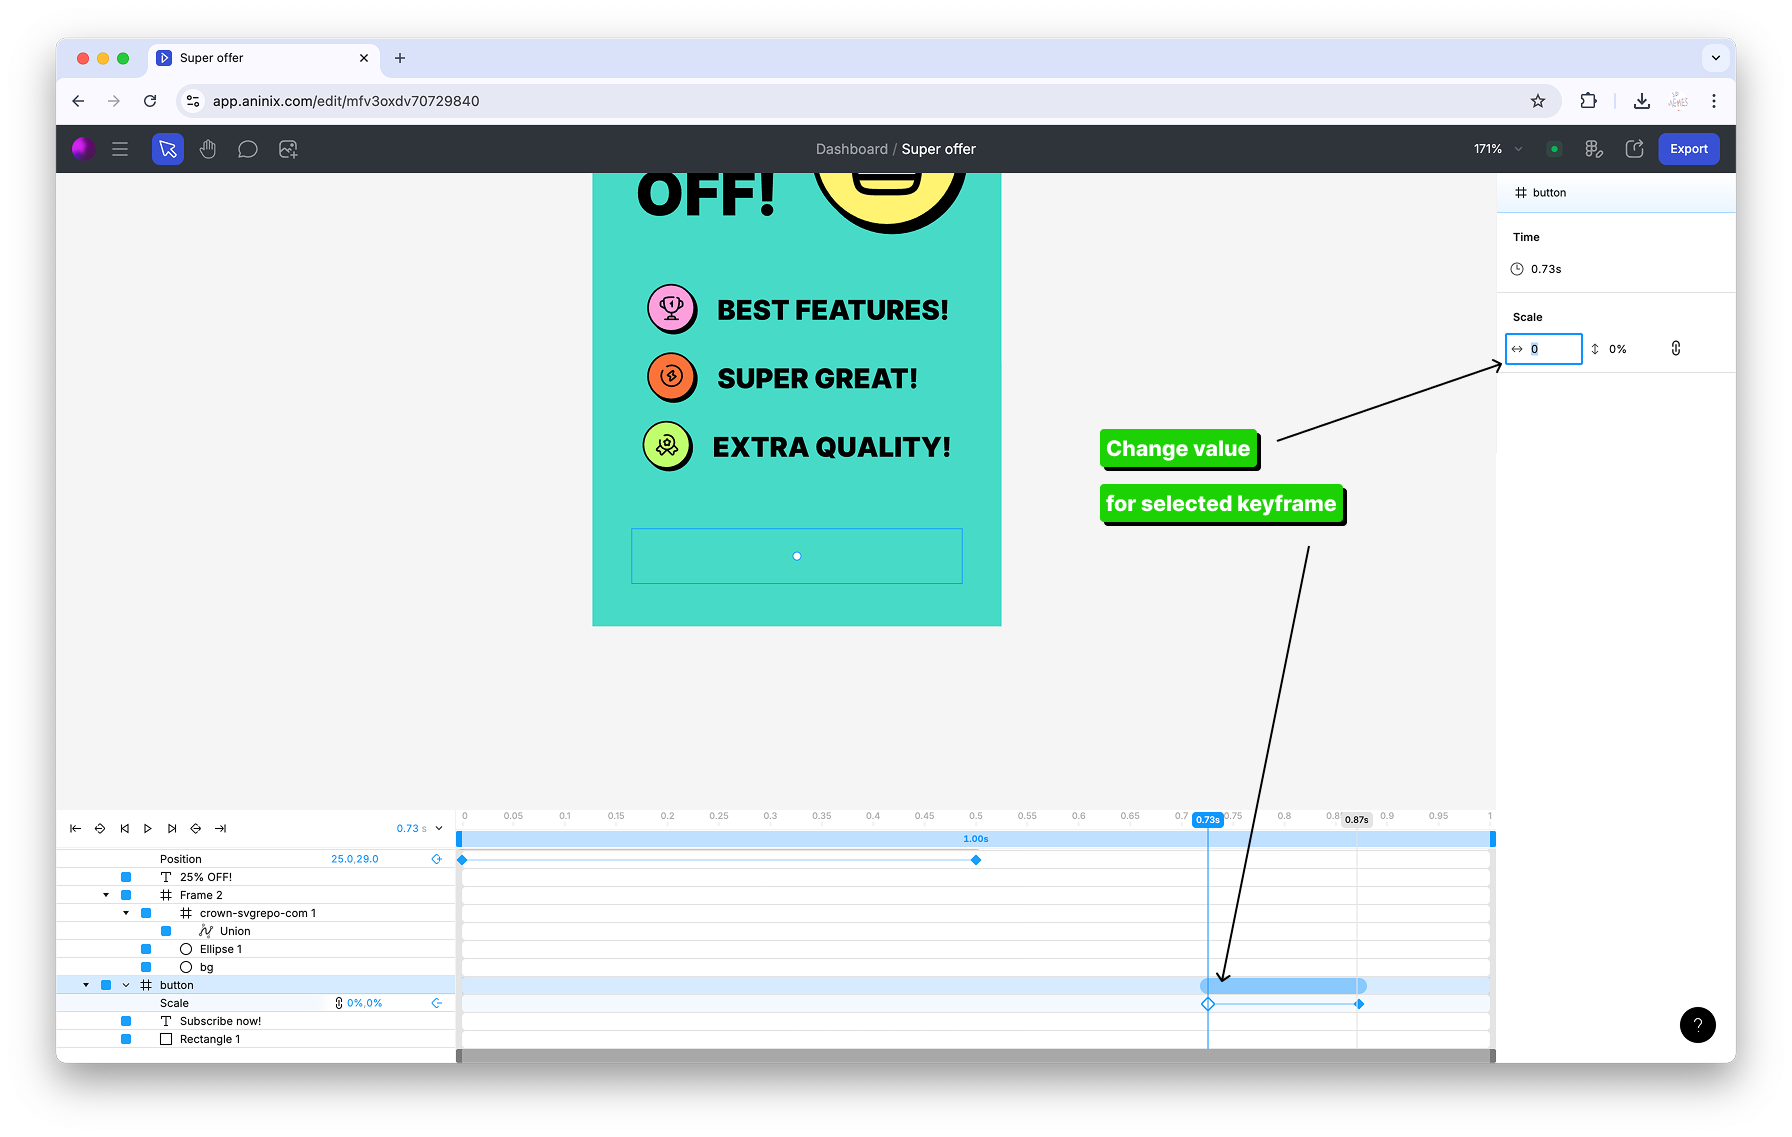
2. Create a second keyframe for the header position
3. Change the value for your first header position keyframe
4. See your position animation in action

5. Change keyframe values for multiple selected items at once
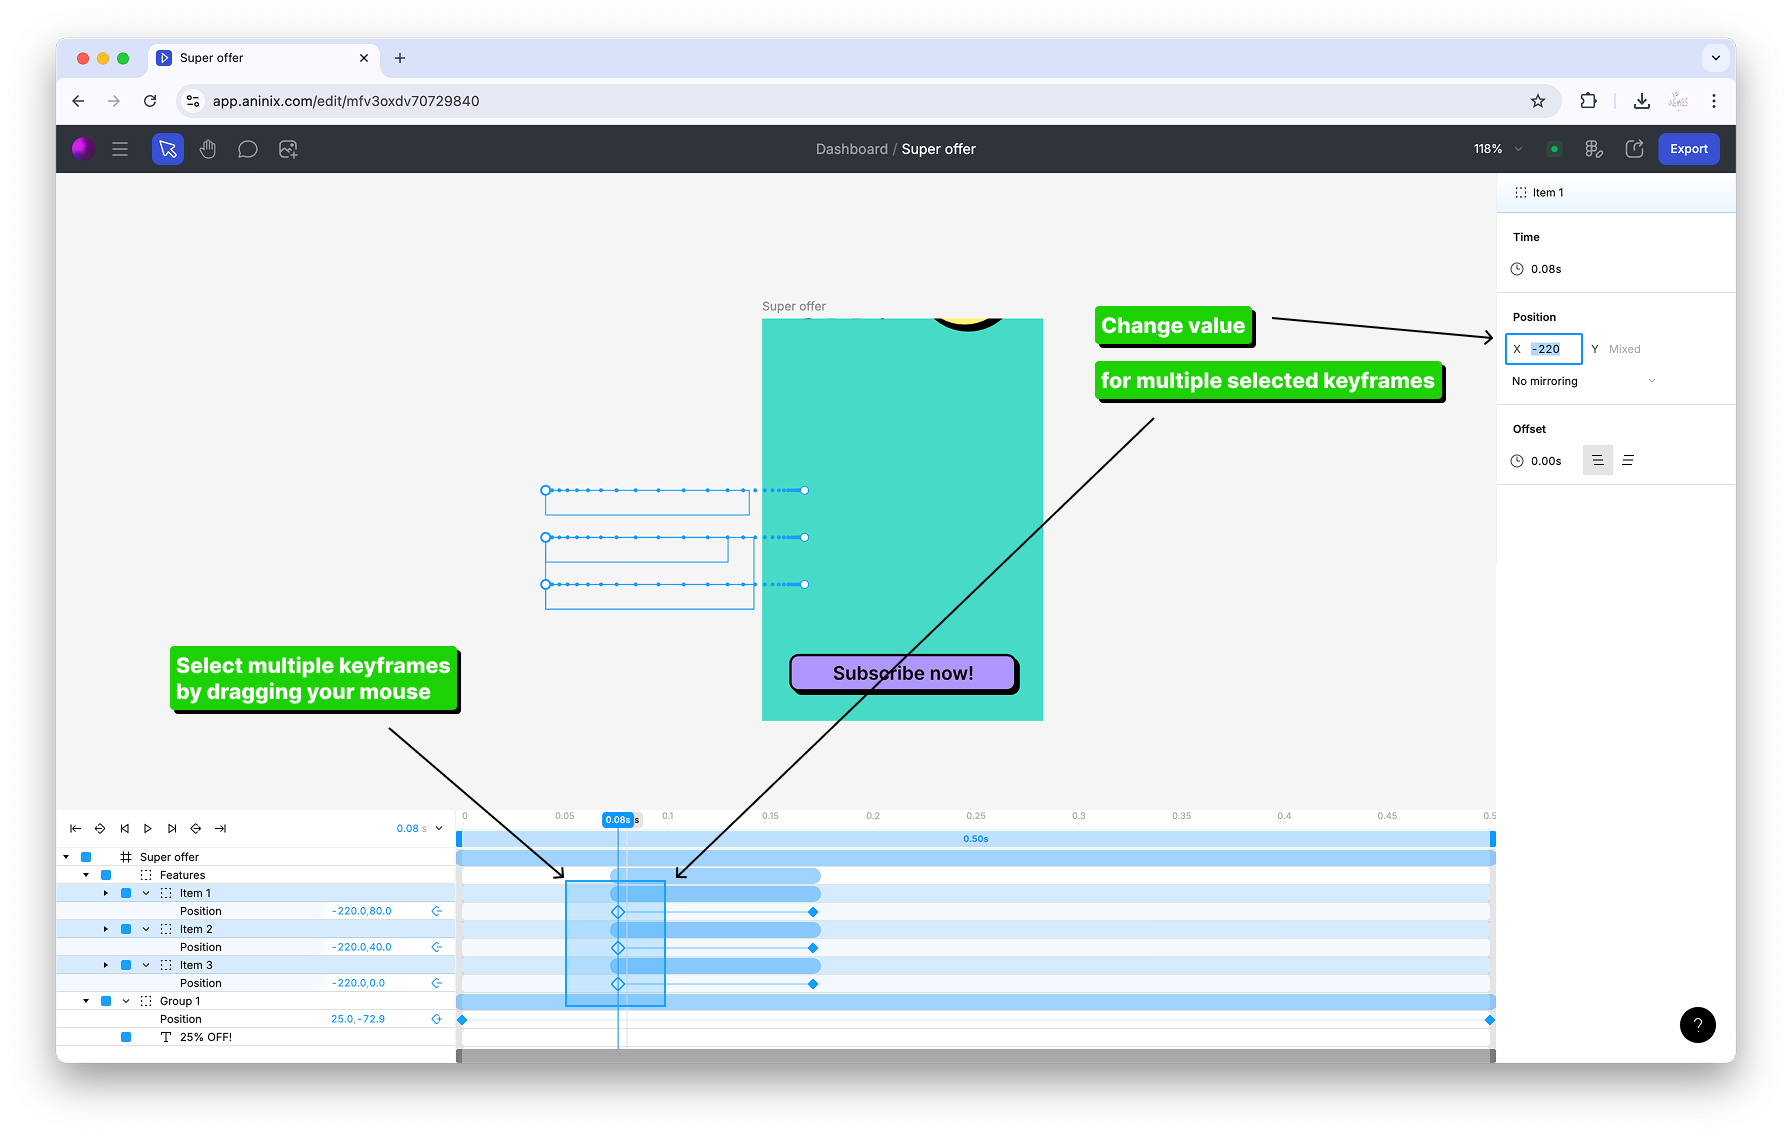
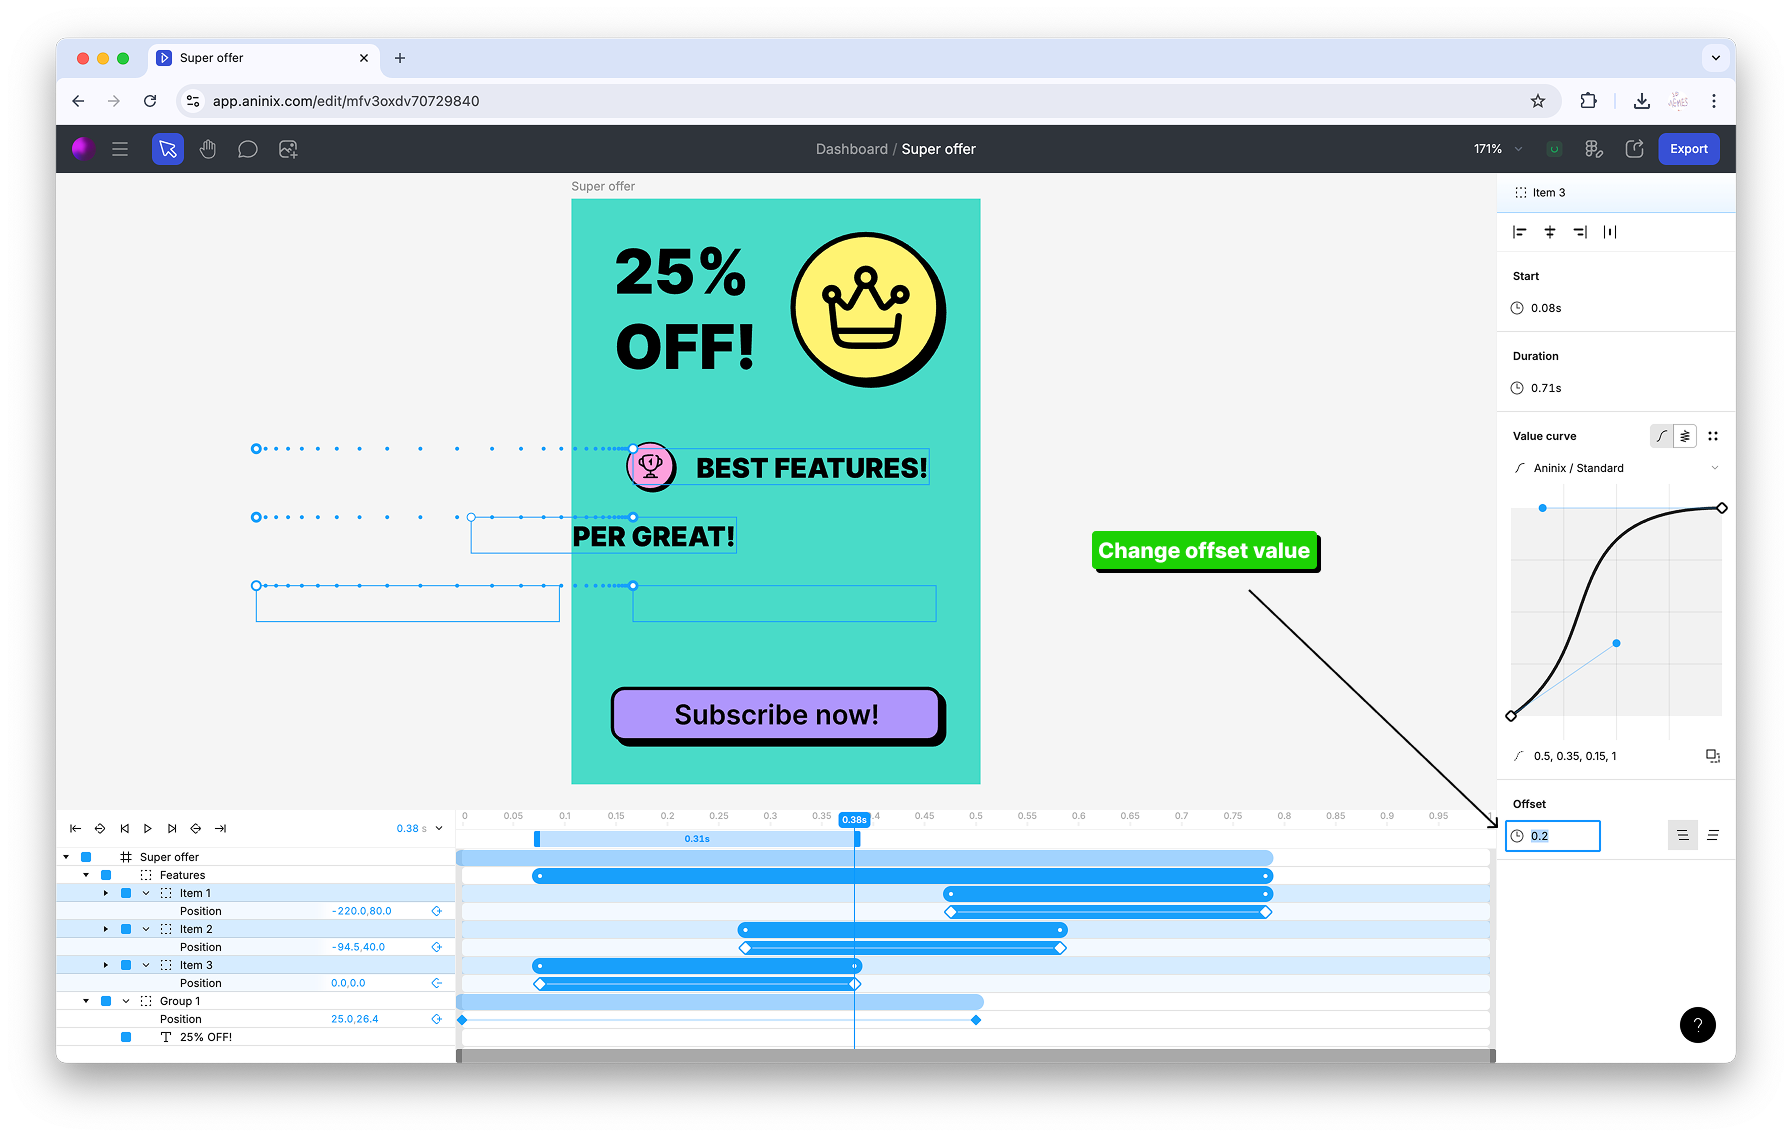
6. Adjust the offset value for multiple animation segments
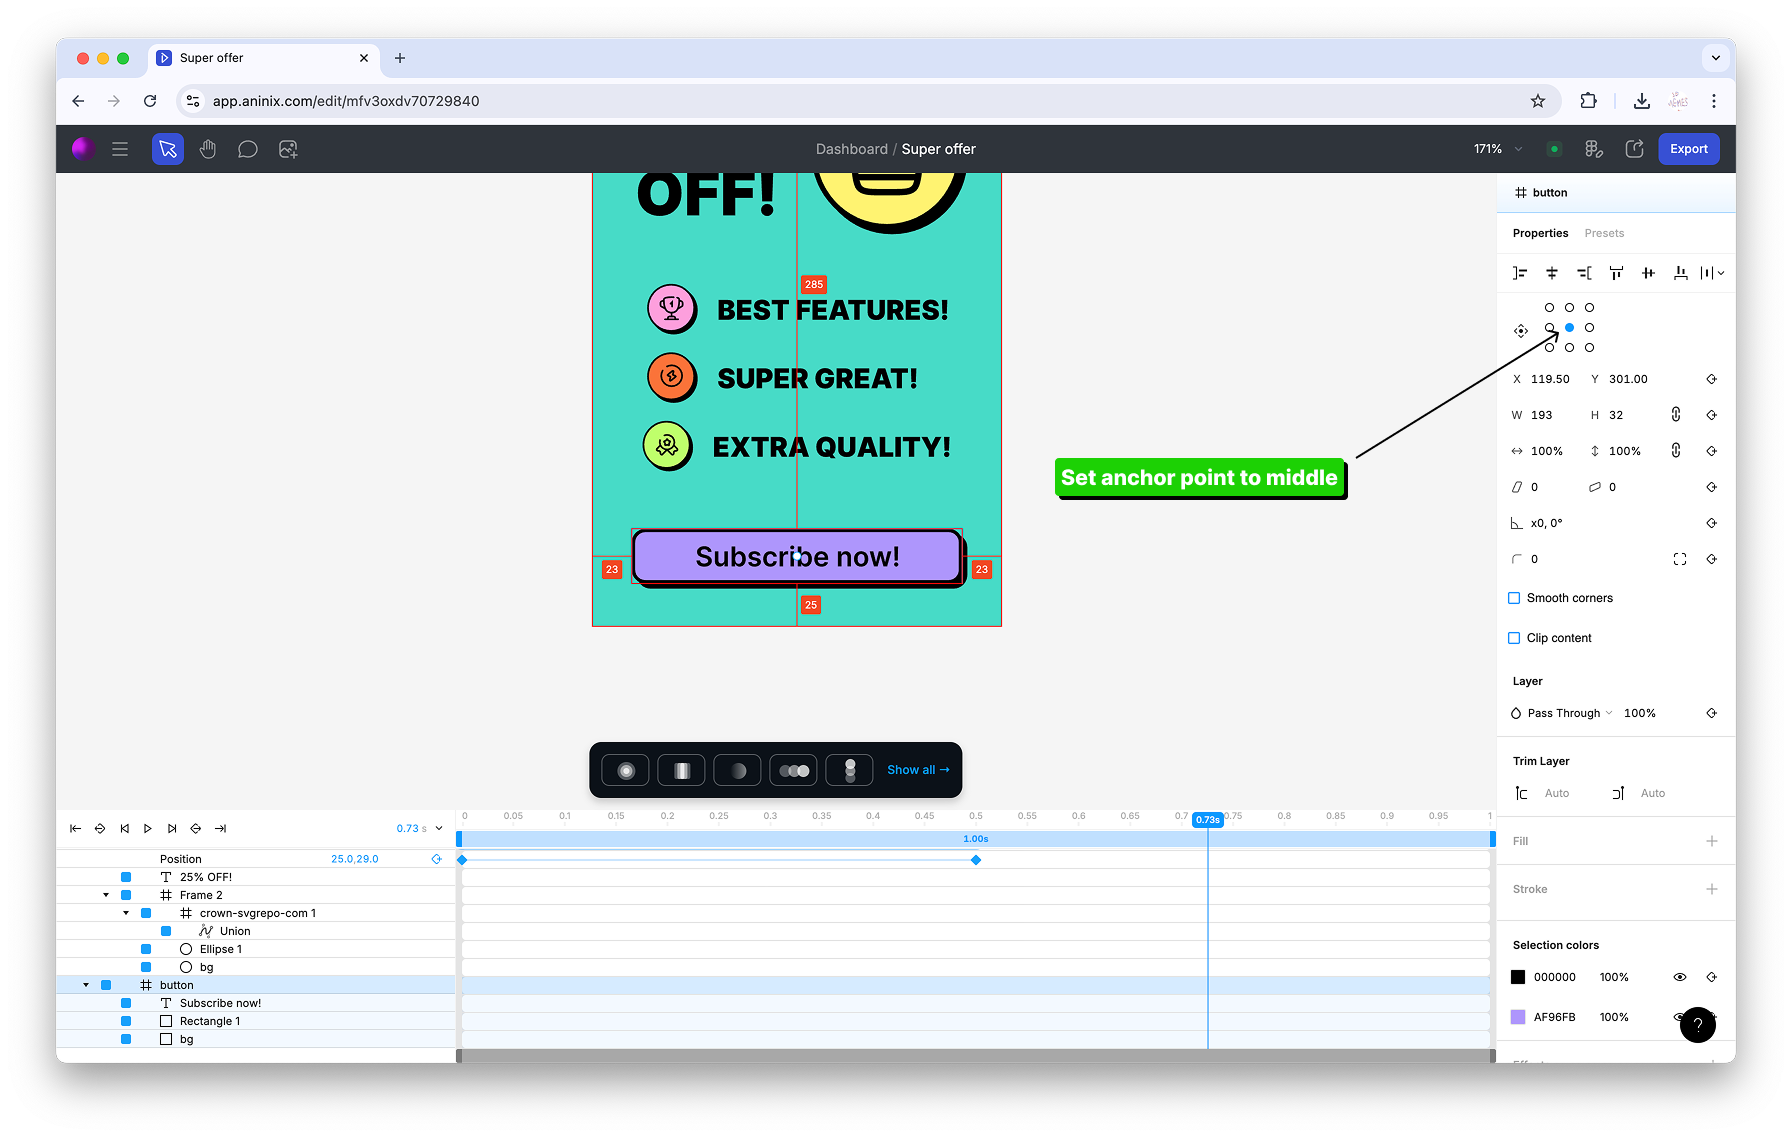
7. Set the anchor point to middle for better button control
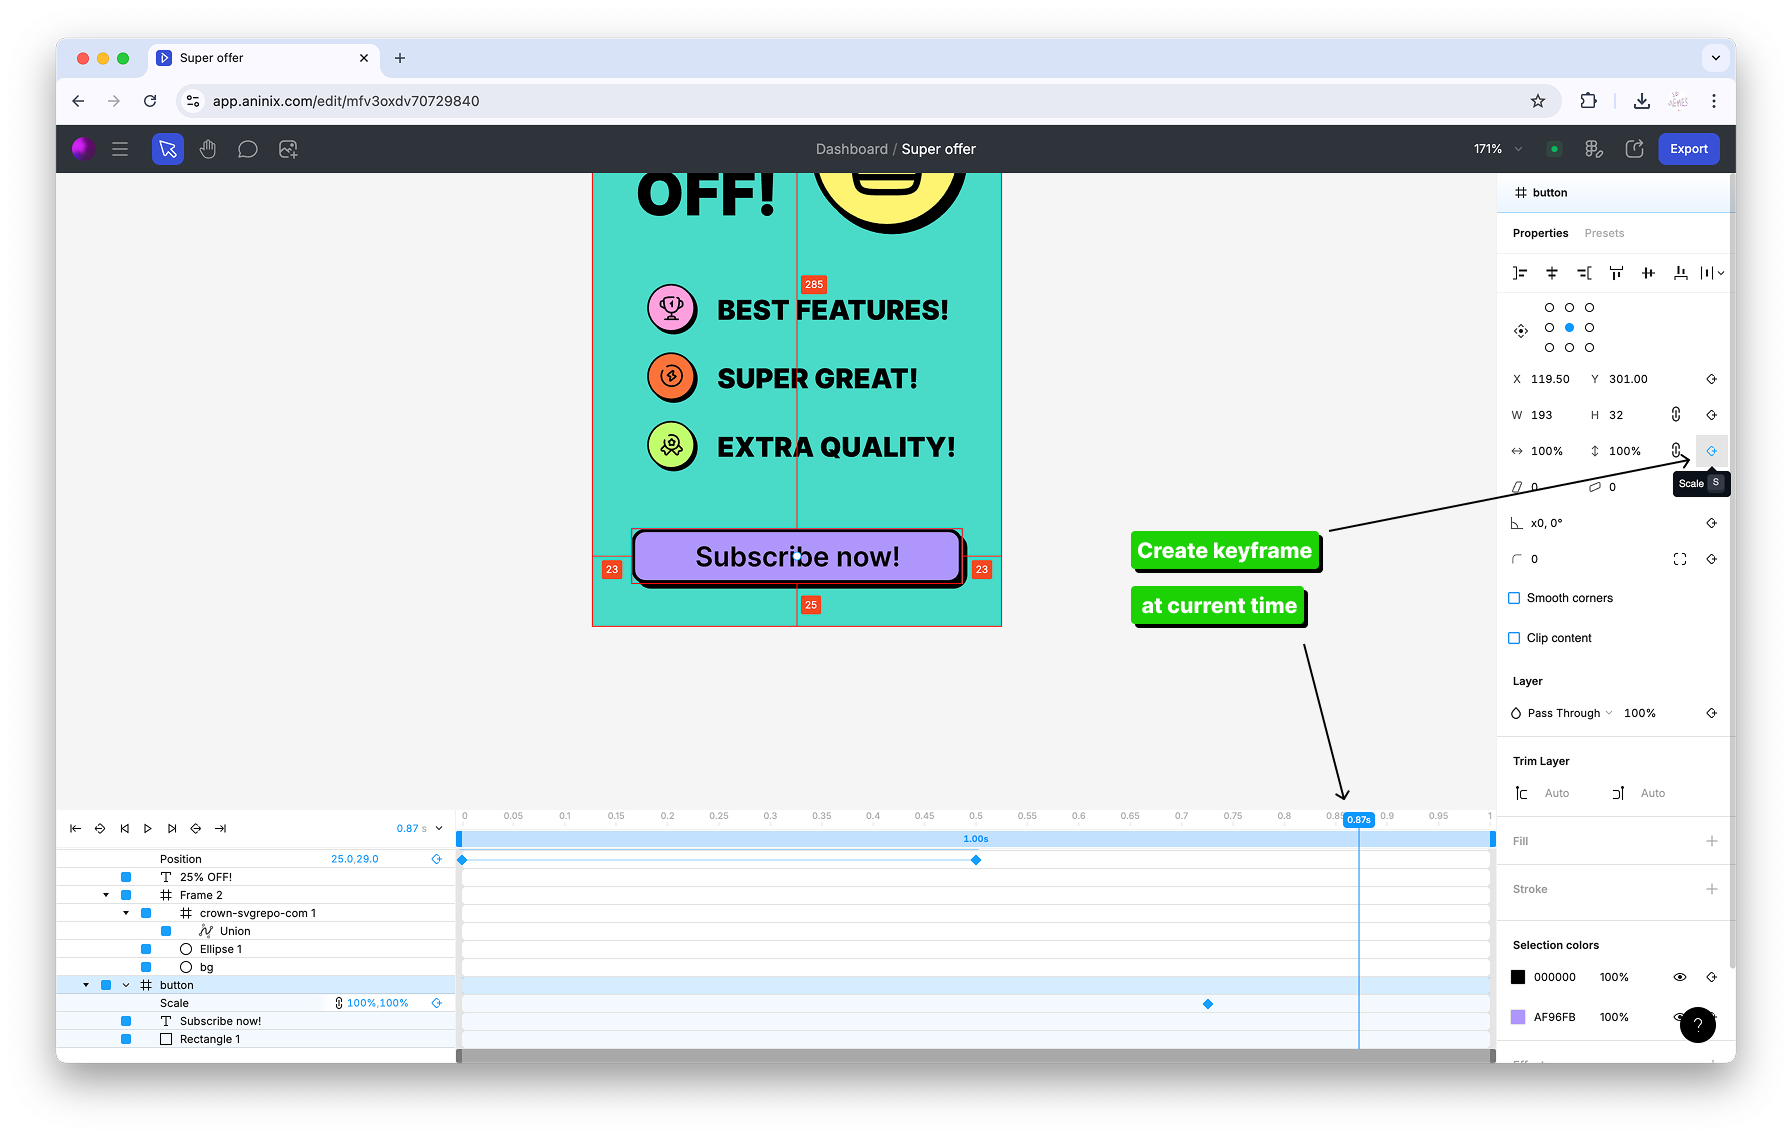
8. Create scale keyframes for button size animations
9. Modify the first keyframe value for the button animation
10. View your completed keyframe animation

## Step 3: Export File Format
1. Click the `Export` button in the top toolbar

2. In the export options dialog, click on the format dropdown menu

3. Choose Lottie for websites or GIF for email signatures
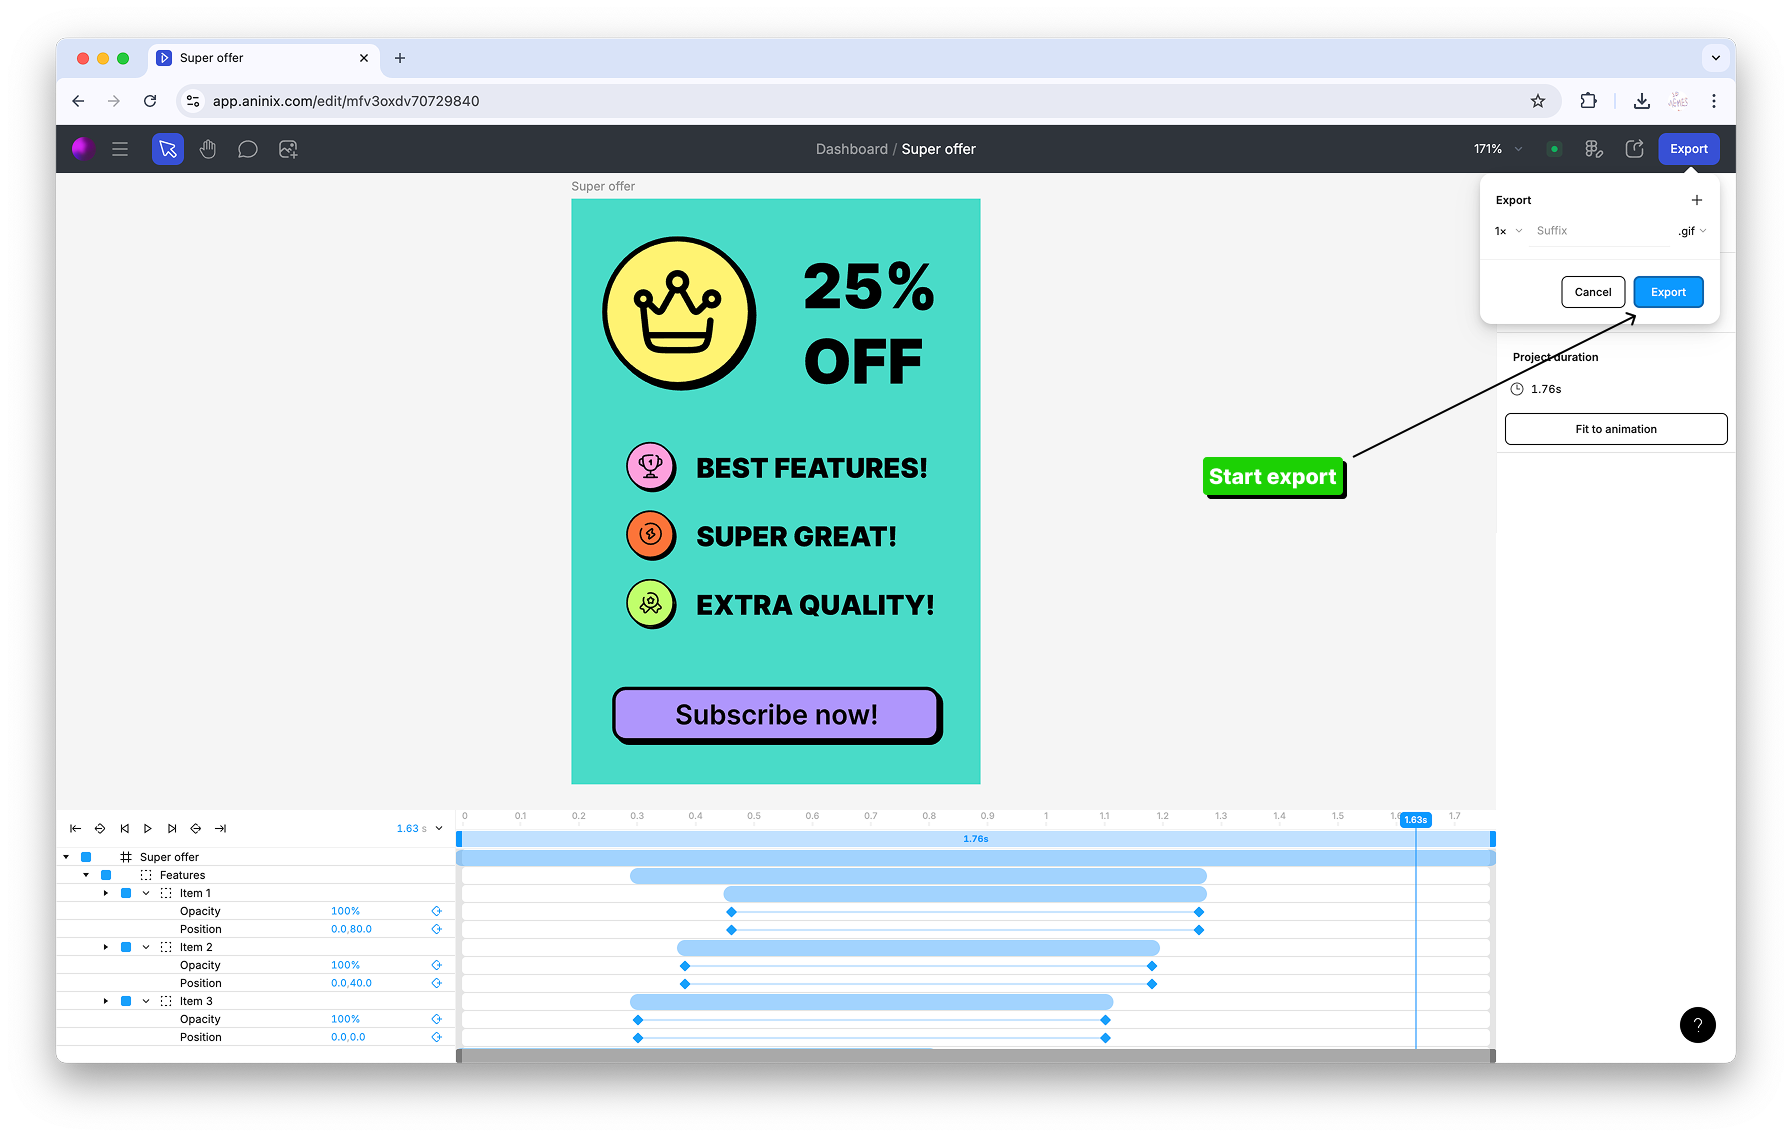
4. Configure quality settings for optimal file size
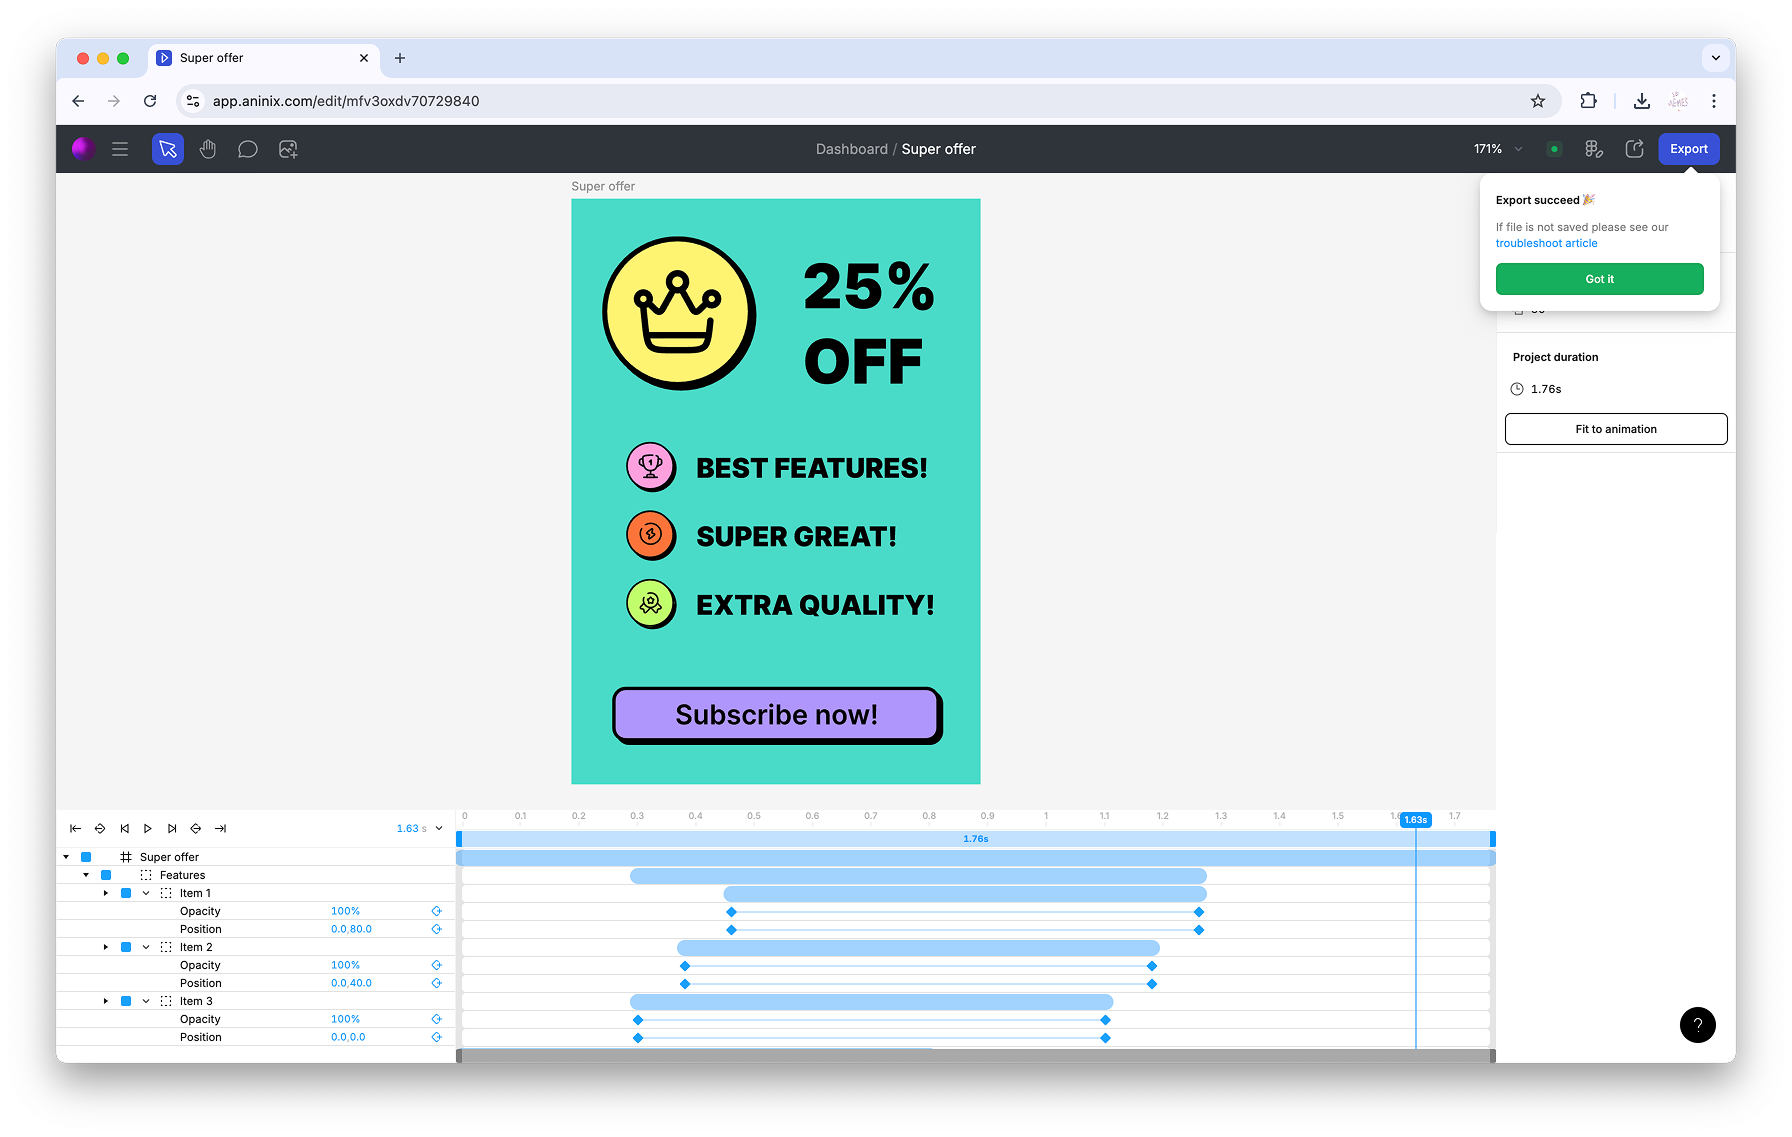
5. Click `Save` to export your animation
Keywords: `vector logo animation`, `logo animation`, `brand animation`, `SVG logo`, `animated logo`, `vector graphics`, `keyframe logo`, `professional animation`
© 2021-2026 Aninix Inc. All rights reserved
© 2021-2026 Aninix Inc. All rights reserved