# How to Create Your First Animation with Aninix
*Keywords: first animation, keyframes, preview, basic tutorial, Figma frame, Aninix interface, timeline overview, animation panel*
Creating your first animation in Aninix is an exciting step into the world of UI animation design. This comprehensive guide will walk you through everything you need to know to create your first animation, from setting up your workspace to exporting your final result.
## What You'll Learn
By the end of this tutorial, you'll be able to:
- Set up and navigate the Aninix interface
- Import a Figma frame into Aninix
- Create keyframes and basic animations
- Preview your animation in real-time
- Export your animation in multiple formats
## Prerequisites
Before we begin, make sure you have:
- Figma installed with the Aninix plugin activated
- A simple Figma design ready to animate (we'll use a button example)
- Basic familiarity with Figma's interface
## Step 1: Setting Up Your Workspace
### Installing the Aninix Plugin
If you haven't installed Aninix yet, follow these steps:
1. Open Figma and navigate to the **Plugins** menu
2. Search for "Aninix" in the plugin marketplace
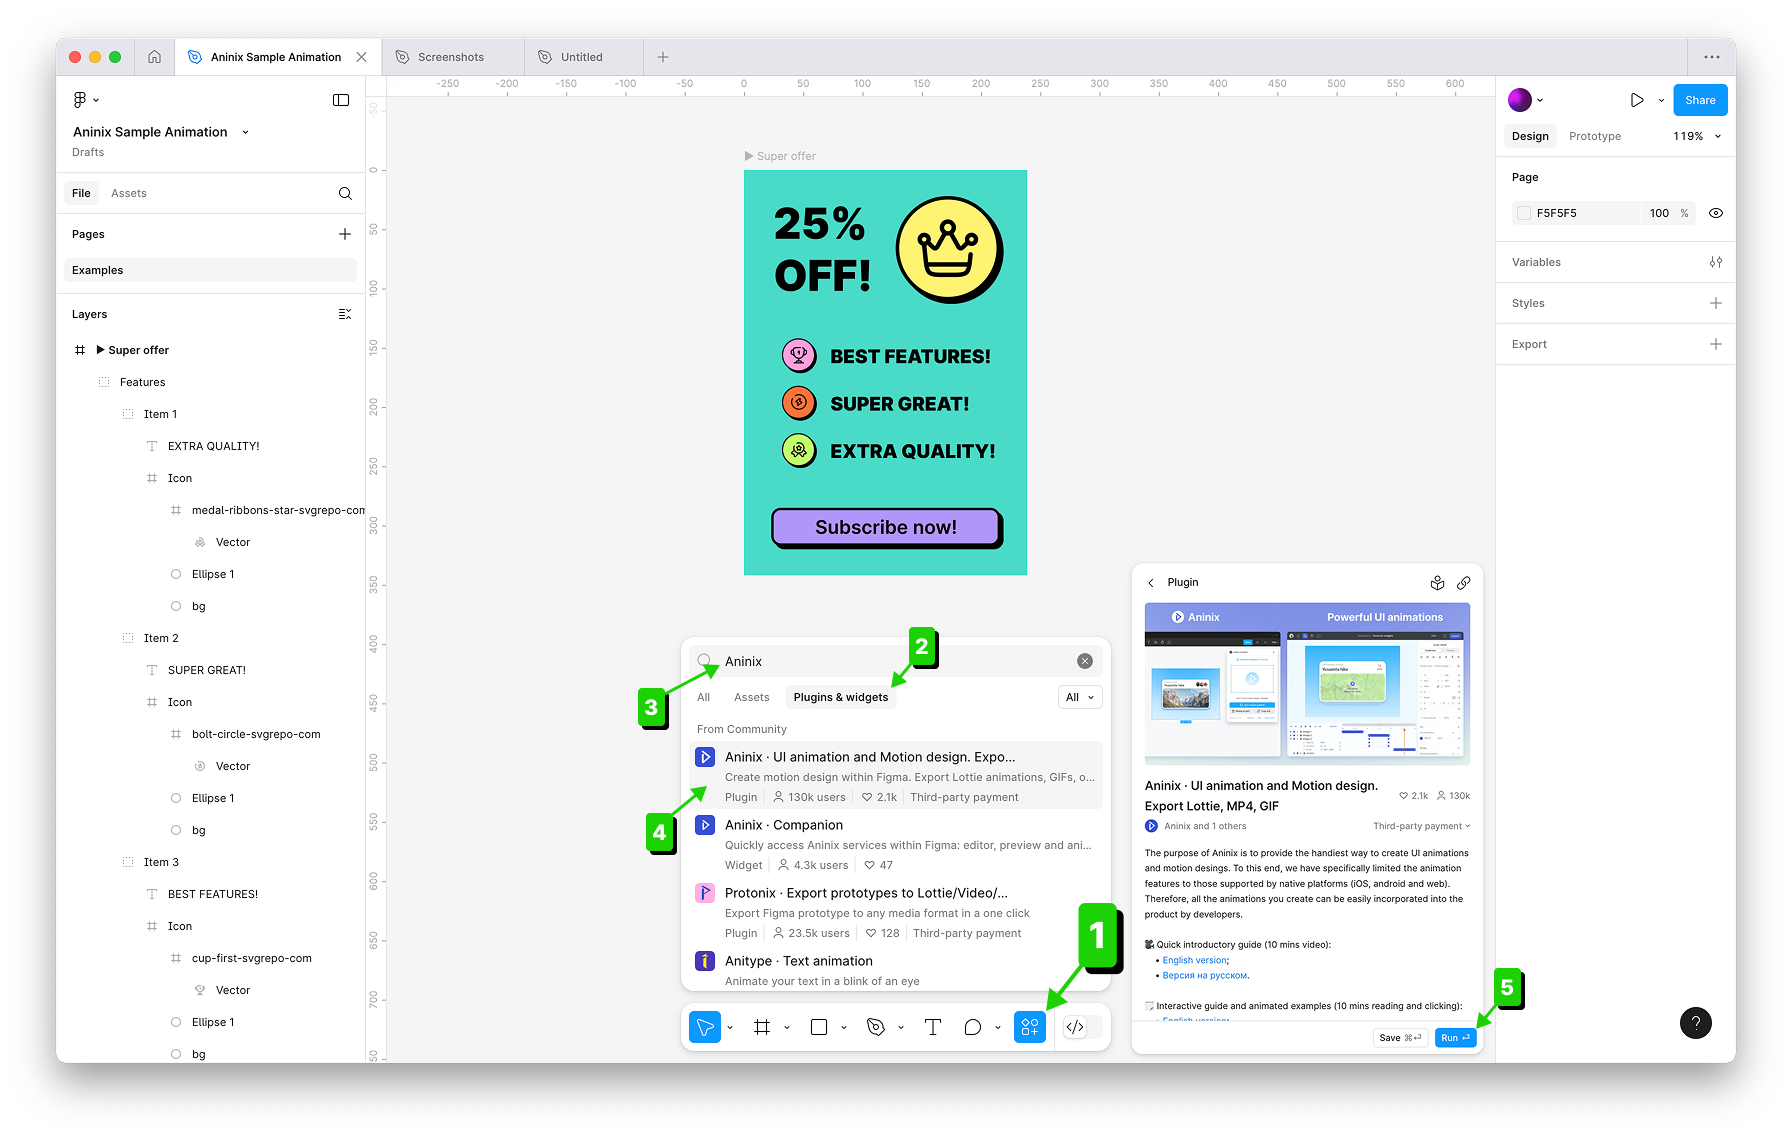
3. Click **Install** and then **Run** to activate the plugin
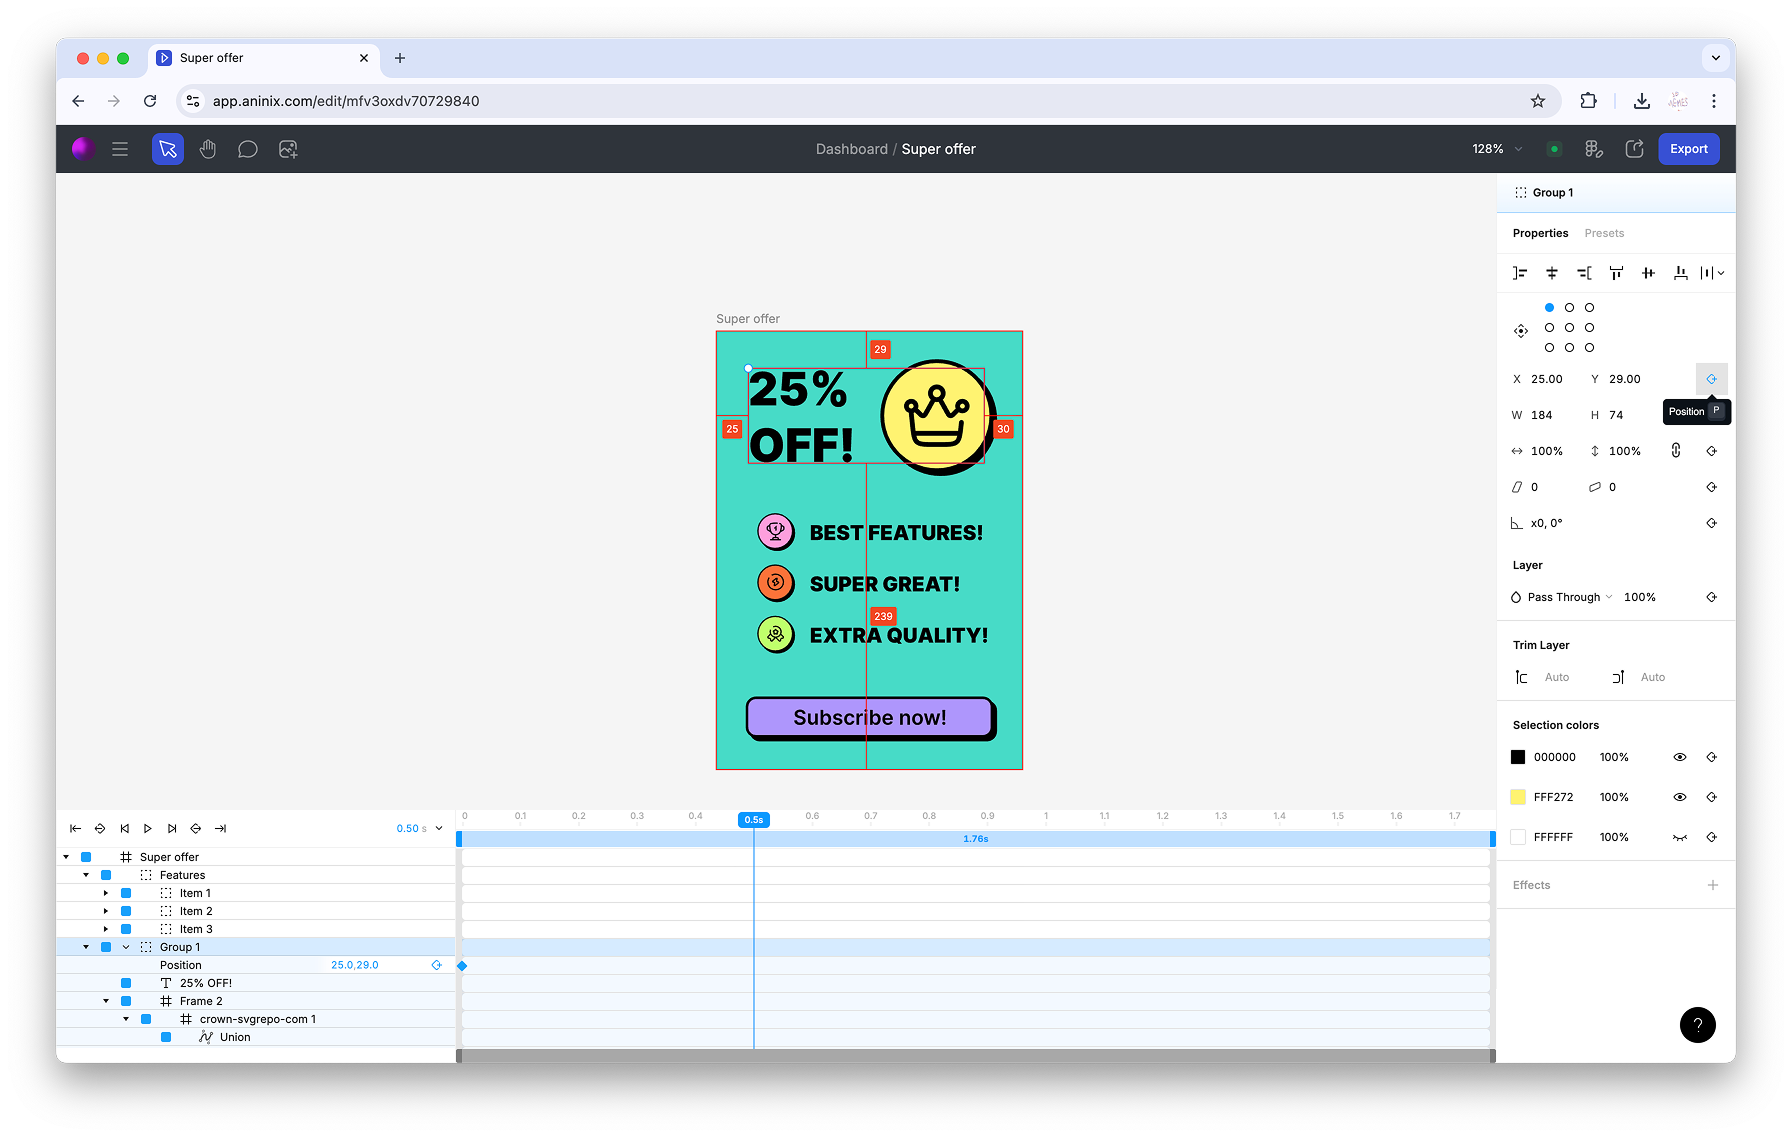
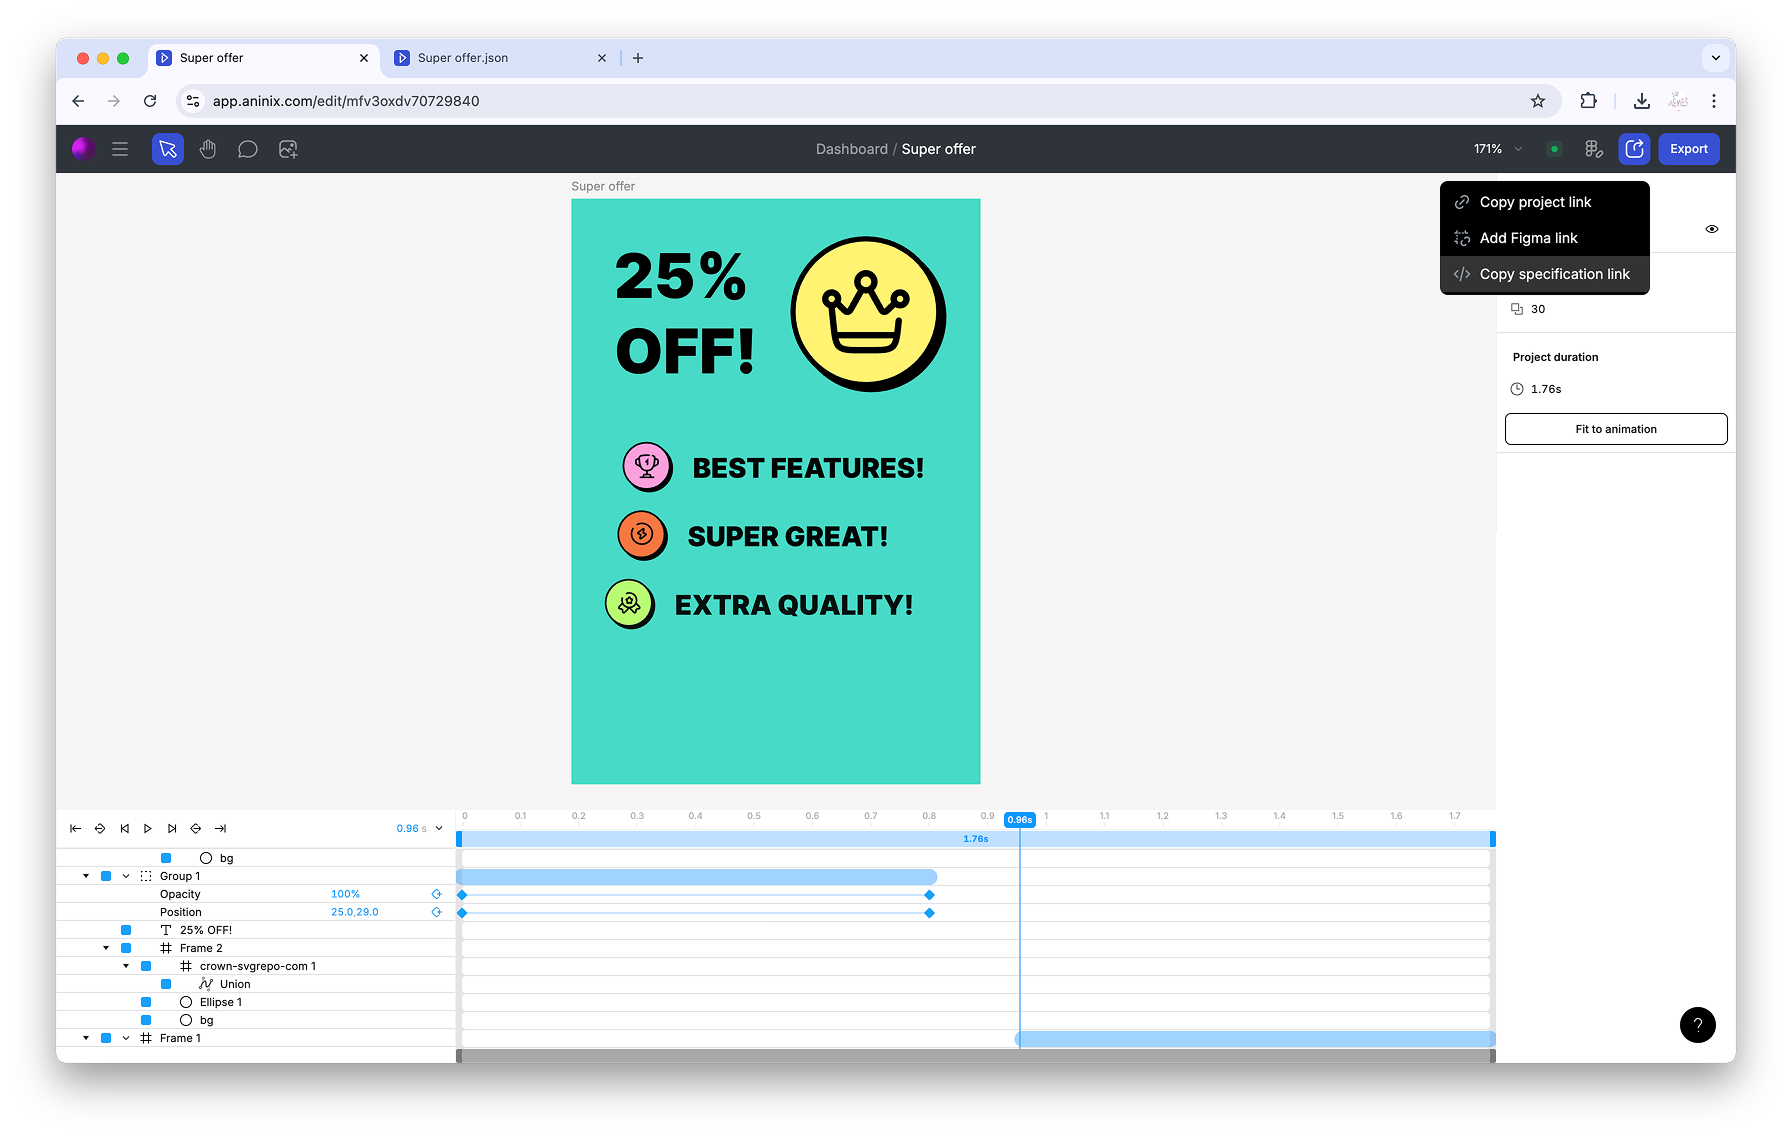
### Understanding the Aninix Interface
Once Aninix is running, you'll see the main workspace with several key areas:
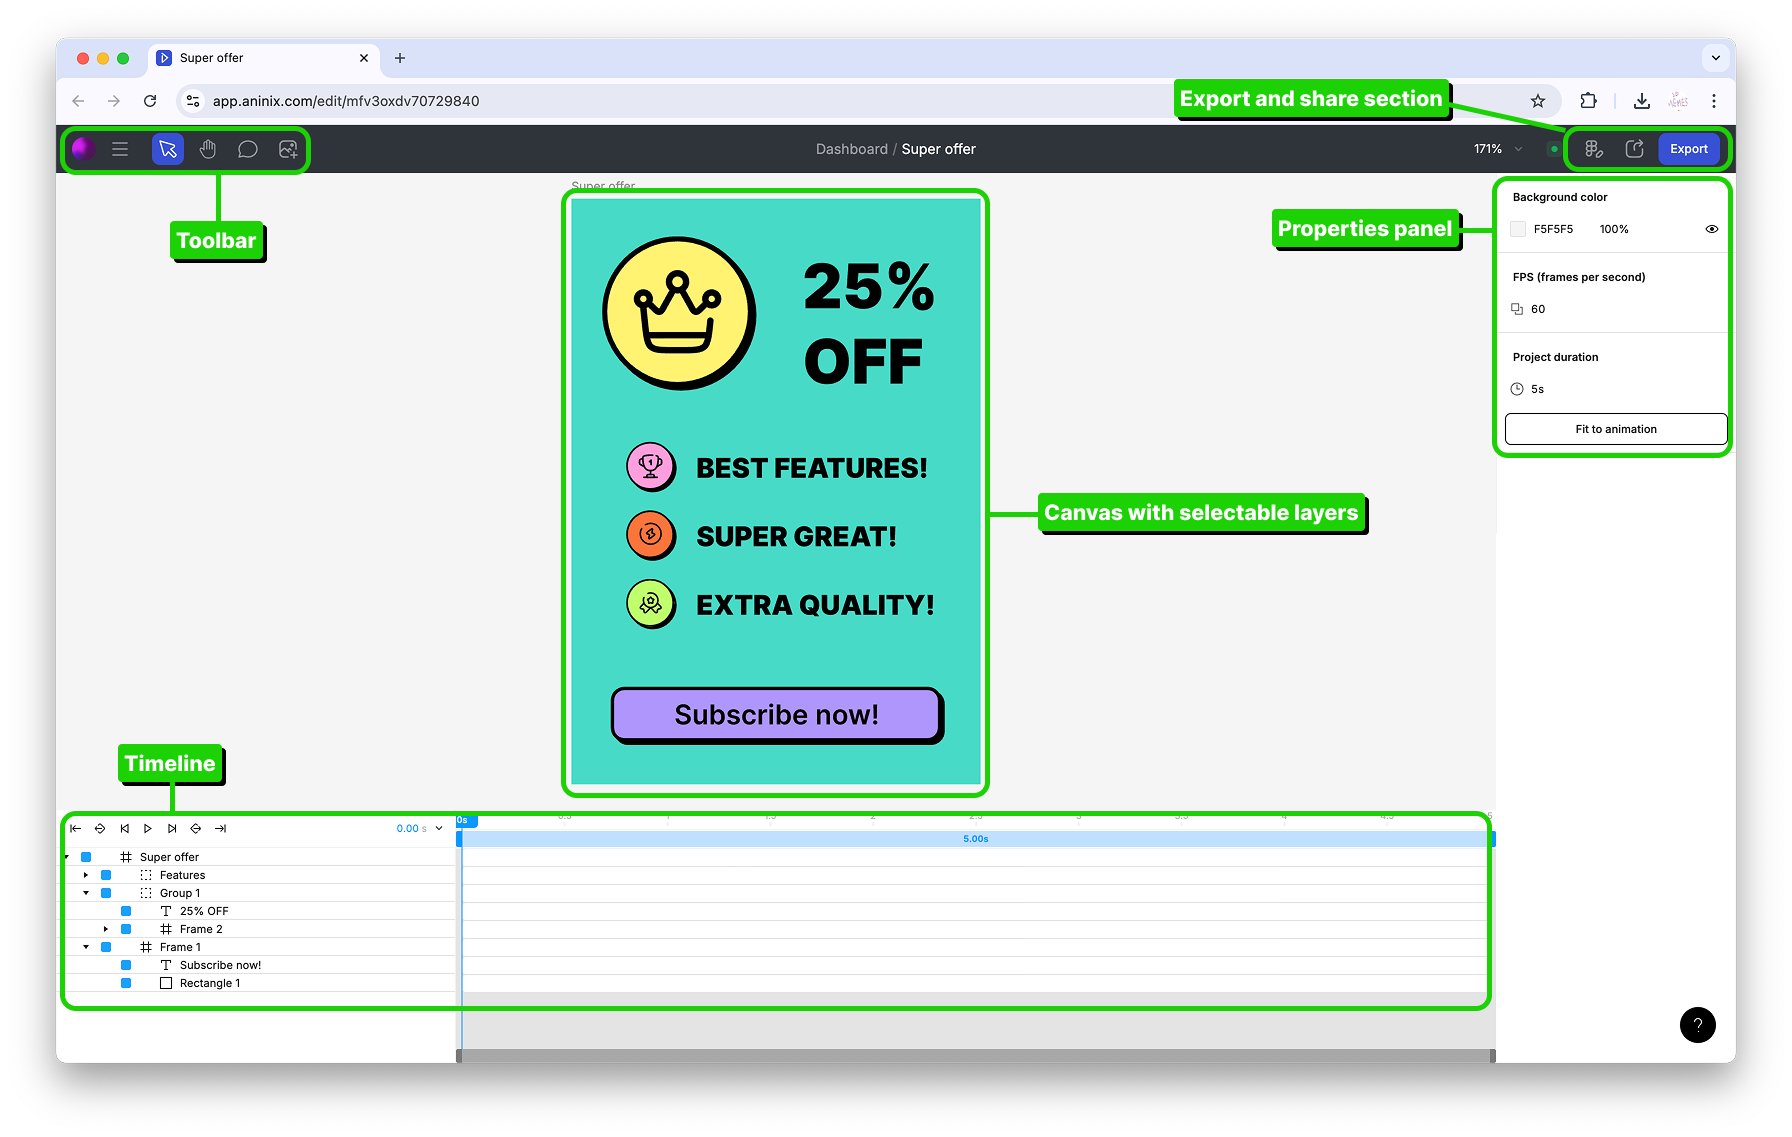
The interface consists of:
- **Toolbar**: Contains essential tools and export options
- **Timeline**: Where you'll create and manage keyframes
- **Properties Panel**: Shows animation properties for selected layers
- **Canvas**: Preview area for your animation
- **Export Panel**: Options for exporting your finished animation
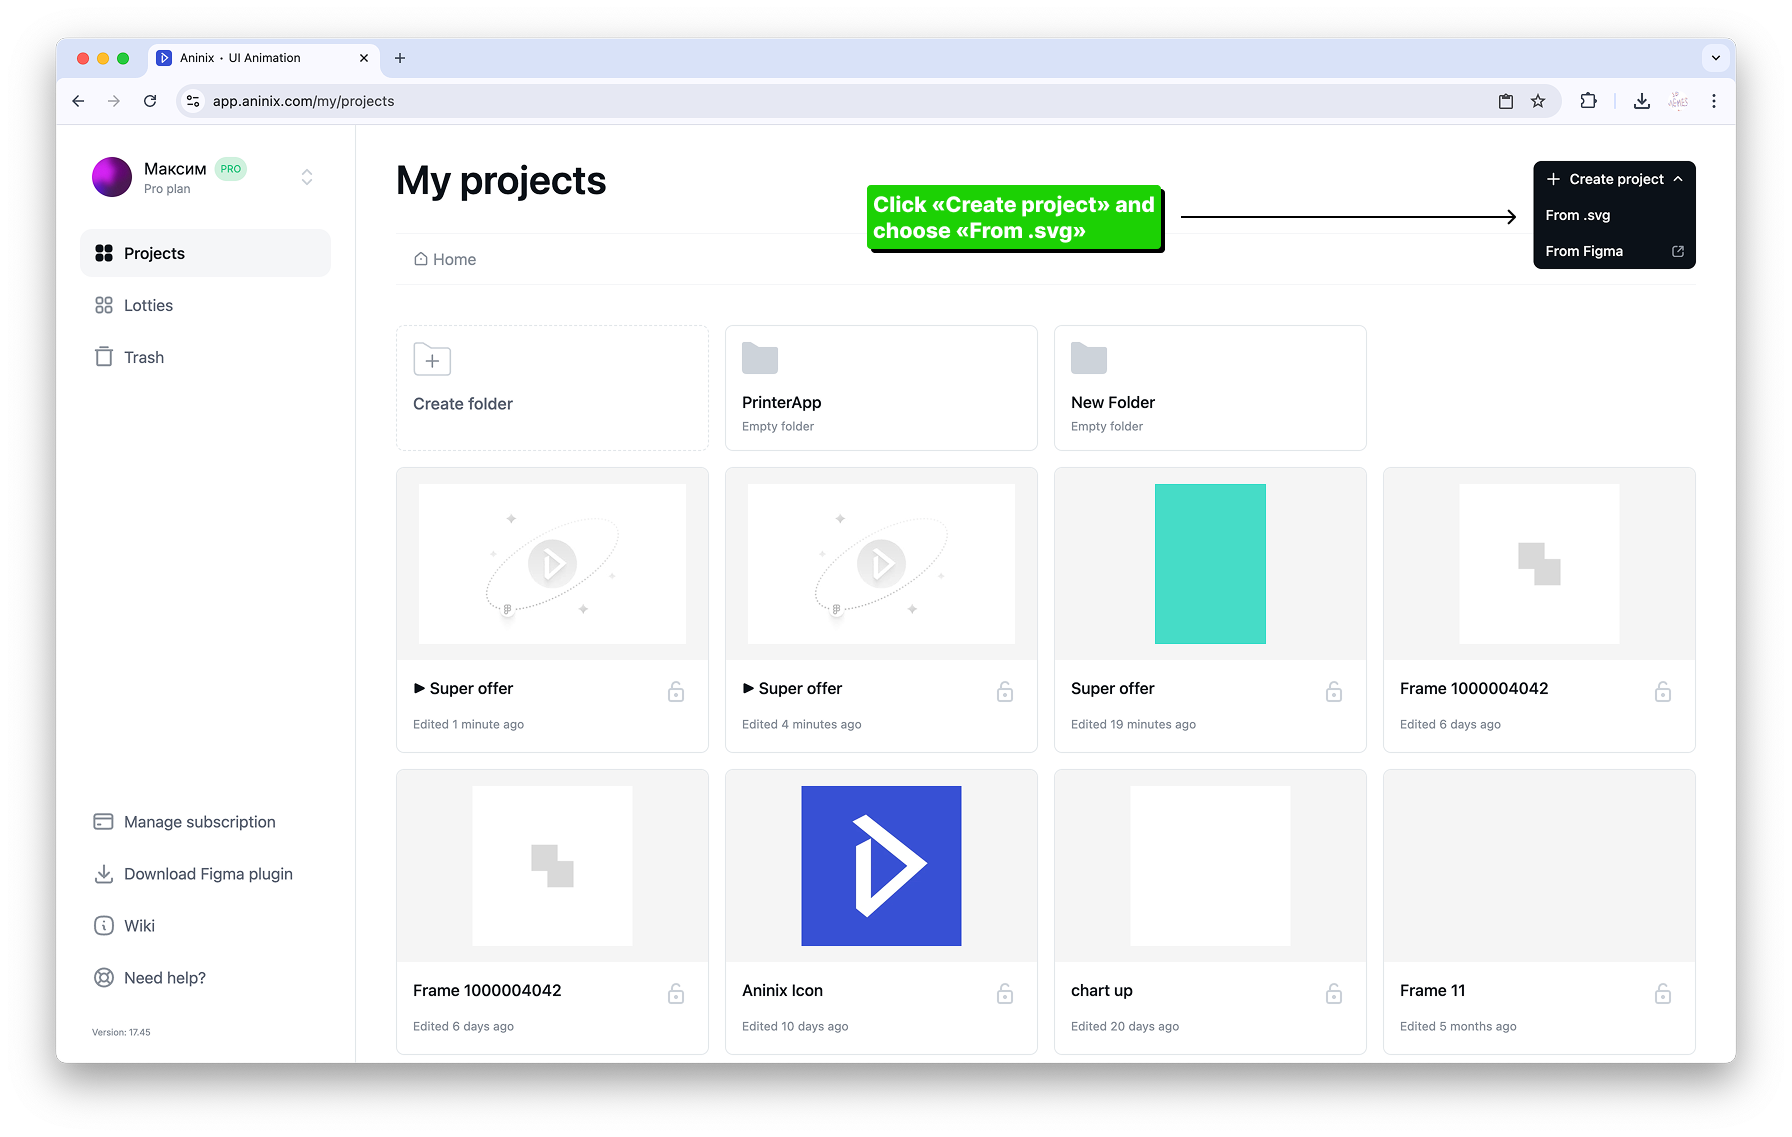
## Step 2: Creating Your First Project
### Starting a New Project
1. In the Aninix interface, you'll see options to create a new project
2. Select a Figma frame that you want to animate
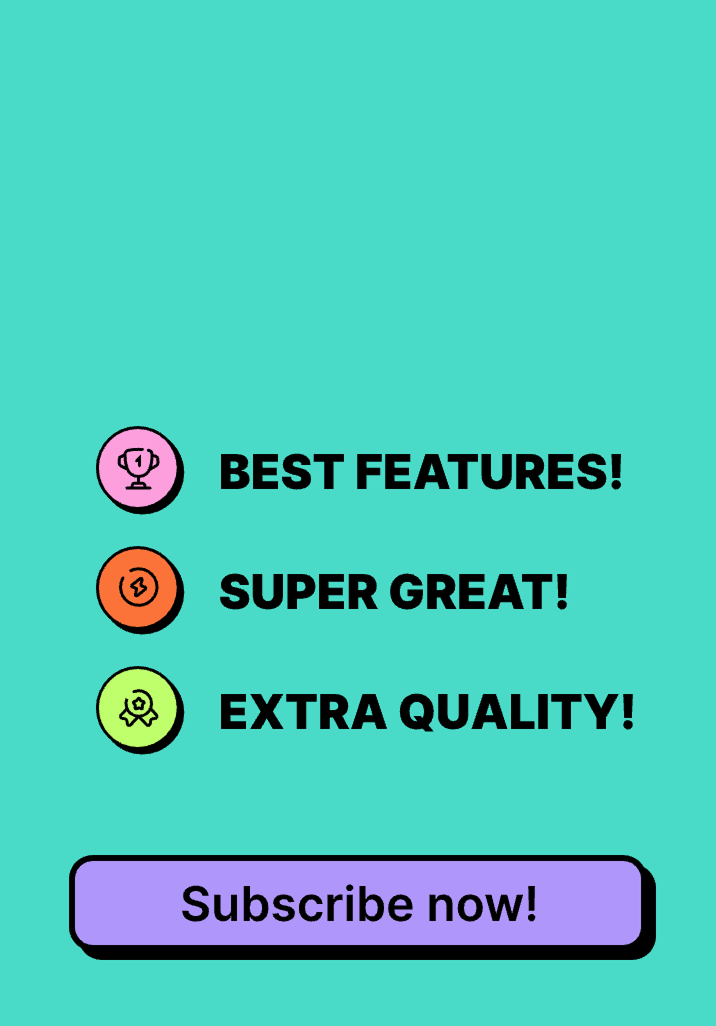
For this tutorial, we'll create a simple button animation that scales when hovered.
### Importing Your Design
1. Select the Figma frame containing your button design
2. Aninix will automatically import the frame and its layers
3. You'll see your design appear in the canvas area
## Step 3: Understanding Keyframes and Timeline
### What Are Keyframes?
Keyframes are specific points in time where you define the properties of your animation. Aninix interpolates between these keyframes to create smooth motion.
### Creating Your First Keyframes
Let's create a scale animation for a button:
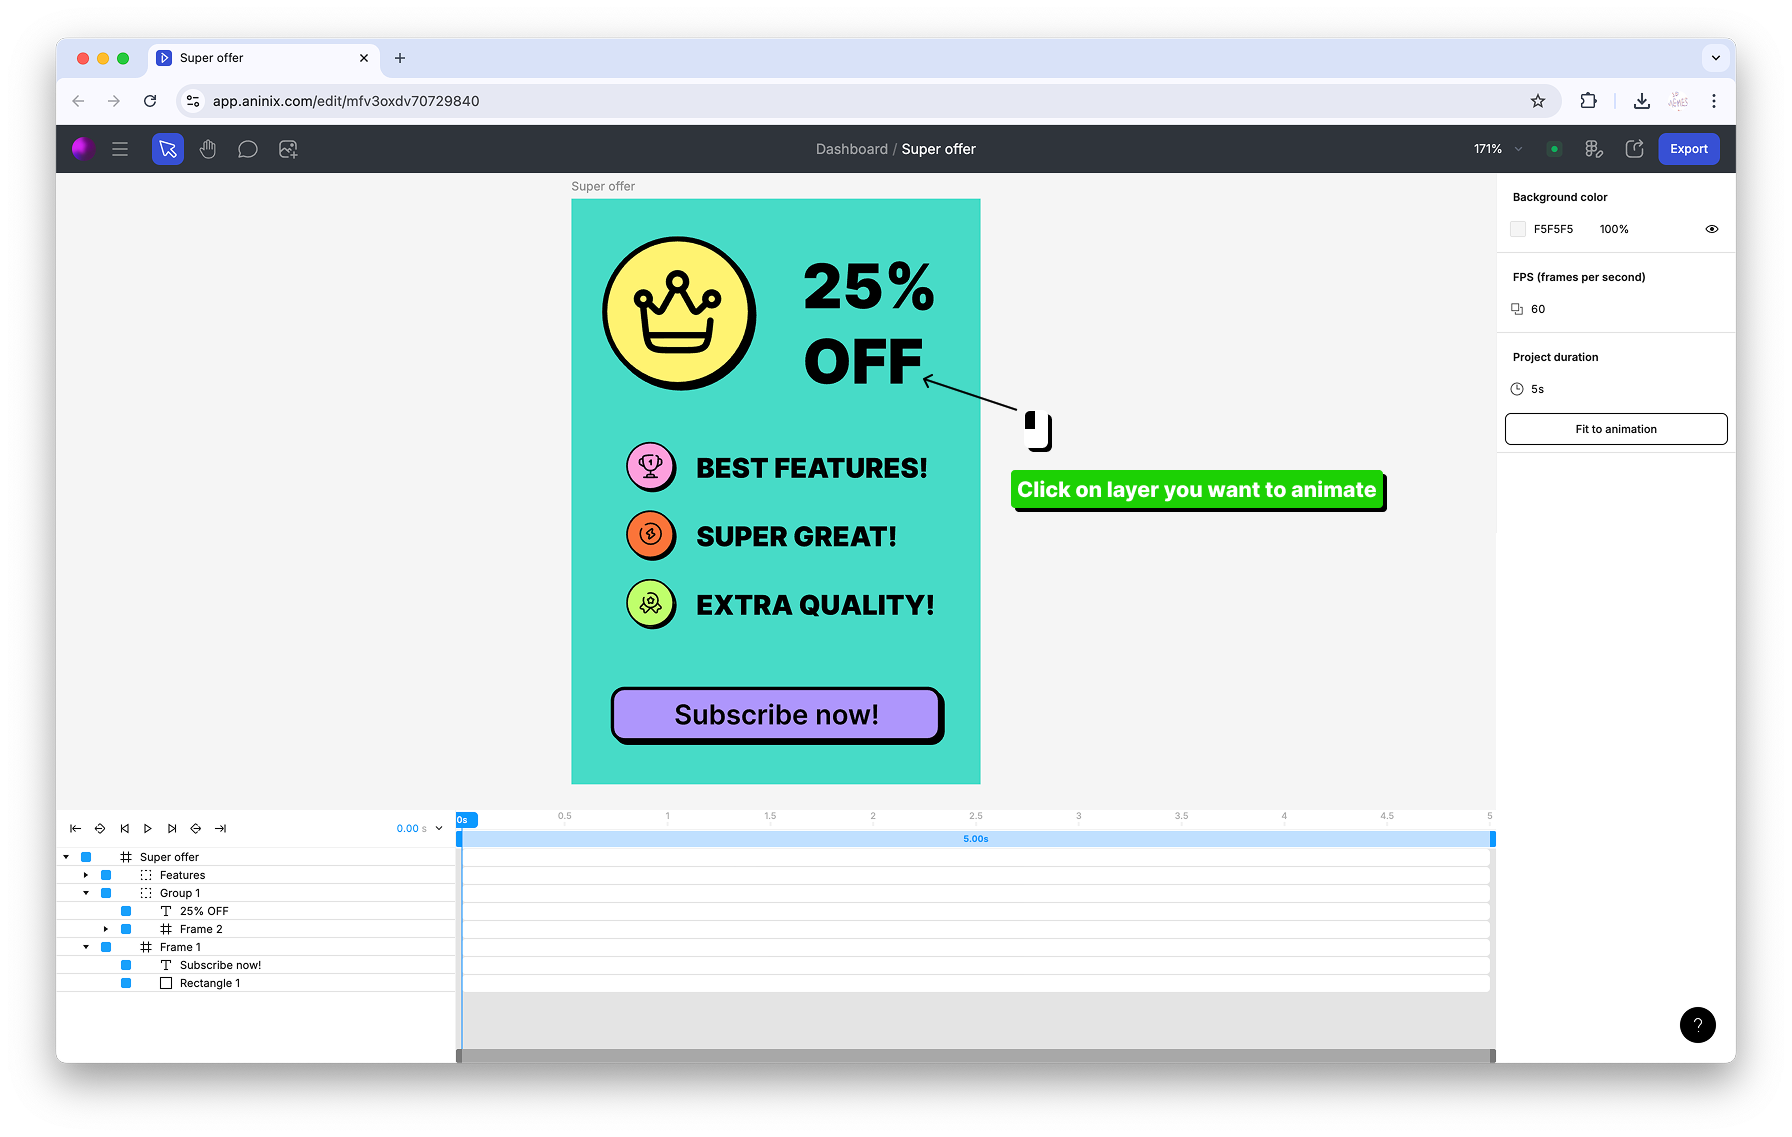
1. **Select your button layer** in the timeline
2. **Set the first keyframe** at the beginning of the timeline (0 seconds)

3. **Move the playhead** to 0.3 seconds on the timeline
4. **Create a second keyframe** and change the scale value
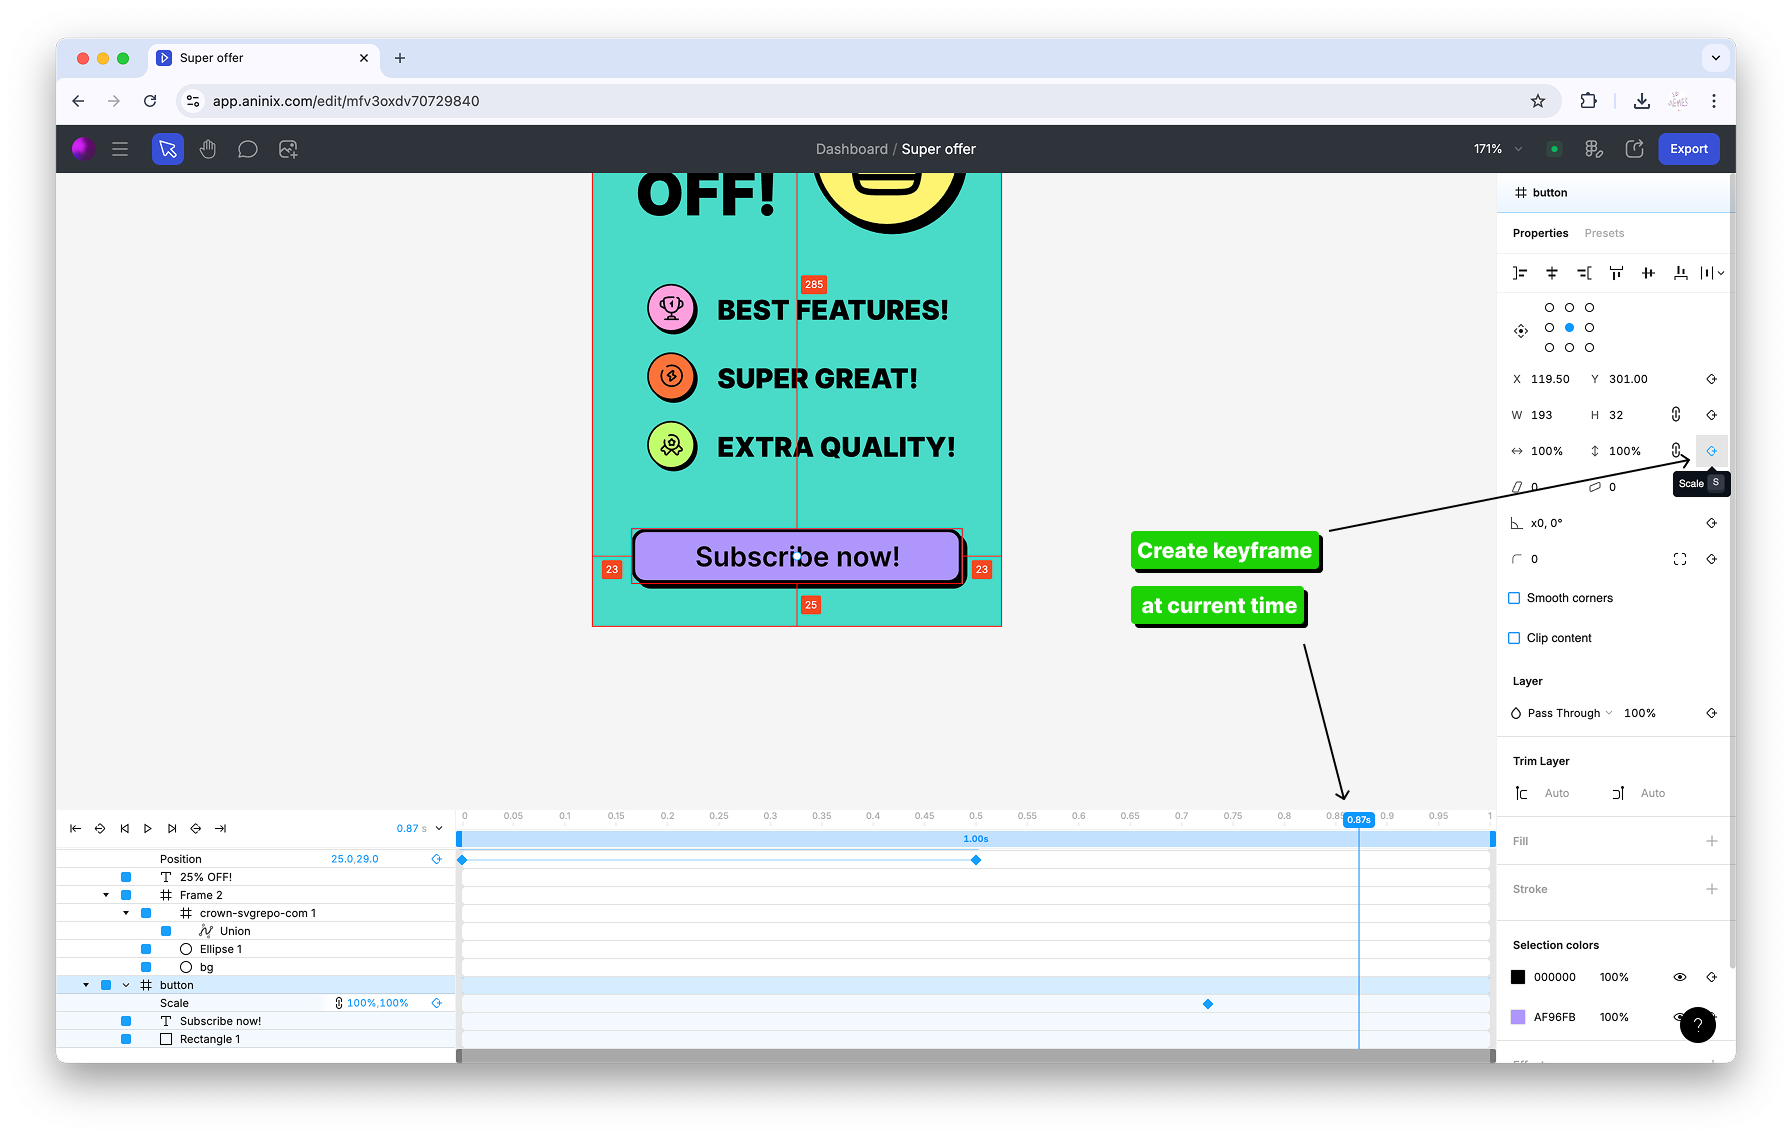
### Adjusting Keyframe Values
1. **Select the first keyframe** and ensure the scale is set to 100% (normal size)
2. **Select the second keyframe** and change the scale to 110% for a subtle hover effect
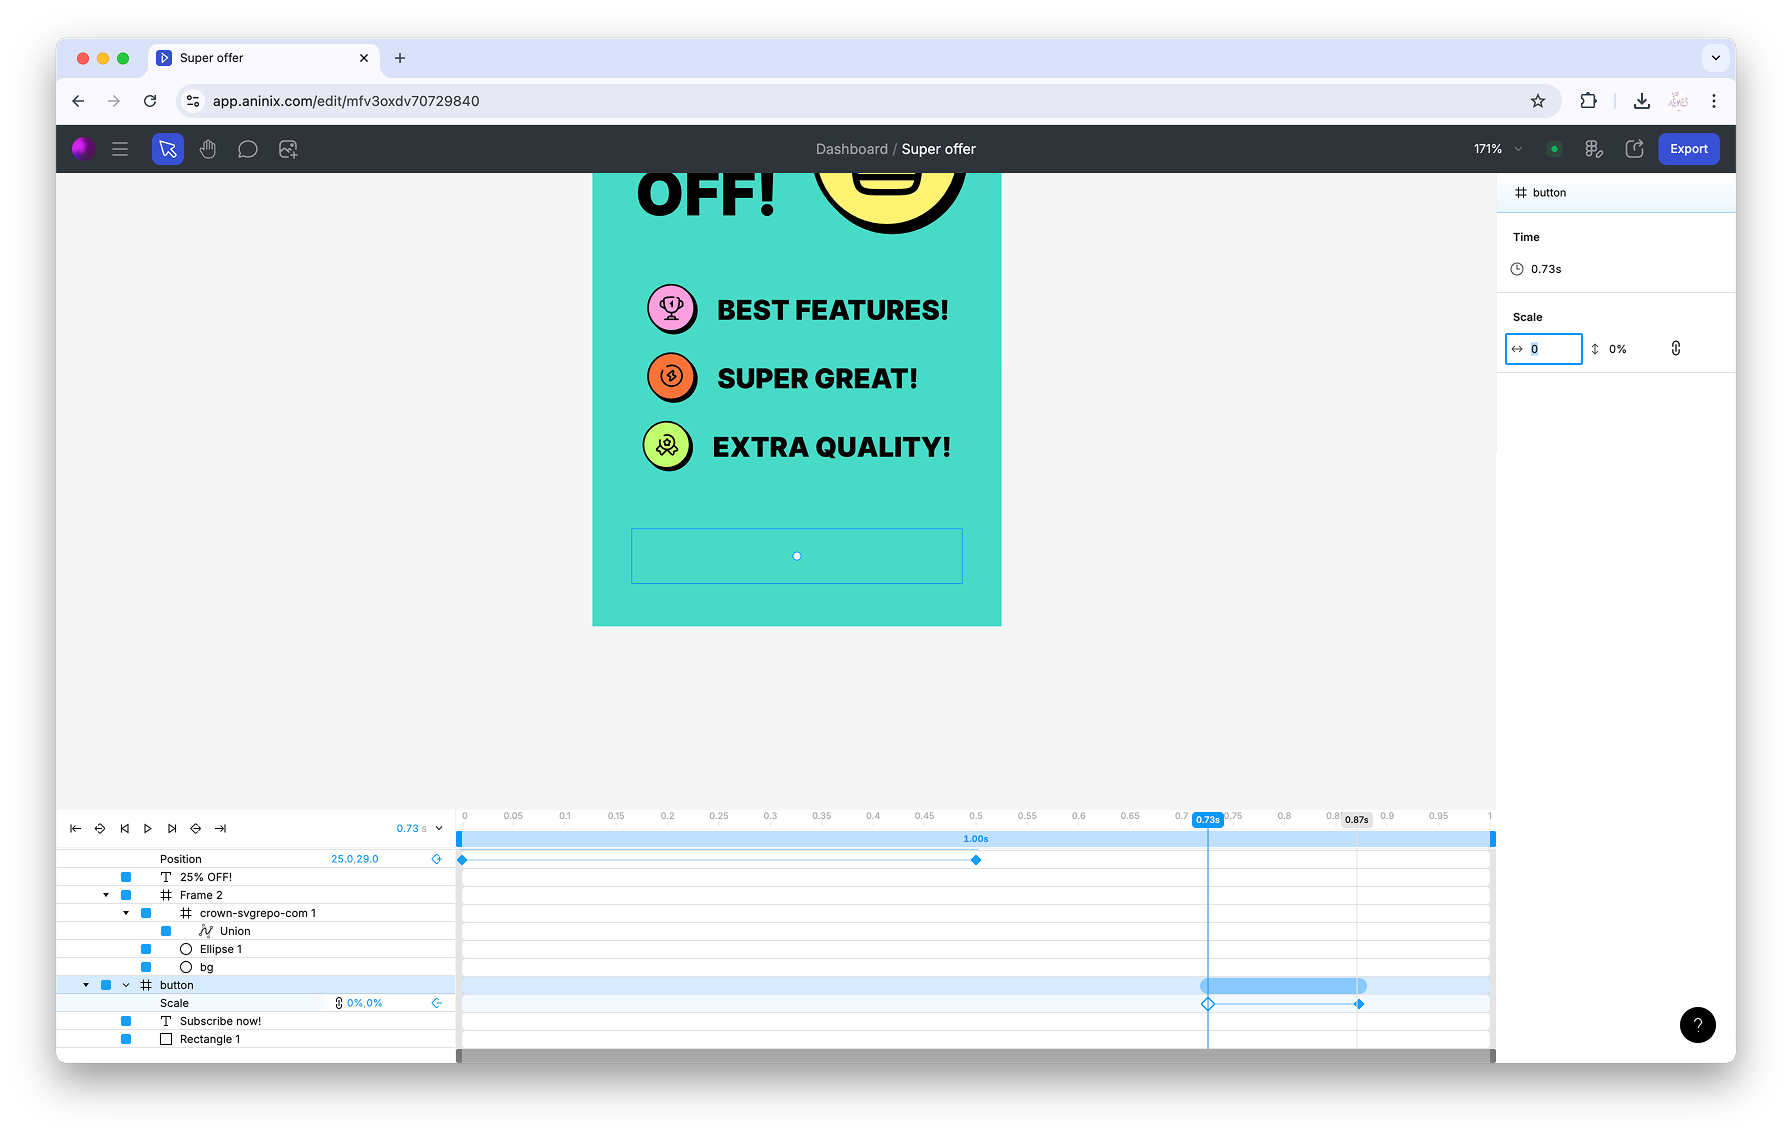
## Step 4: Working with Position Animation
### Creating Position Keyframes
For more complex animations, you might want to animate position:
1. **Select your element** and create position keyframes
2. **Add a second position keyframe** at a different time
3. **Adjust the position values** to create movement
### Managing Multiple Elements
When animating multiple items:
1. **Create position keyframes for each item**
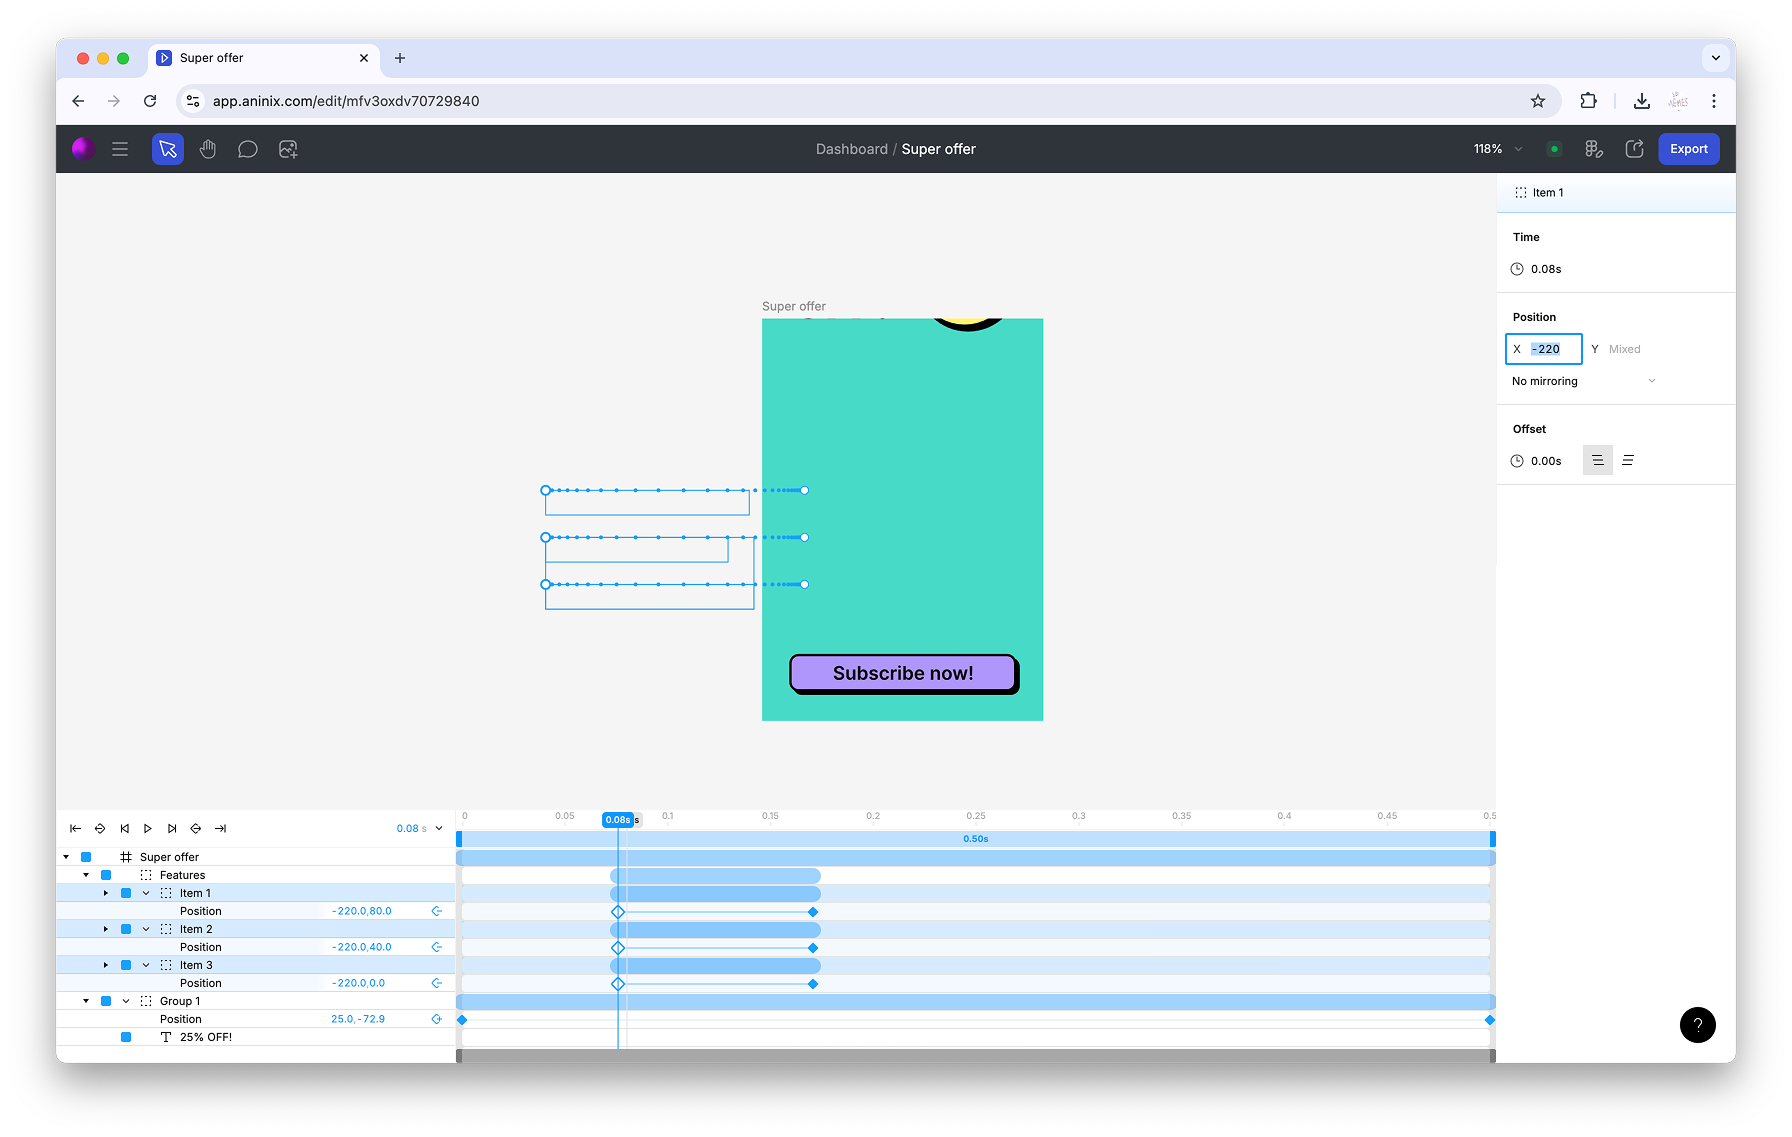
2. **Offset keyframes** to create staggered animations
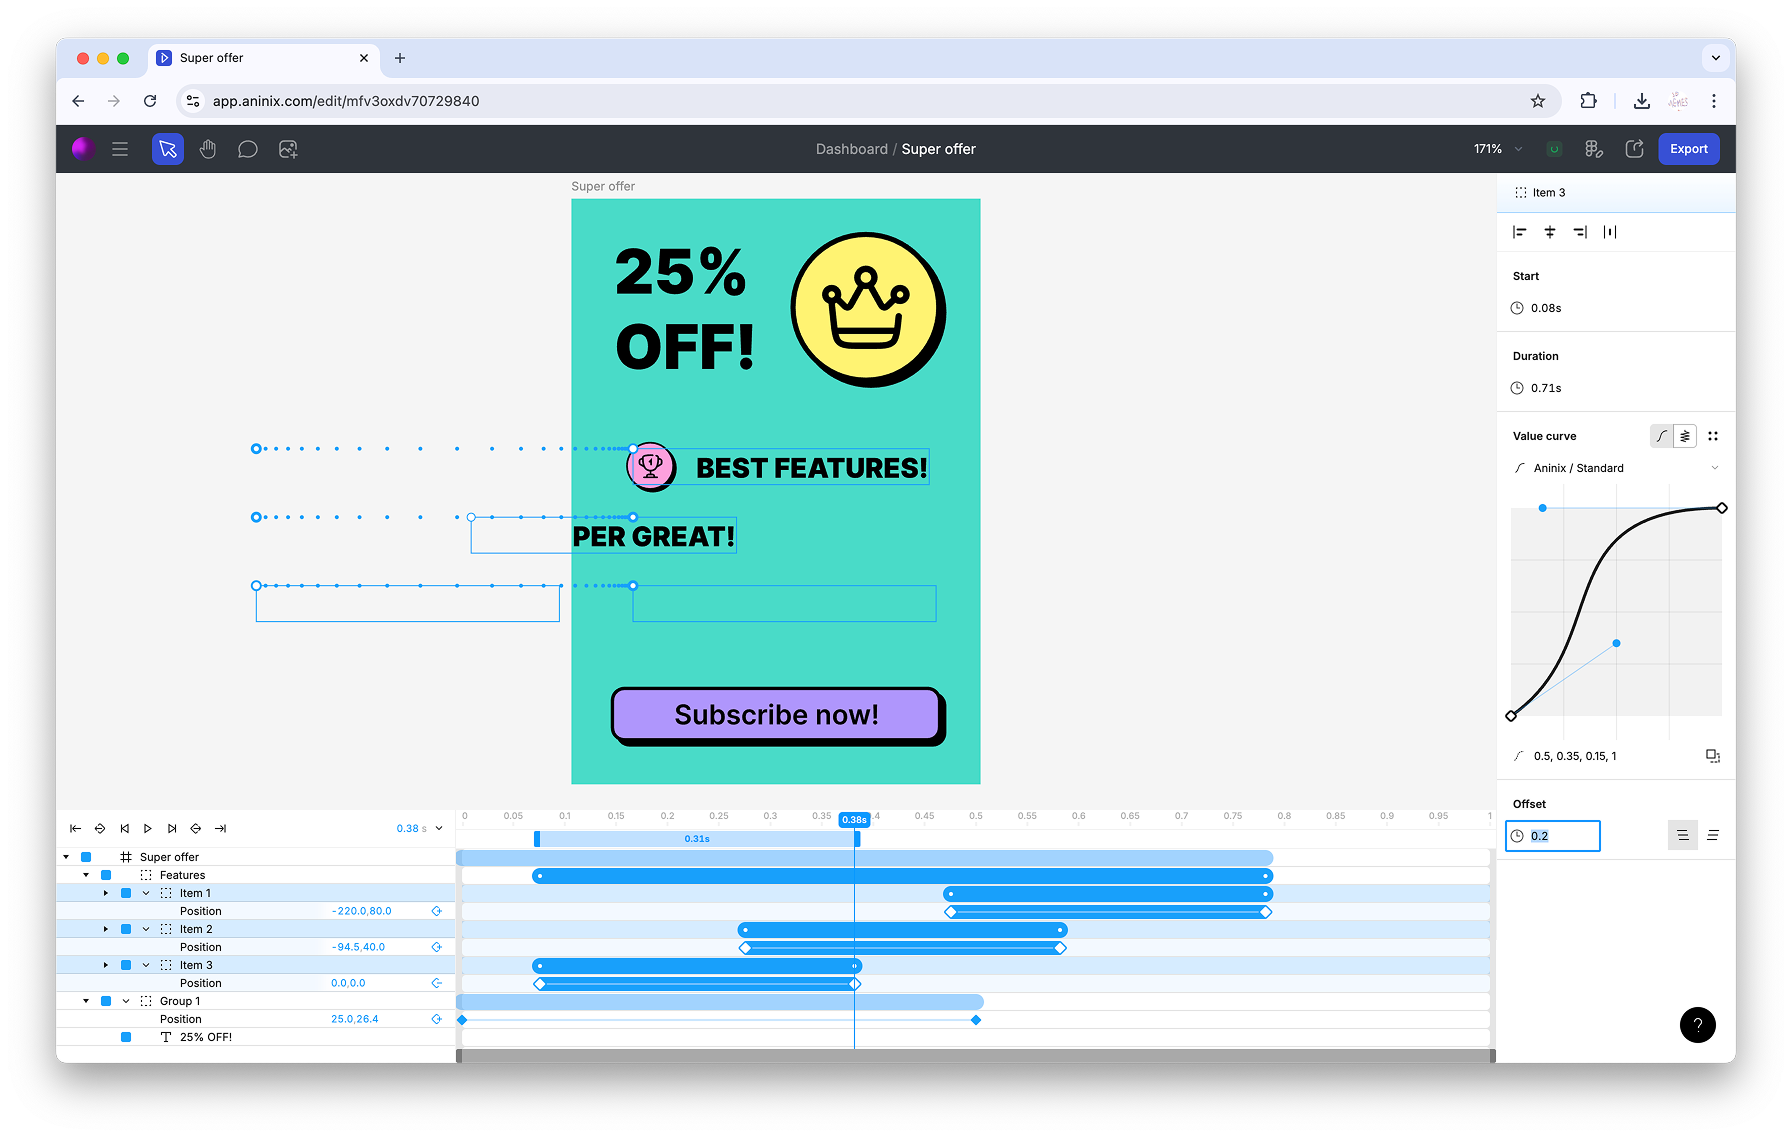
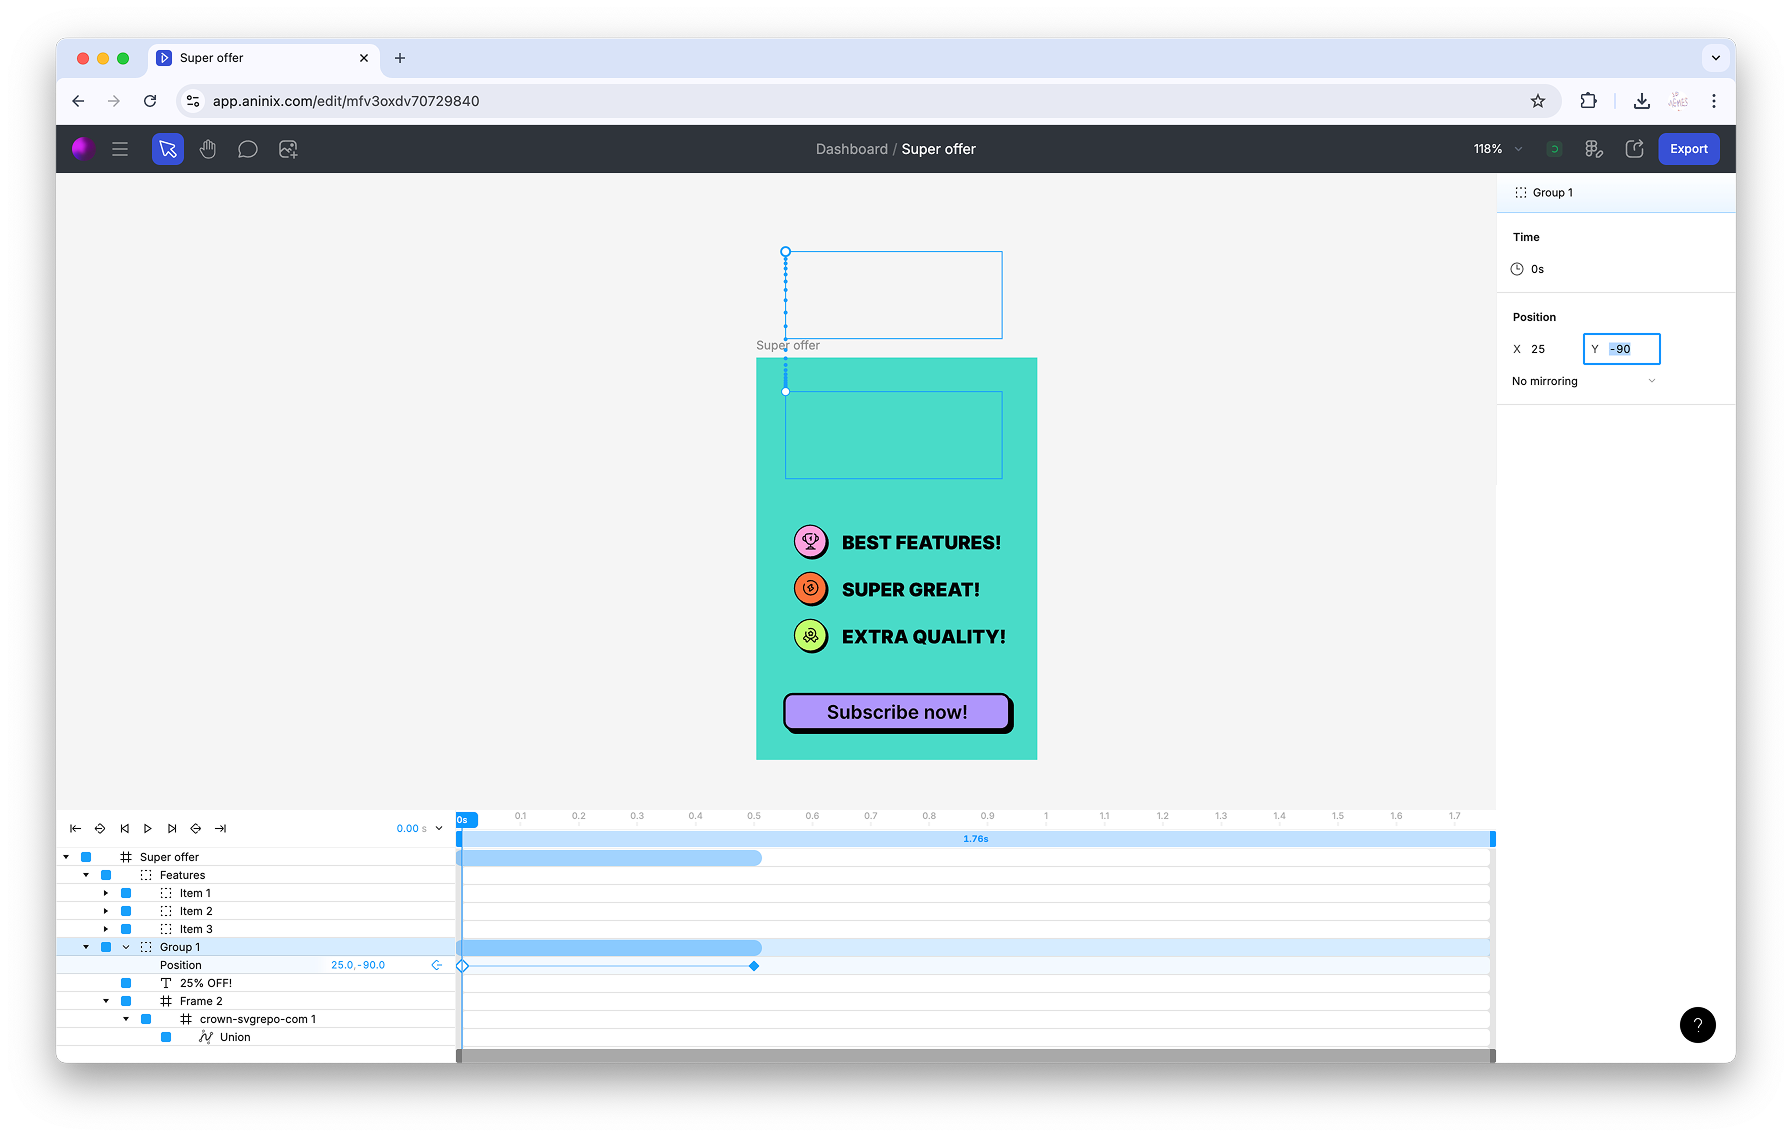
## Step 5: Fine-tuning Your Animation
### Adjusting Anchor Points
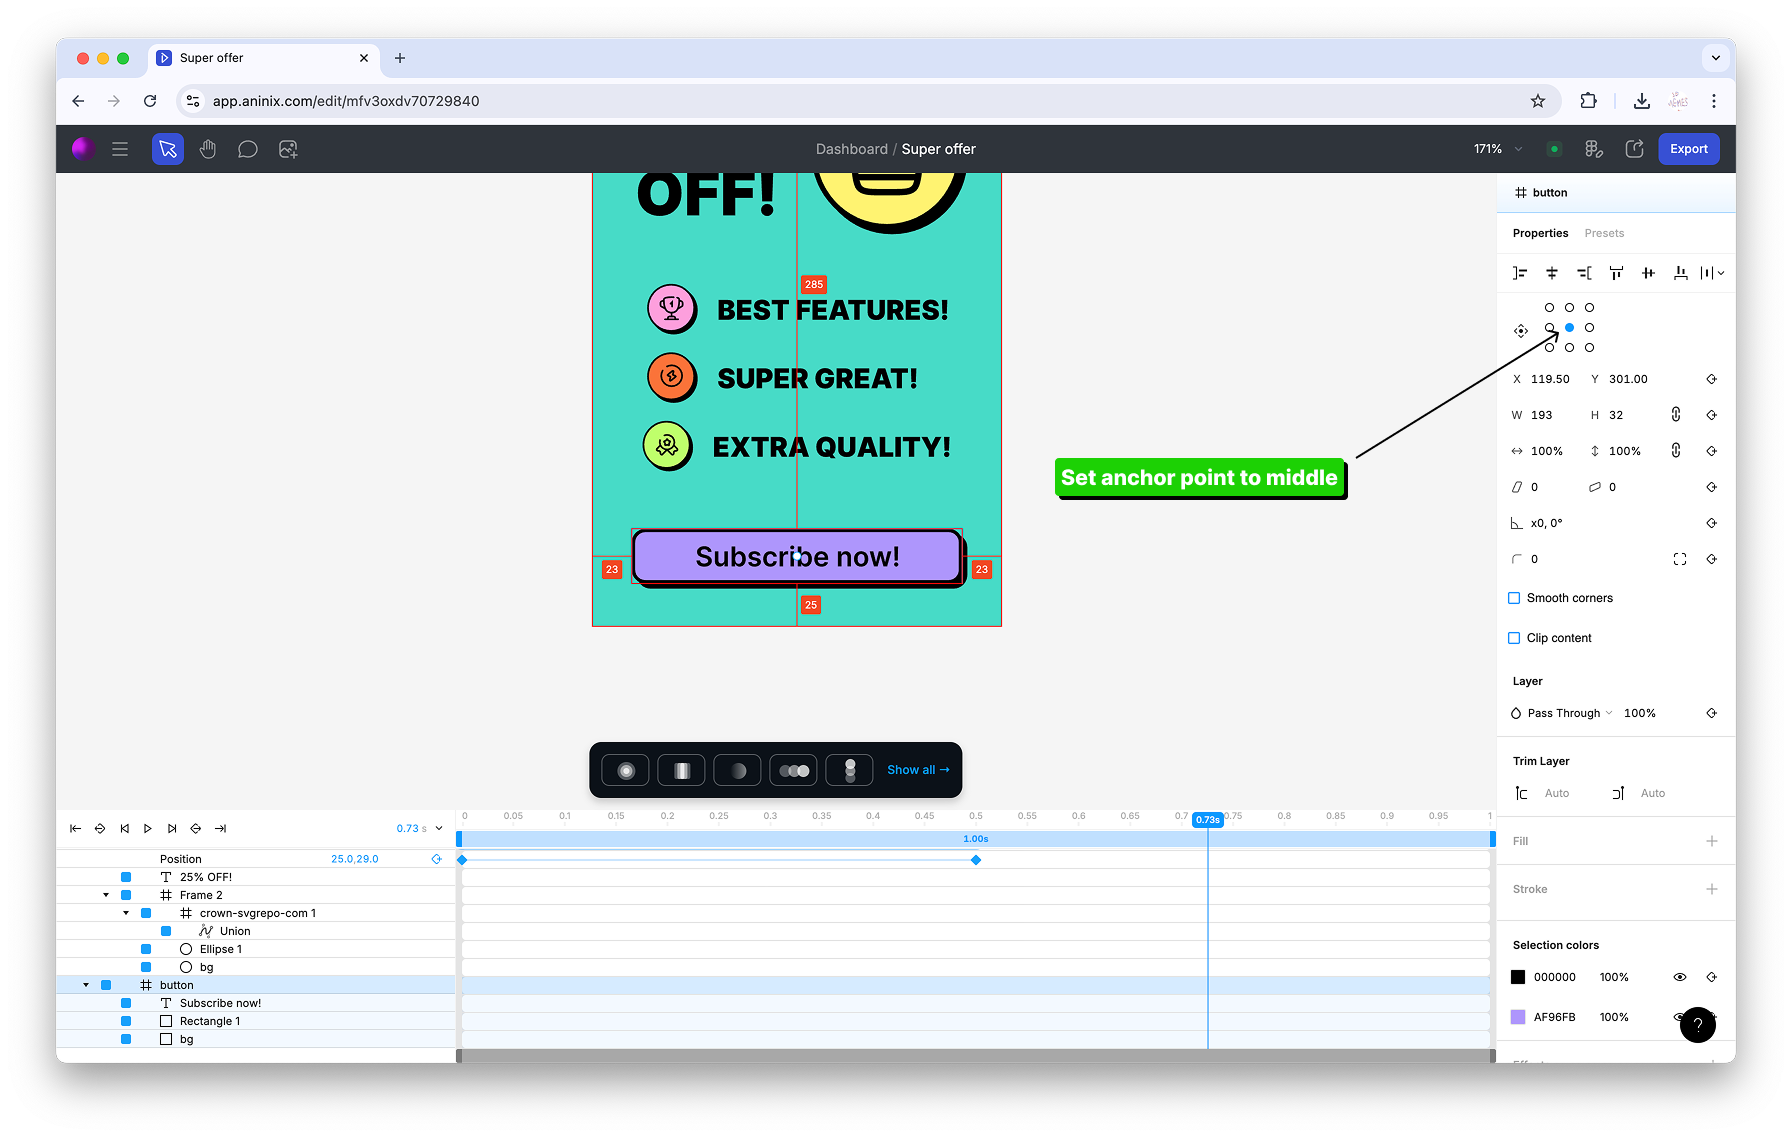
For scale and rotation animations, anchor points are crucial:
1. **Select your layer**
2. **Change the anchor point** to control the center of transformation
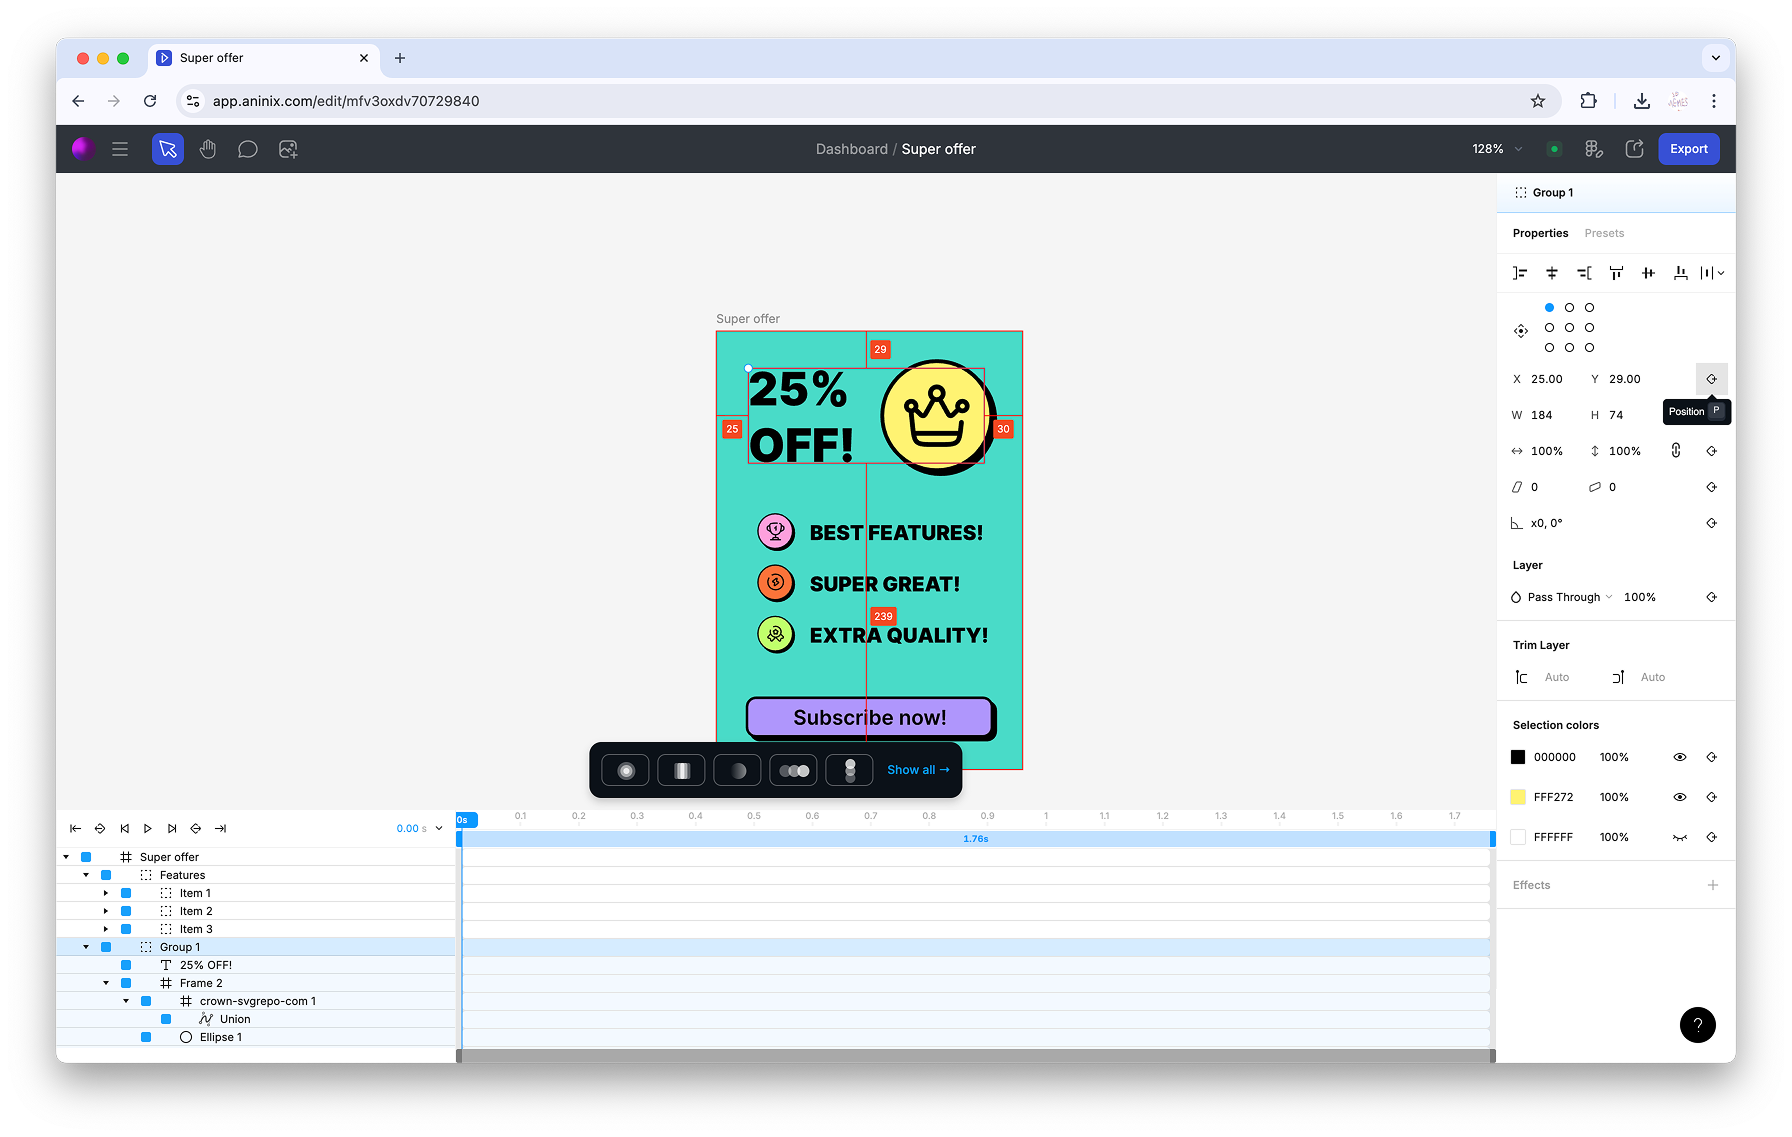
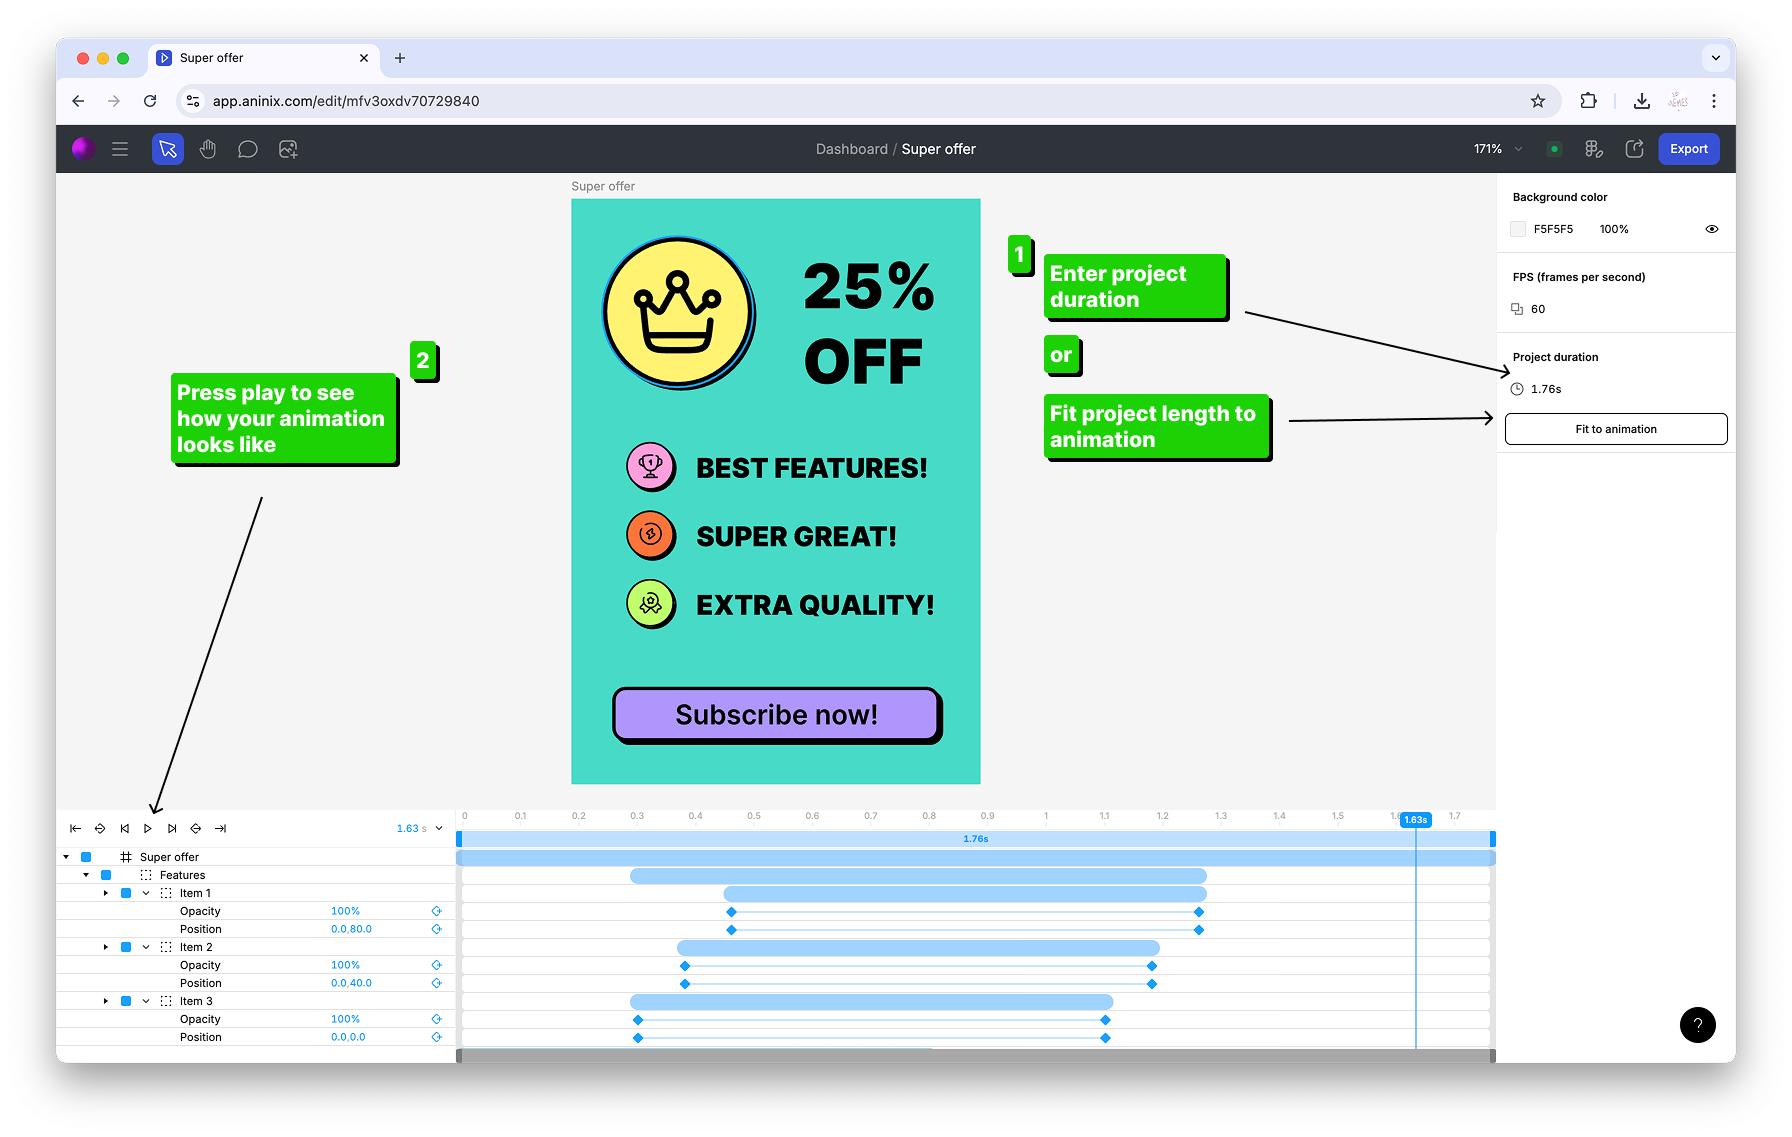
### Fitting Your Project
Make sure your animation fits well within the canvas:
## Step 6: Previewing Your Animation
### Real-time Preview
Aninix provides real-time preview capabilities:
1. **Click the play button** in the timeline controls
2. **Watch your animation** play in the canvas
3. **Make adjustments** as needed and preview again
The preview system allows you to see exactly how your animation will look before exporting.
## Step 7: Exporting Your Animation
### Export Options
Aninix supports multiple export formats:

### Exporting as GIF
For quick sharing and web use:
1. **Click the Export button**
2. **Select GIF format**
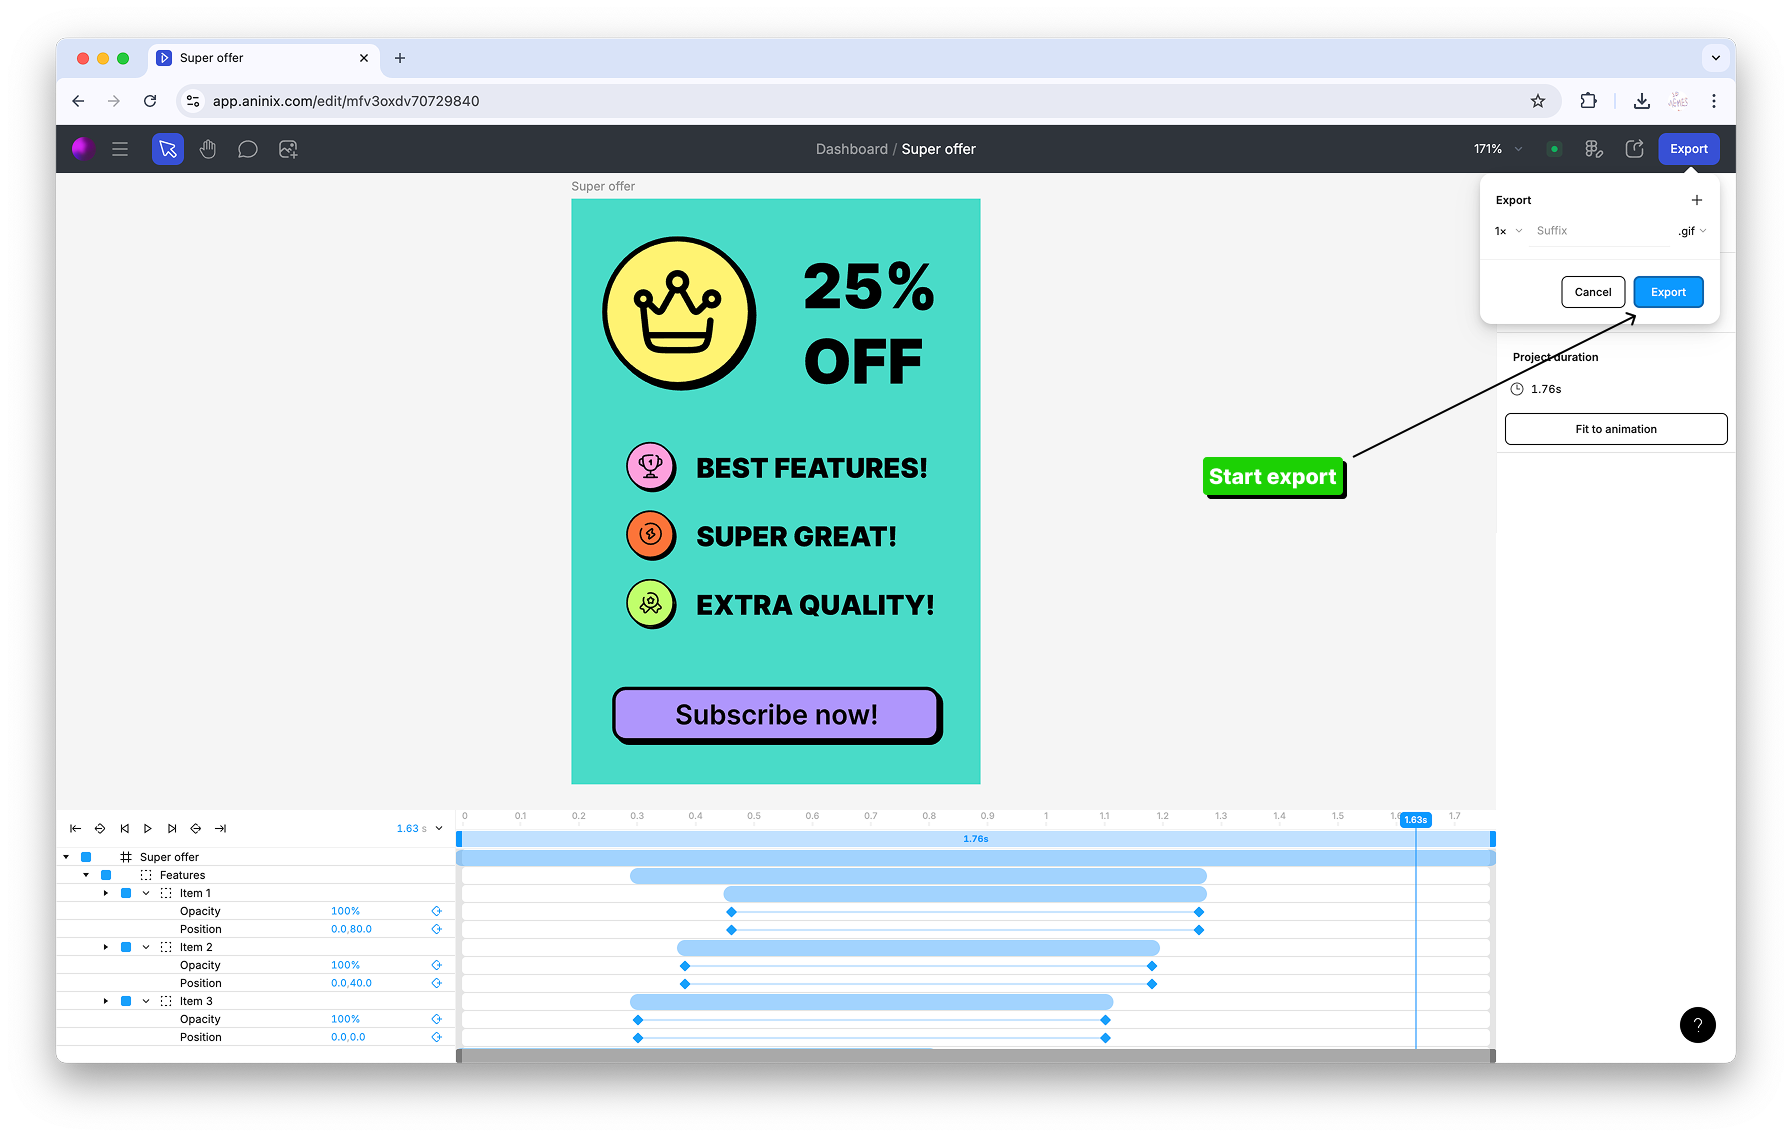
3. **Configure your export settings**

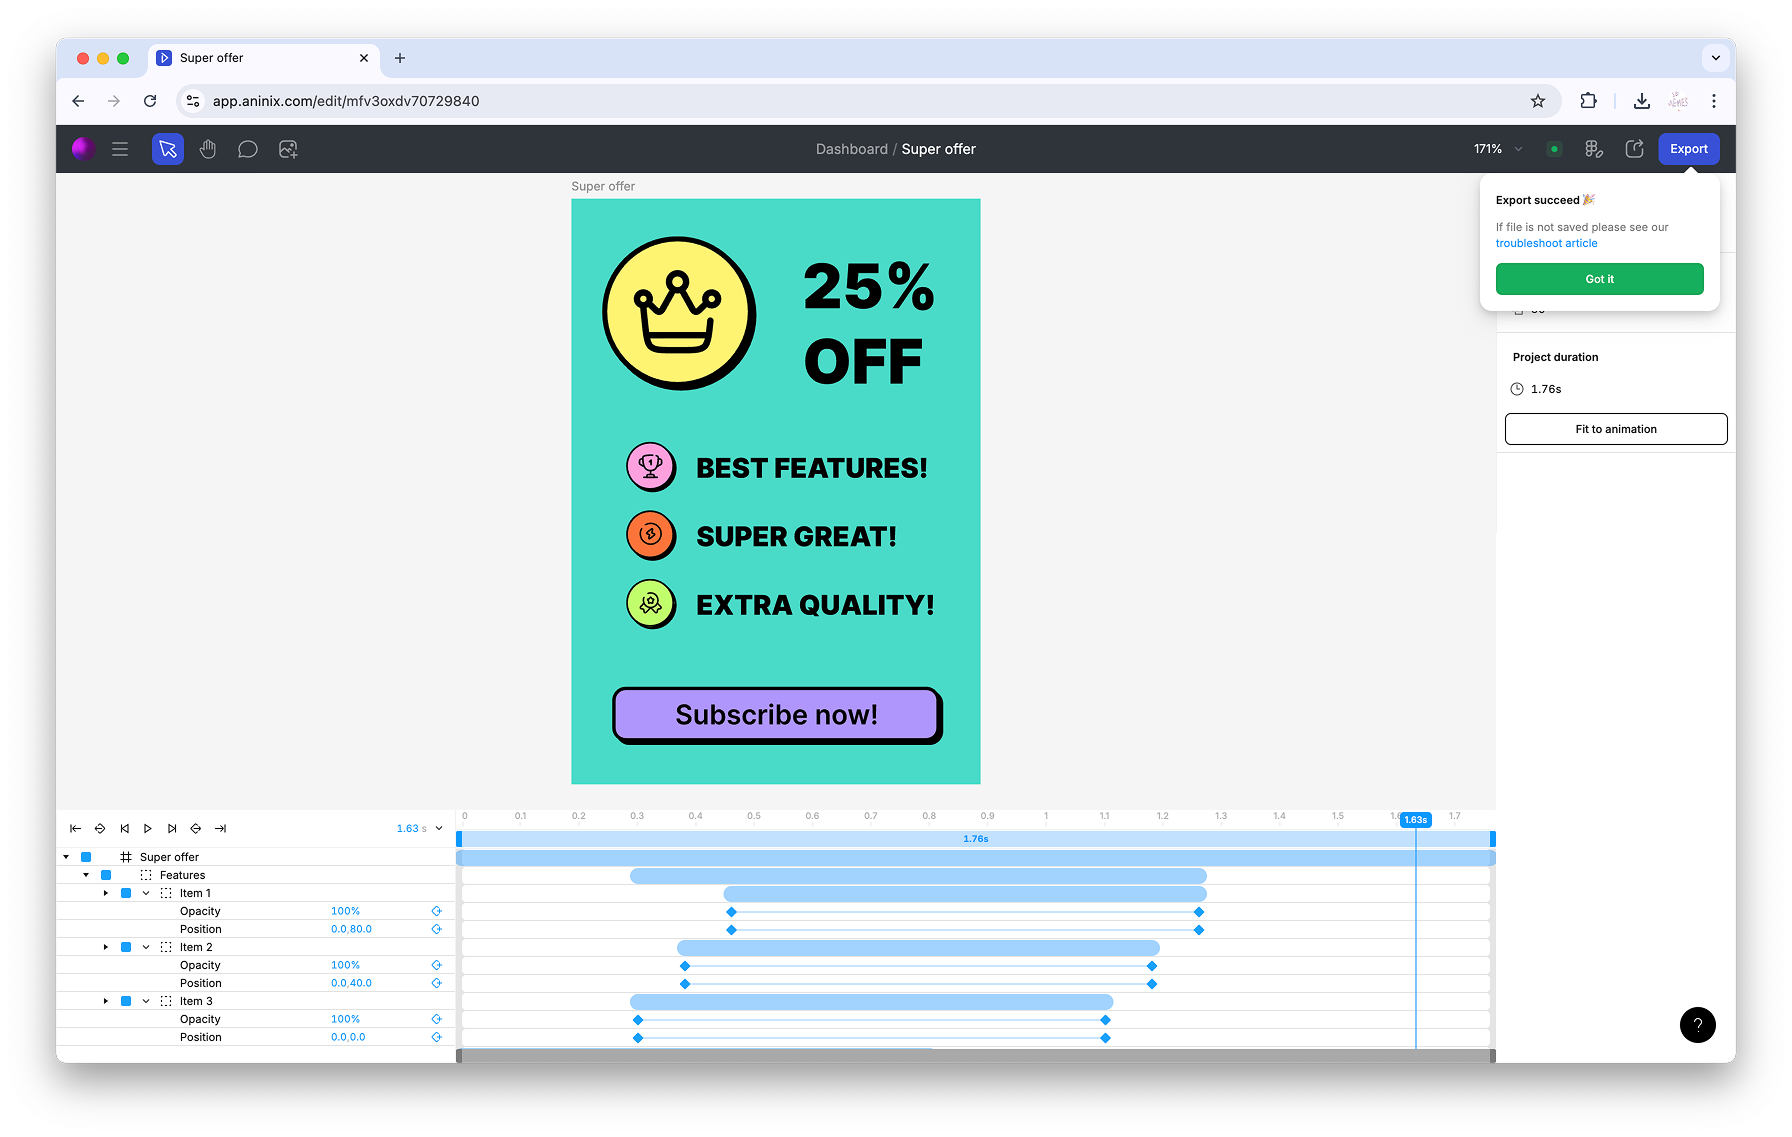
4. **Export and download** your animation

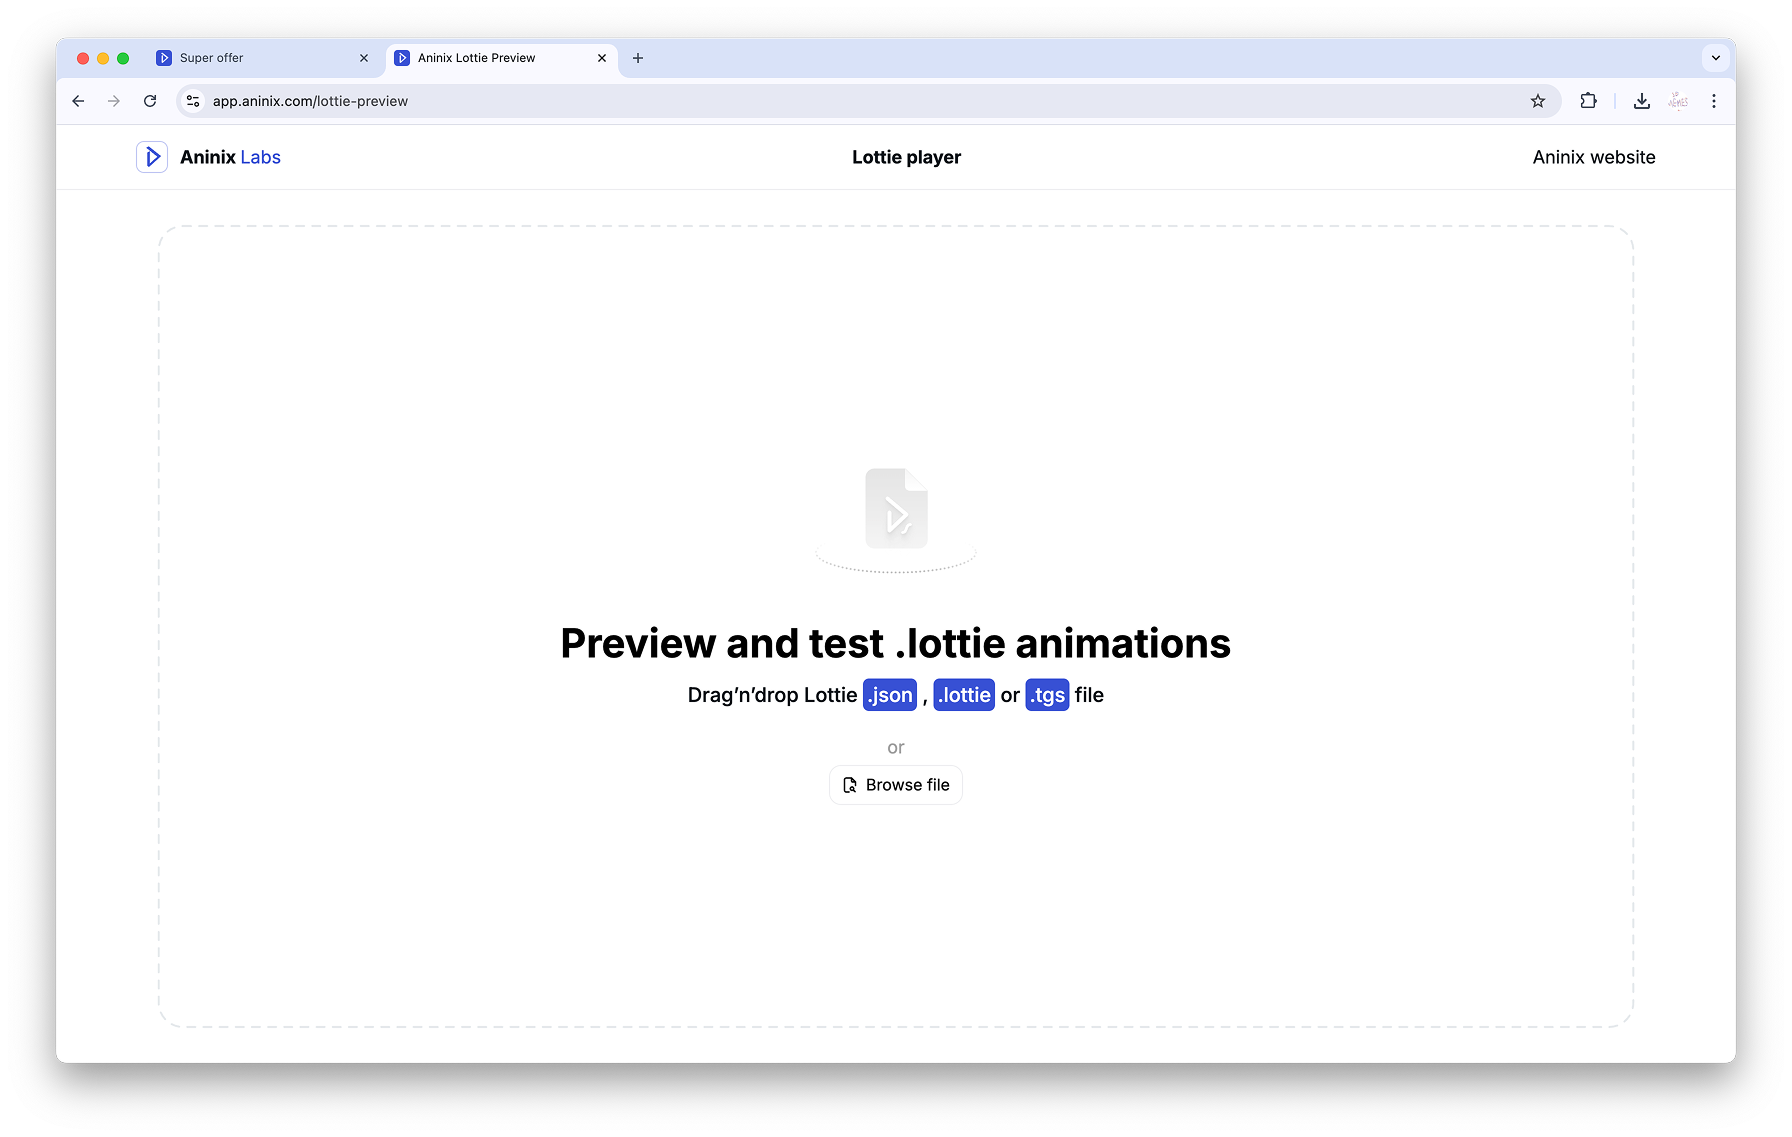
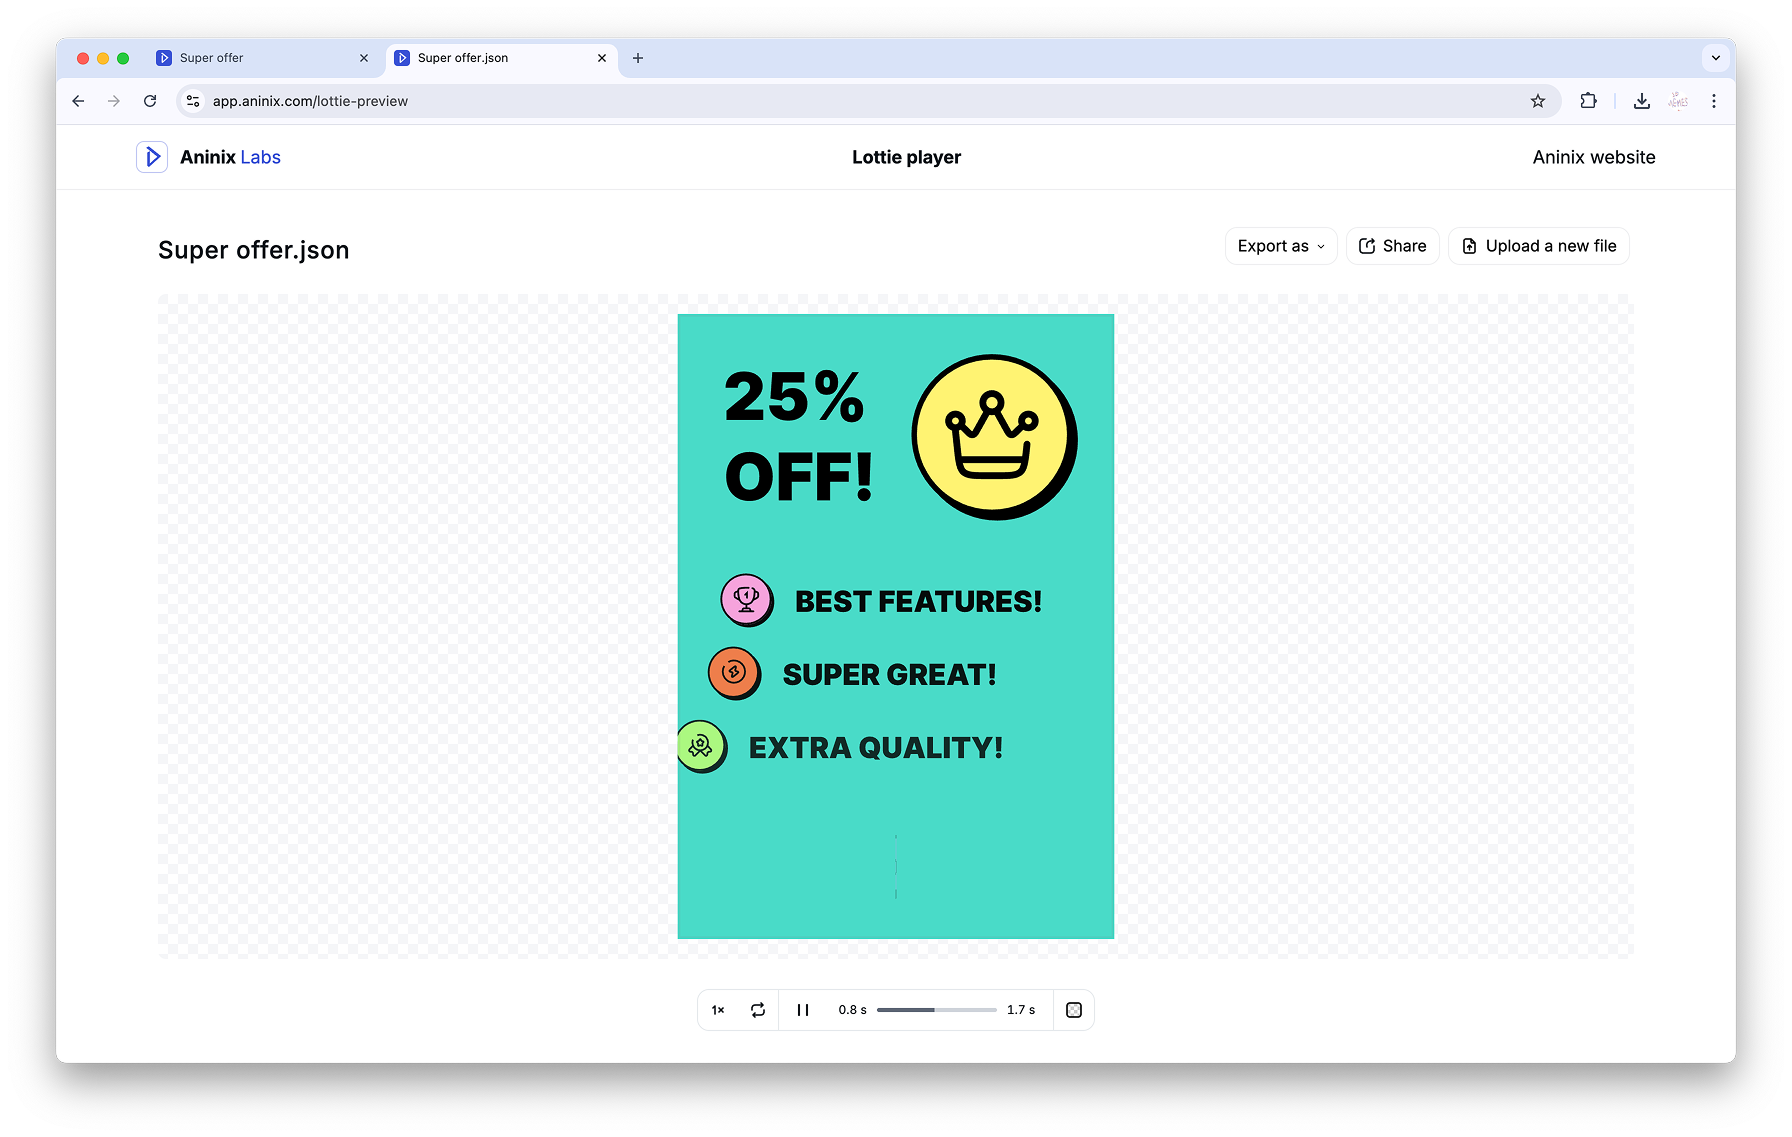
### Exporting as Lottie
For web and app integration:
1. **Select Lottie format** from the export options

2. **Preview your Lottie file**
## Step 8: Managing Your Projects
### Syncing Changes
One of Aninix's powerful features is its ability to sync changes from your Figma design:
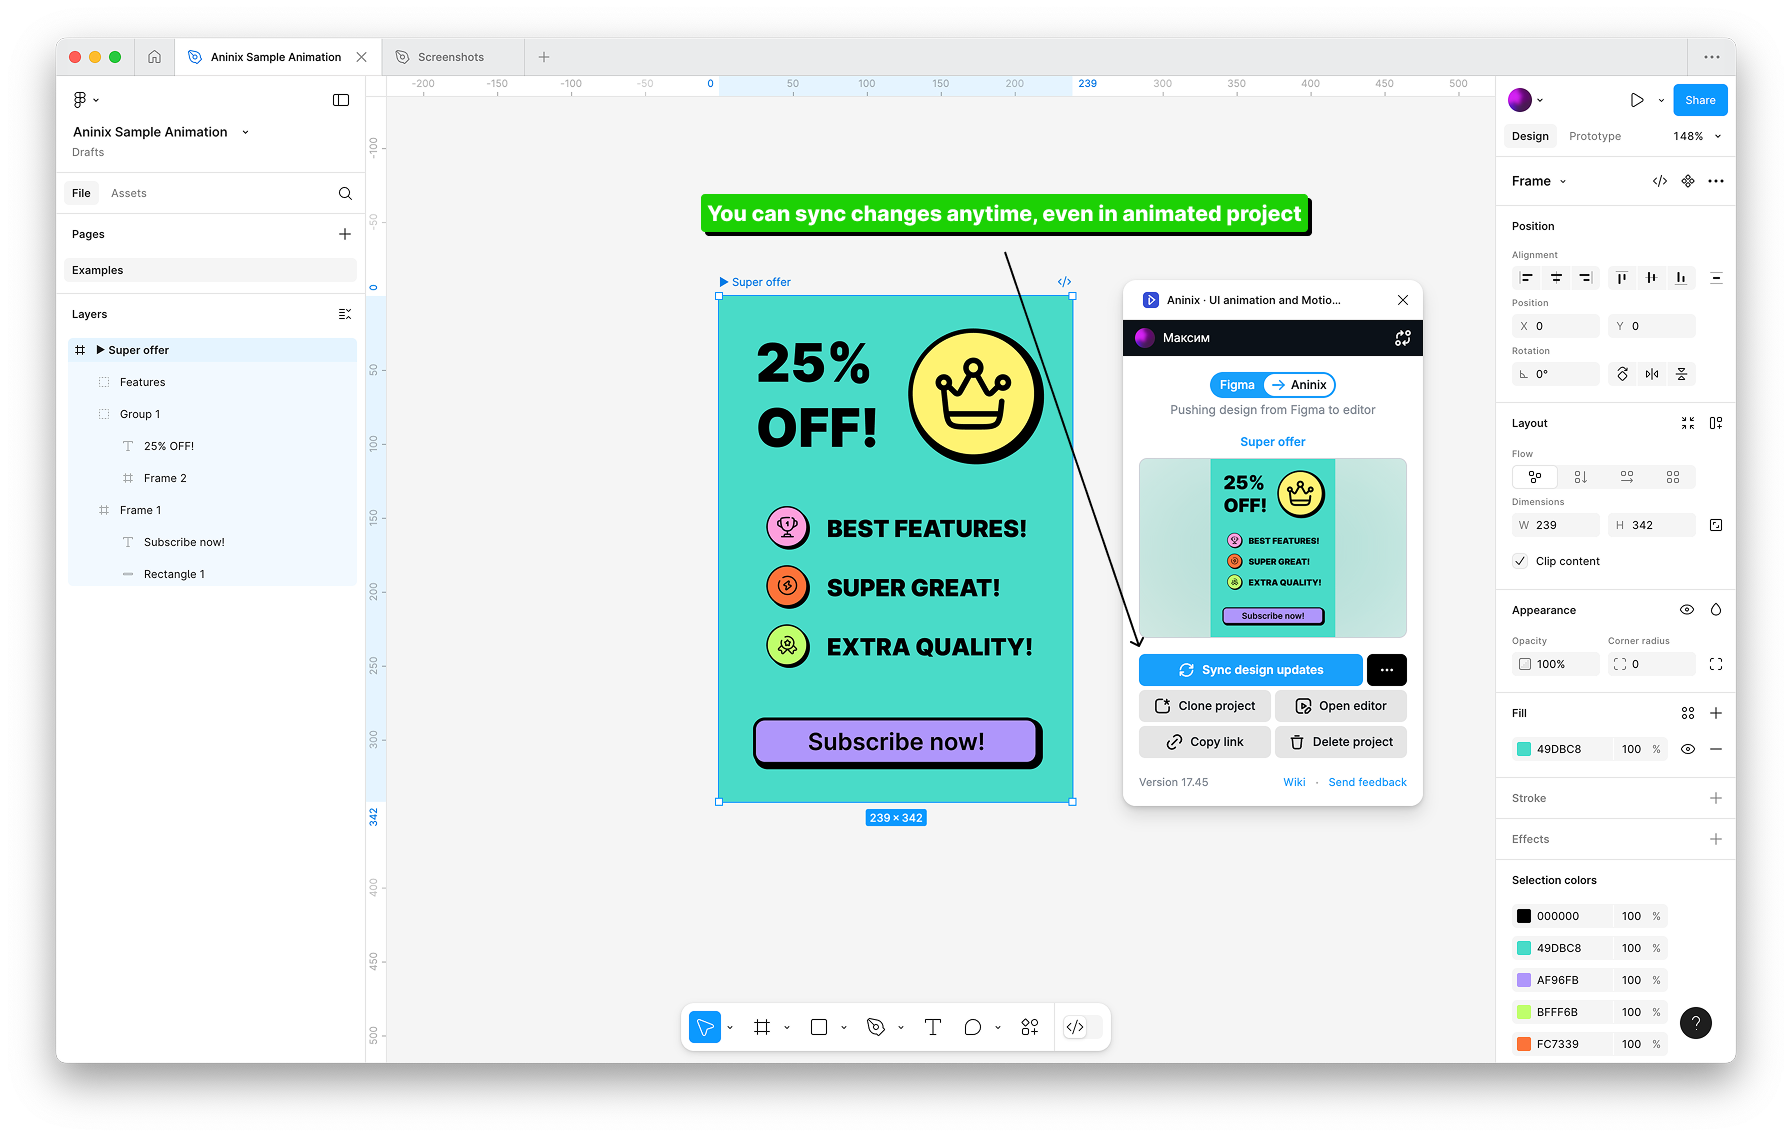
This means you can update your design in Figma and have those changes reflected in your animation without losing your keyframes.
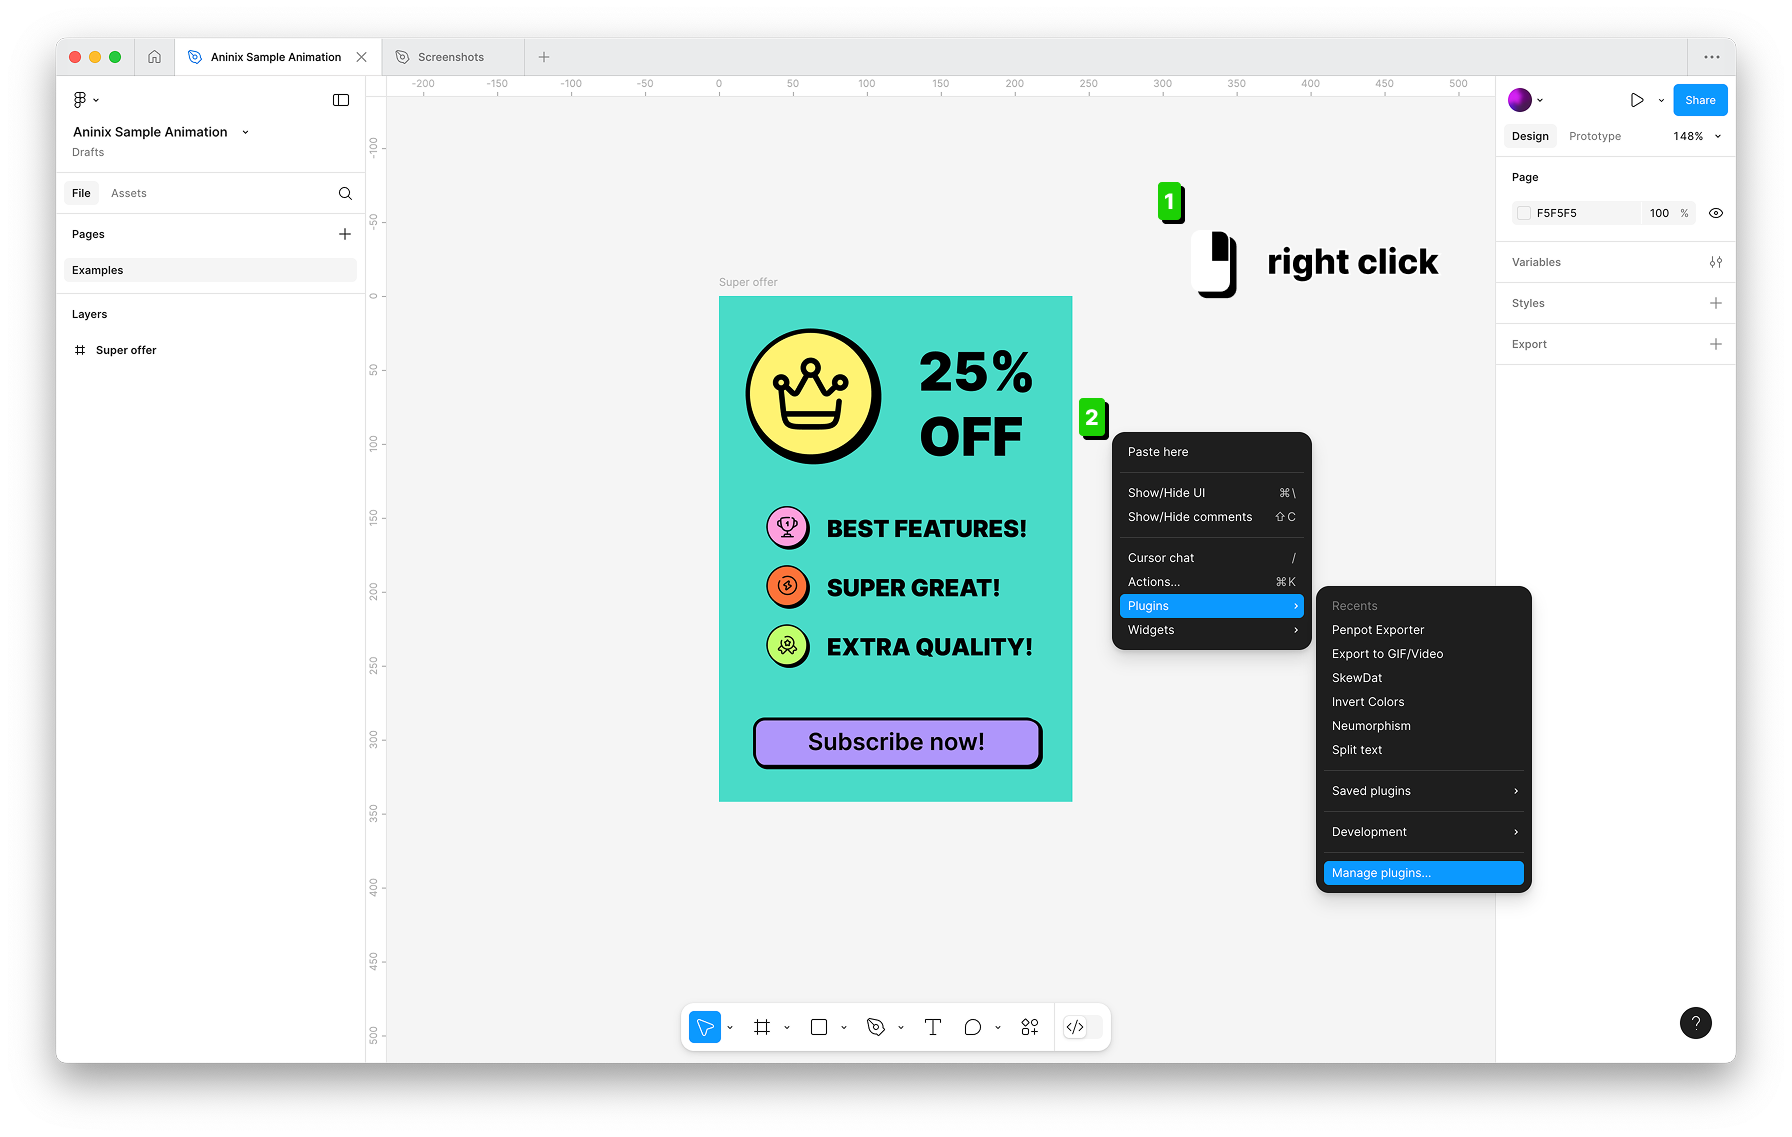
### Plugin Management
You can manage your Aninix plugin settings:
## Best Practices for Your First Animation
### Keep It Simple
- Start with basic properties like opacity, scale, or position
- Use 2-3 keyframes maximum for your first animation
- Keep animation duration between 0.3-0.8 seconds for UI elements
### Timing and Easing
- Use consistent timing across similar elements
- Apply gentle easing for natural motion
- Preview frequently to ensure smooth playback
### Performance Considerations
- Keep file sizes reasonable for web use
- Use Lottie for scalable, interactive animations
- Use GIF for simple preview purposes
## Troubleshooting Common Issues
### Animation Not Playing
- Check that you have at least two keyframes with different values
- Ensure the timeline playhead is at the beginning
- Verify that your layer is selected
### Export Issues
- Make sure your animation duration is reasonable (under 10 seconds for GIFs)
- Check that all layers are properly imported from Figma
- Try different export formats if one isn't working
### Sync Problems
- Refresh the Aninix plugin if Figma changes aren't appearing
- Re-import your frame if major changes were made
- Check that layer names match between Figma and Aninix
## Next Steps
Congratulations! You've created your first animation with Aninix. Here are some ideas for your next animations:
1. **Button Hover Effects**: Experiment with different scale, color, and shadow animations
2. **Loading Spinners**: Create rotating elements with looping animations
3. **List Item Animations**: Try staggered animations for multiple elements
4. **Icon Animations**: Animate SVG icons with path and fill animations
## Developer Handoff
When you're ready to hand off your animation to developers:
Aninix provides code snippets and integration guides to help developers implement your animations in their projects.
## Conclusion
Creating your first animation with Aninix opens up a world of possibilities for enhancing your UI designs. The combination of Figma's design capabilities with Aninix's animation tools provides a powerful workflow for creating engaging user interfaces.
Remember to:
- Start simple and gradually add complexity
- Preview your animations frequently
- Consider the context where your animation will be used
- Export in the appropriate format for your needs
With practice, you'll be creating sophisticated animations that bring your designs to life and improve user experience.
---
*Ready to create more advanced animations? Explore our guides on keyframe animation, easing curves, and working with complex layer hierarchies.*
© 2021-2025 Aninix Inc. All rights reserved
© 2021-2025 Aninix Inc. All rights reserved
© 2021-2025 Aninix Inc. All rights reserved