# Getting Started with Aninix: Using Animation Presets
*Keywords: Aninix installation, animation presets, quick start, Figma plugin, export animation*
This quick guide will show you how to create your first animation using Aninix's built-in presets. Perfect for beginners who want to get up and running fast!
## What You'll Create
In just 6 simple steps, you'll learn to:
- Install and set up Aninix
- Apply animation presets to different layers
- Export your animation as GIF and Lottie
## Step 1: Install the Aninix Plugin
1. Open Figma
2. Go to **Plugins** → **Manage plugins** OR press **Cmd + P** (Mac) / **Ctrl + P** (Windows)
3. Search for "Aninix"
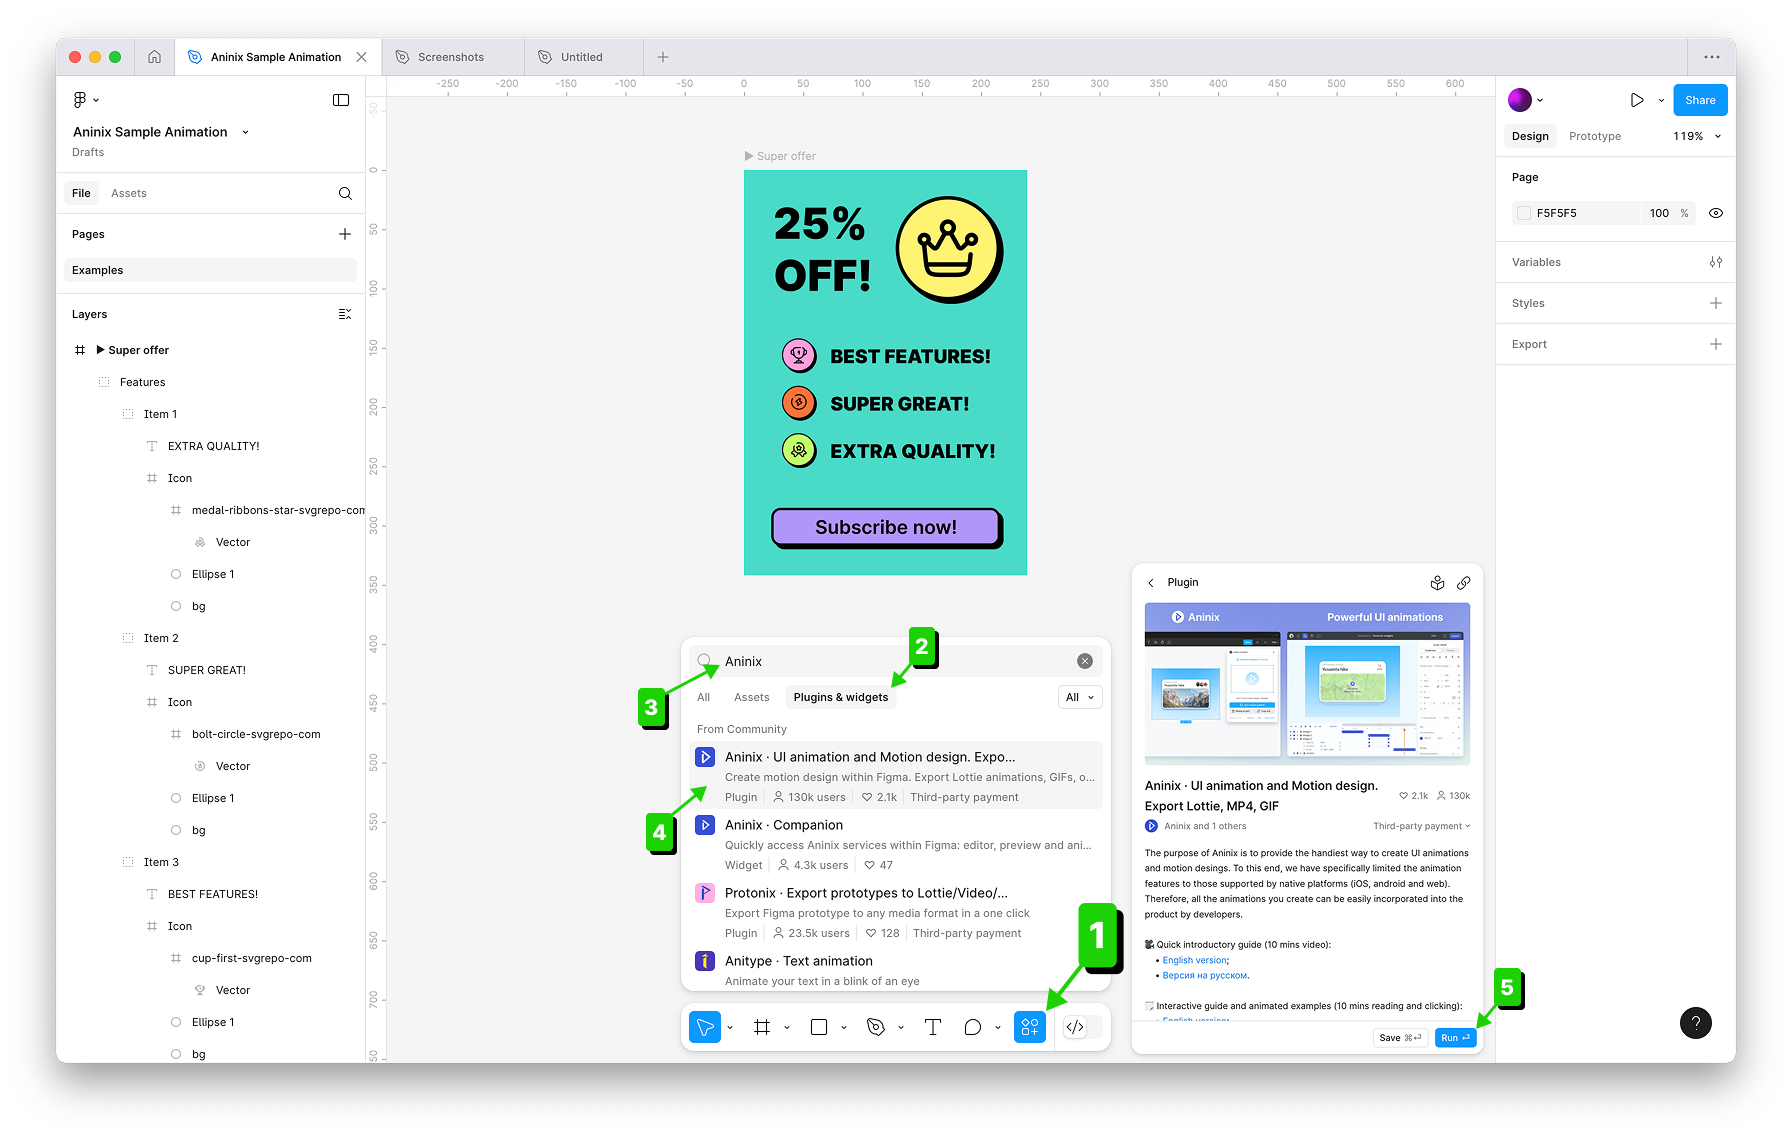
4. Click **Install** and then **Run**
## Step 2: Select Your Layers
Choose a Figma frame with multiple elements you want to animate. For this example, we'll use a design with:
- Header text
- Content items
- Button element
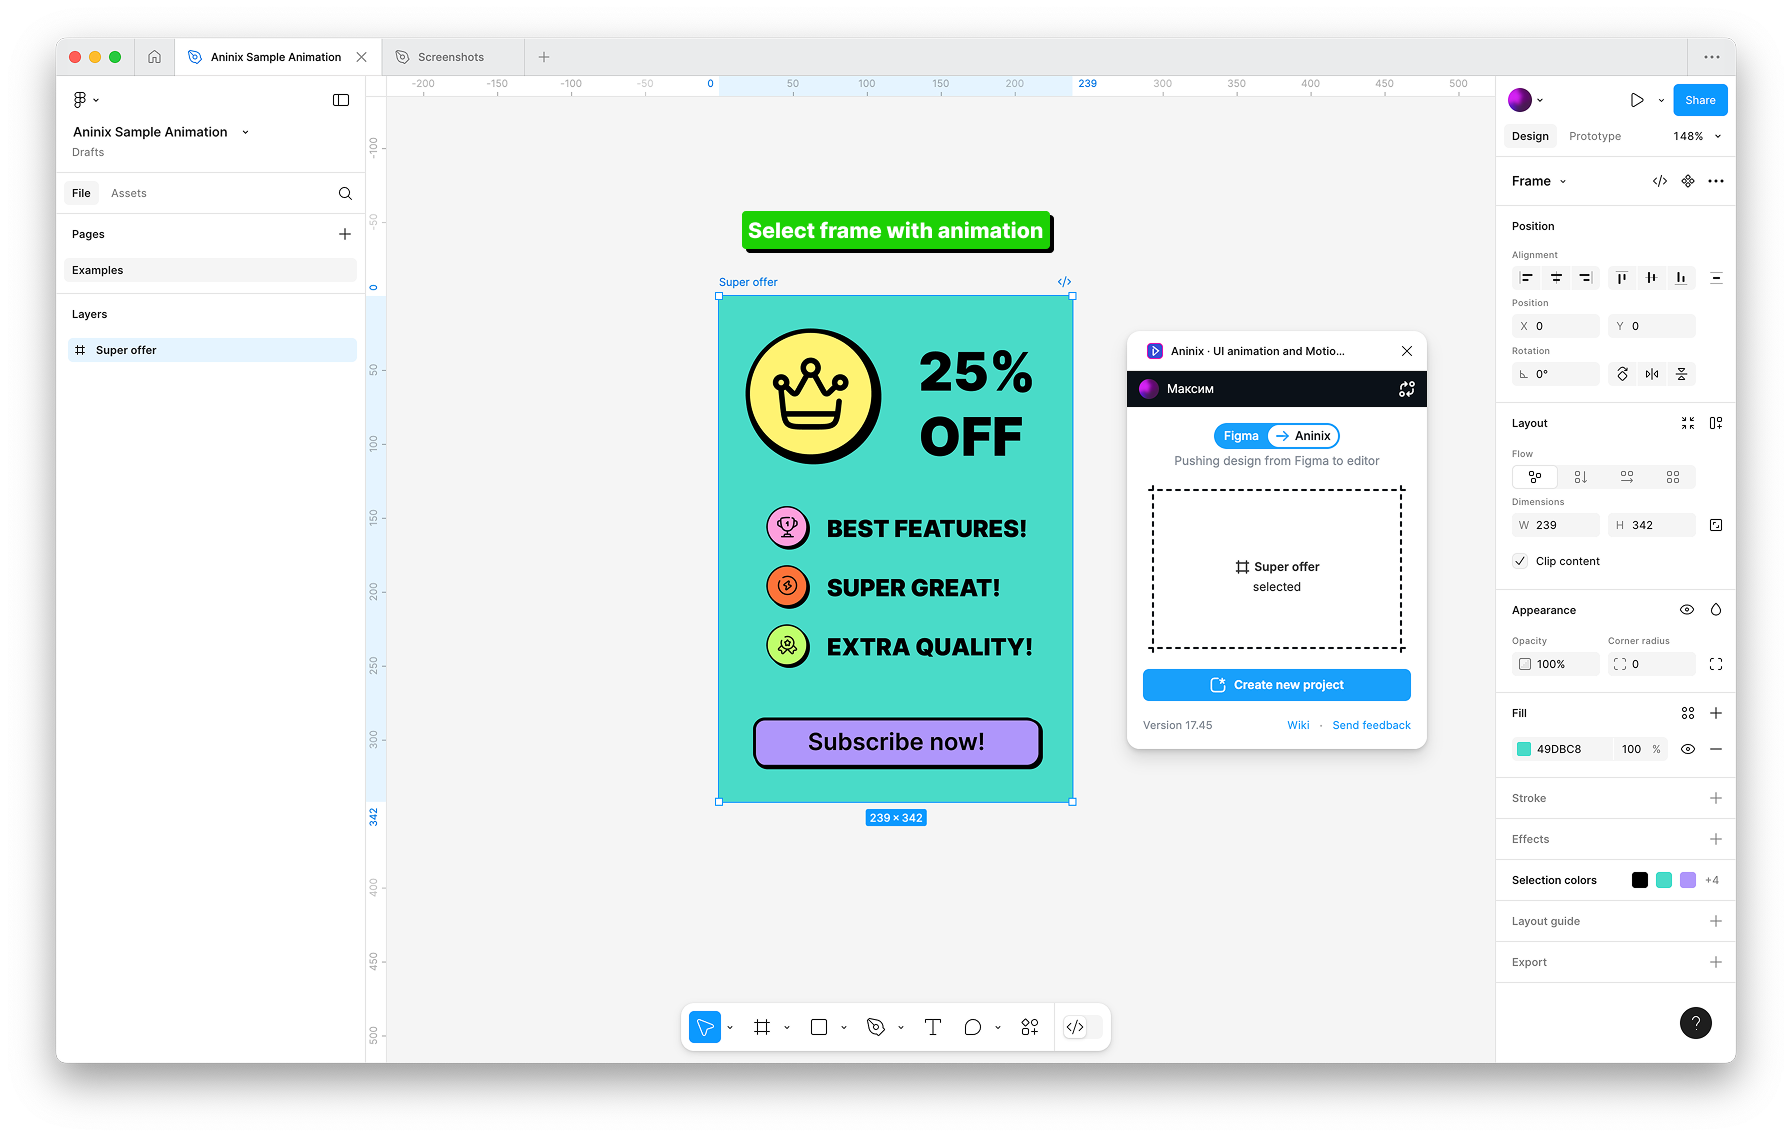
Make sure your frame is selected before opening Aninix.
## Step 3: Create Your Project
1. With your frame selected, open the Aninix plugin
2. Click **Create New Project**
3. Your design will automatically import into Aninix
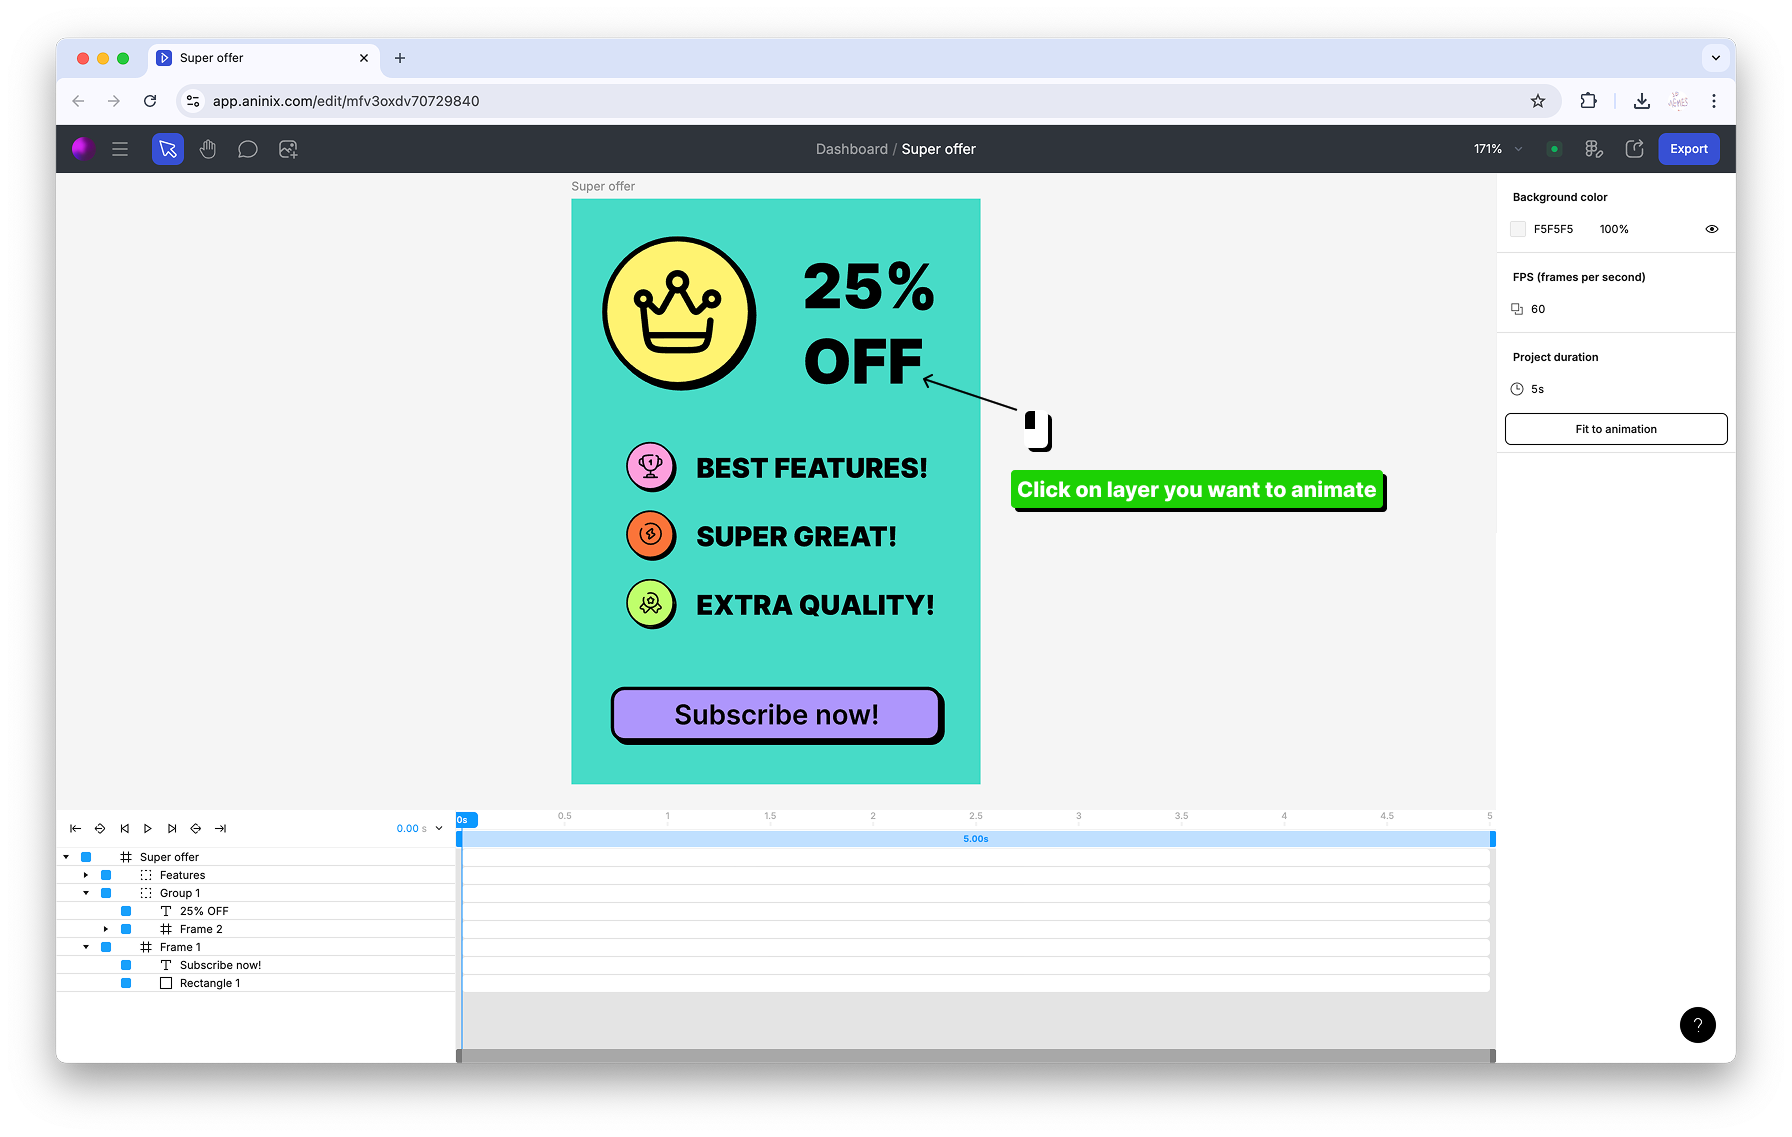
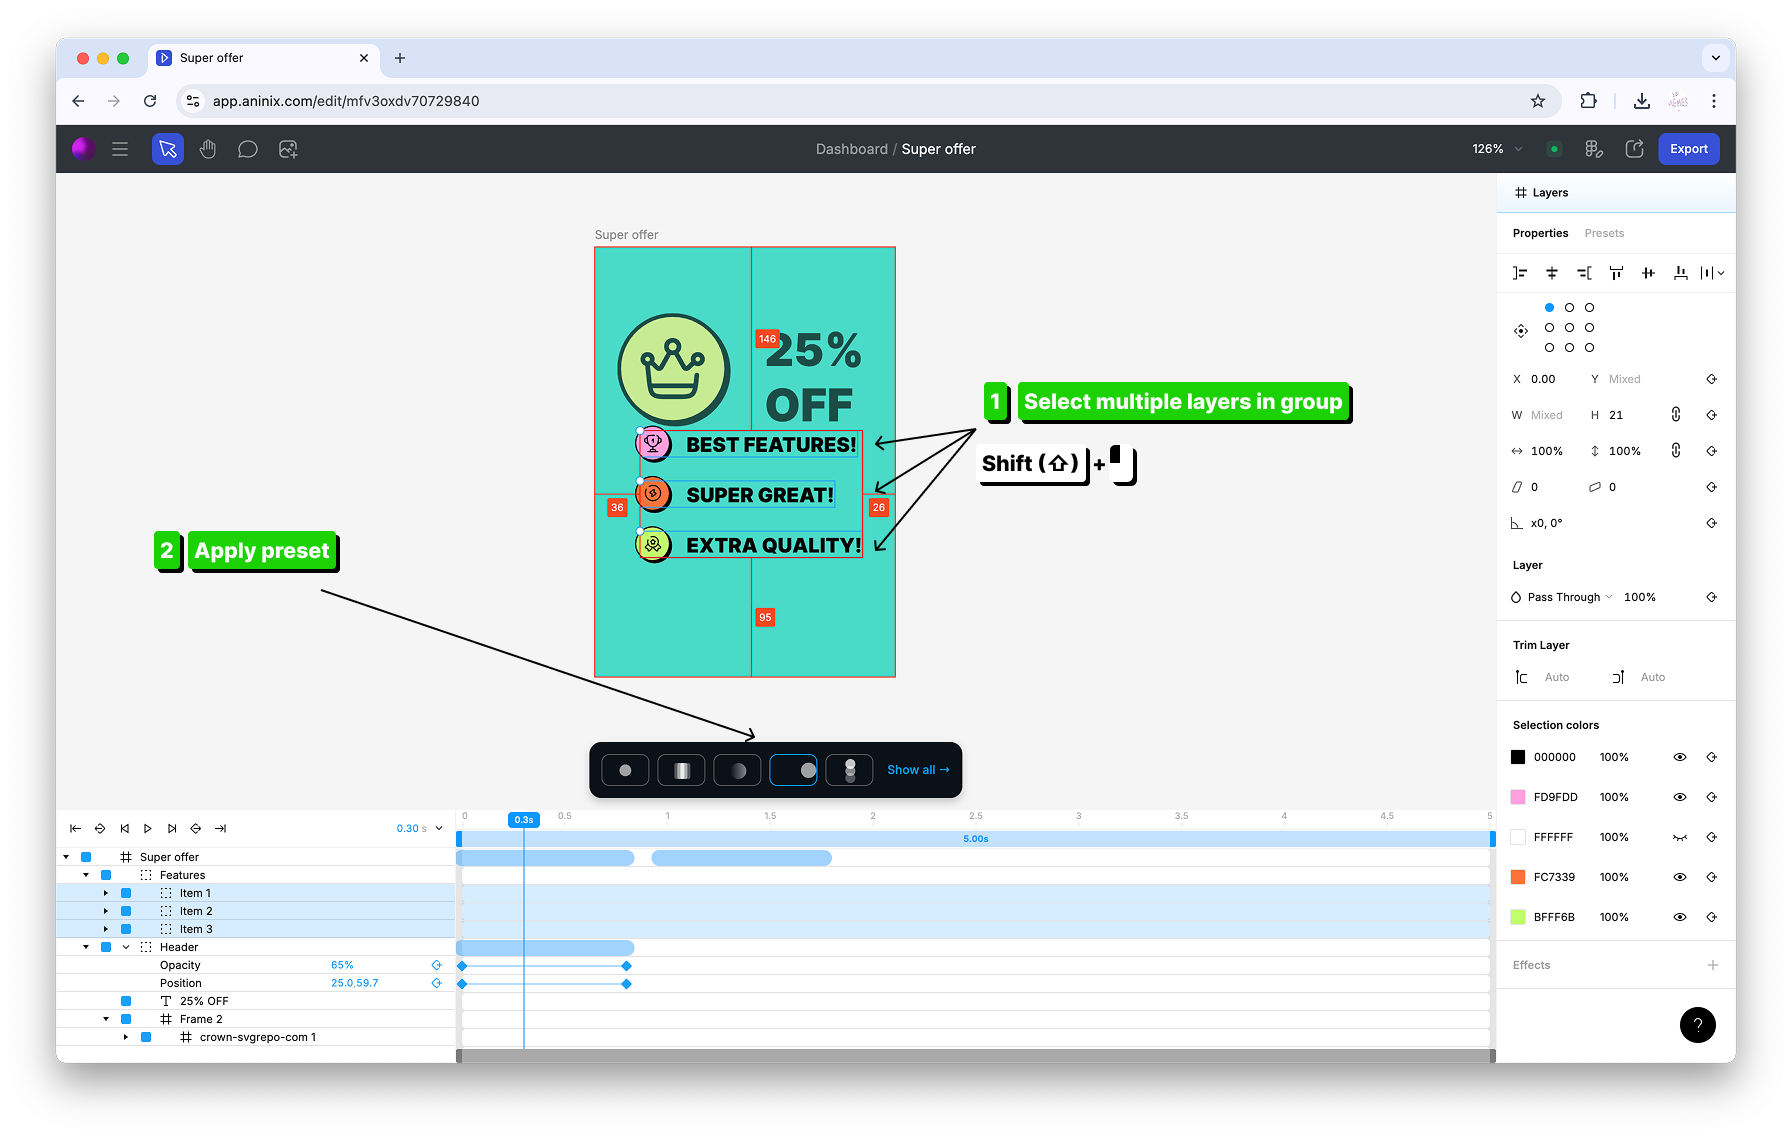
## Step 4: Apply Presets to Different Layers
Now comes the fun part! Aninix includes ready-made animation presets for different types of elements.
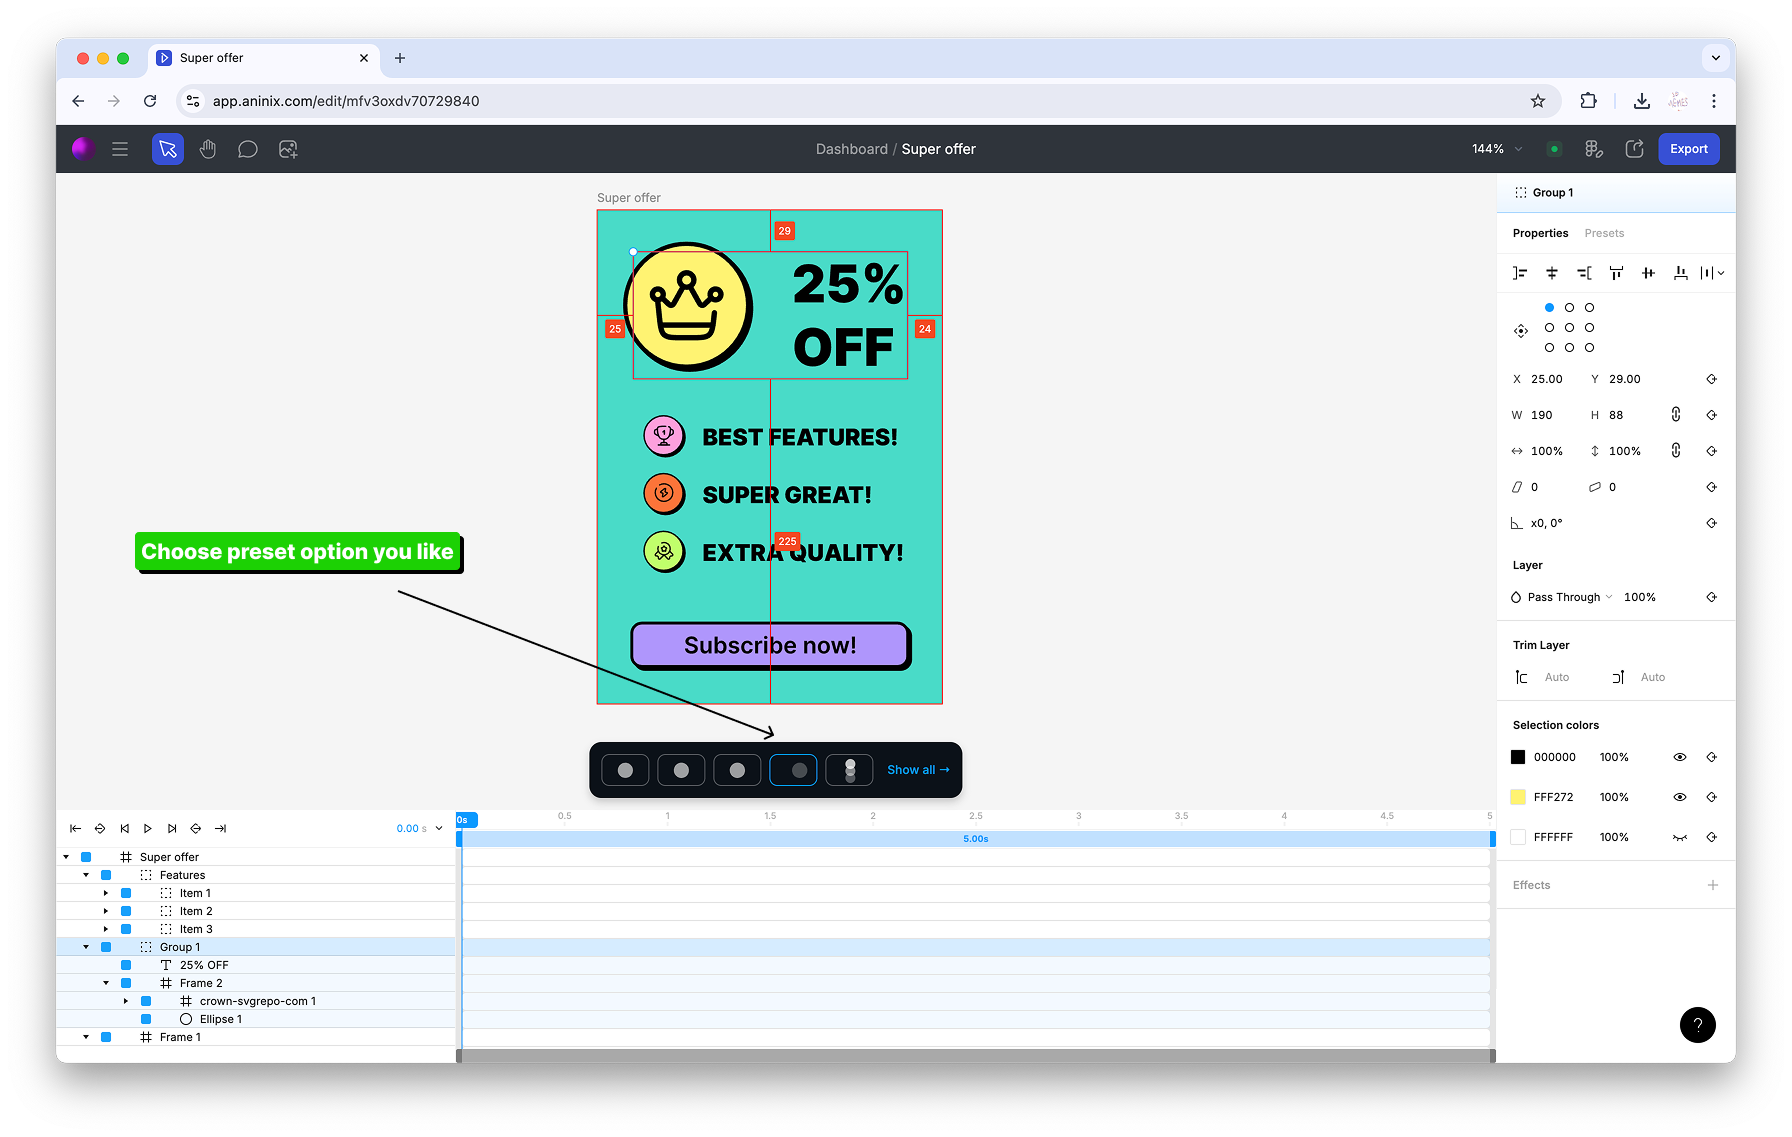
### Preset 1: Header Animation
1. Select your header element
2. Choose a preset from the animation library
### Preset 2: Content Items
1. Select your content items/list elements
2. Apply a different preset for variety
### Preset 3: Button Animation
1. Select your button or call-to-action element
2. Choose an interactive preset
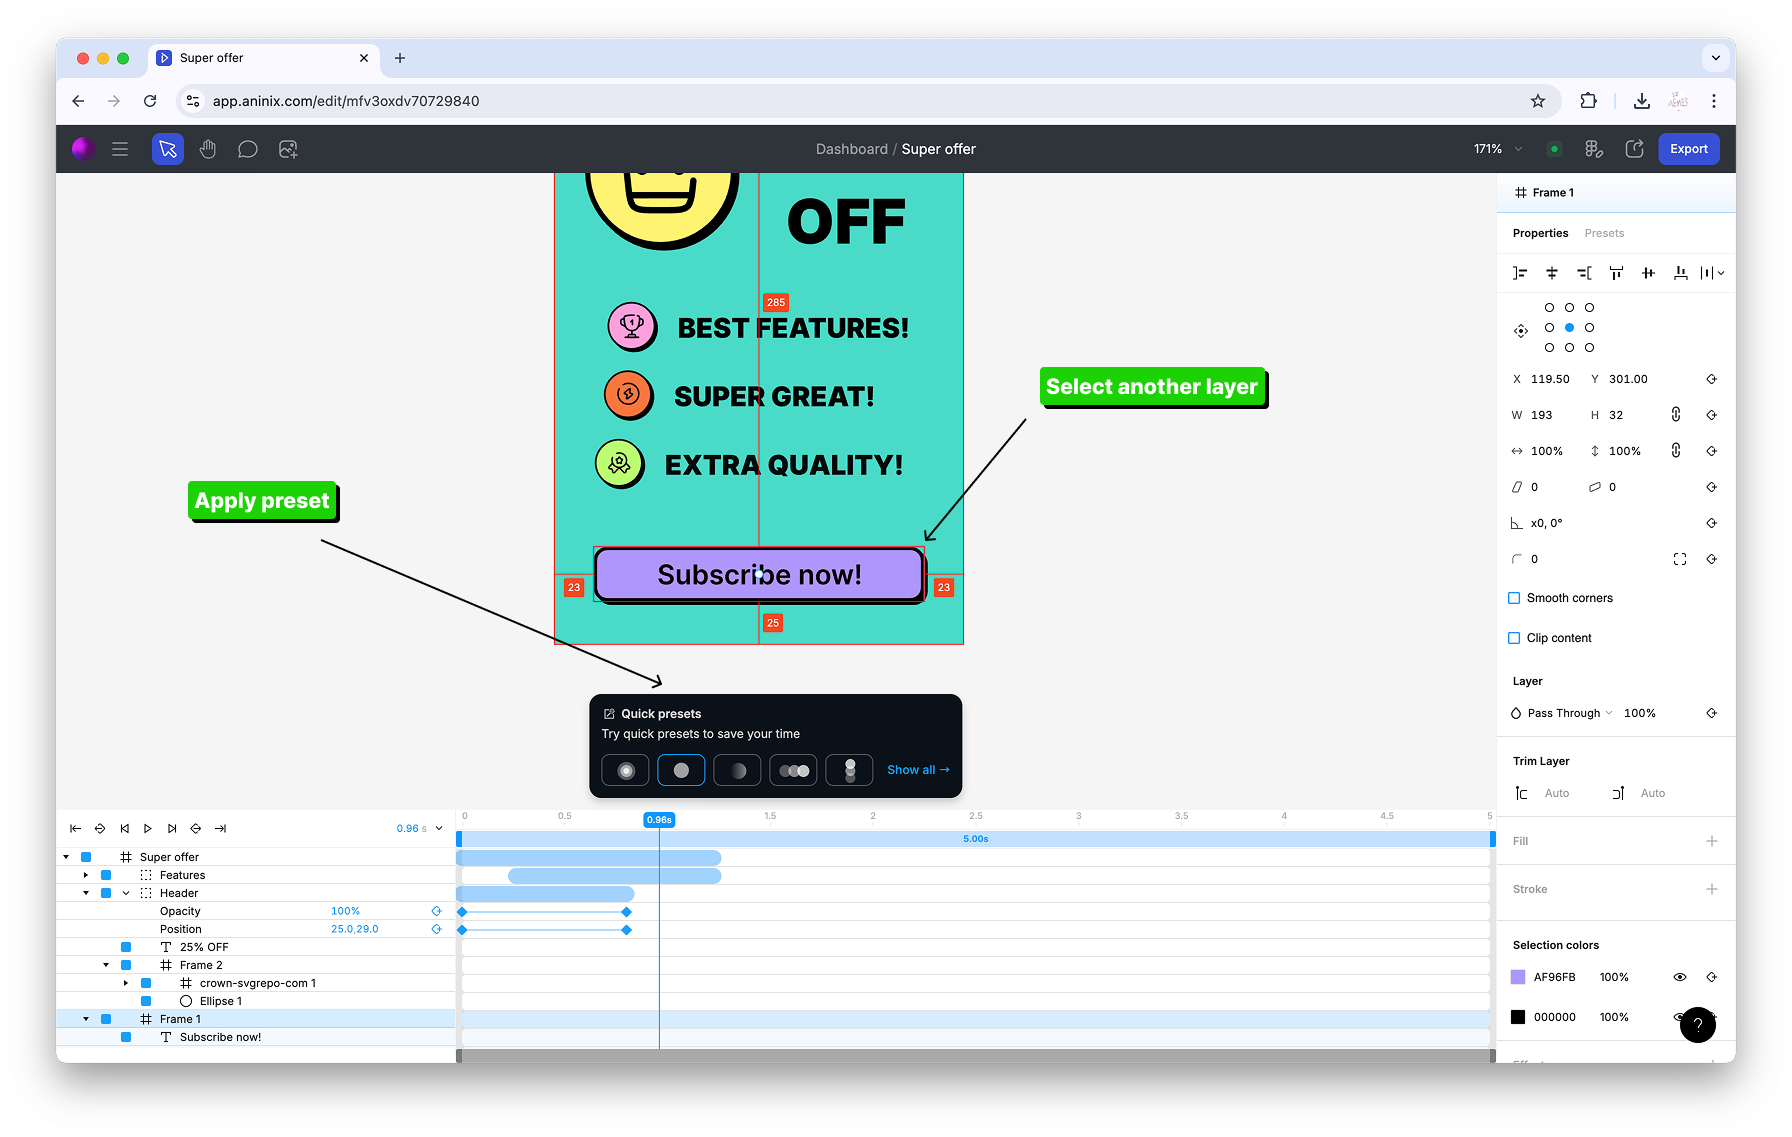
Each preset automatically creates the keyframes and timing for you - no manual setup required!
## Step 5: Fit Project Duration
After applying presets, adjust your animation timing:
1. Review the total animation duration in the timeline
2. Use the **Fit Project** option to optimize timing
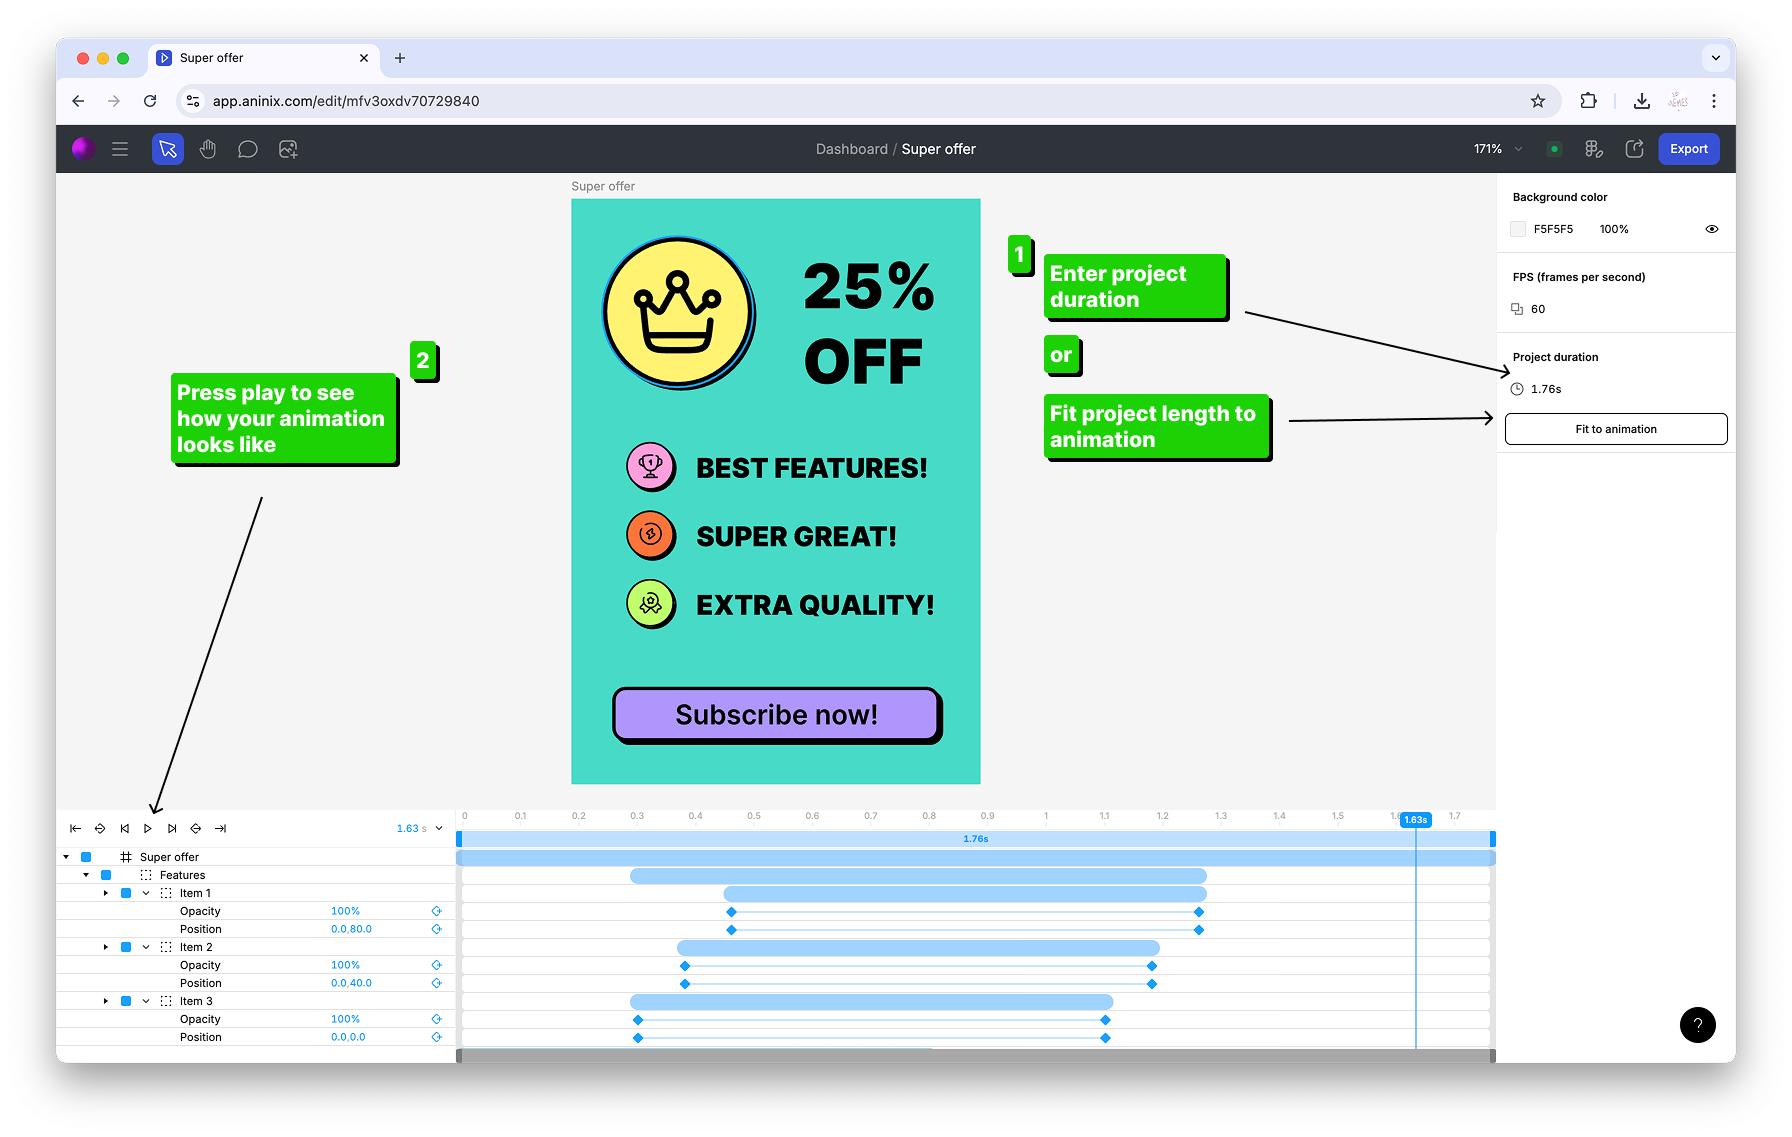
This ensures all your preset animations work well together.
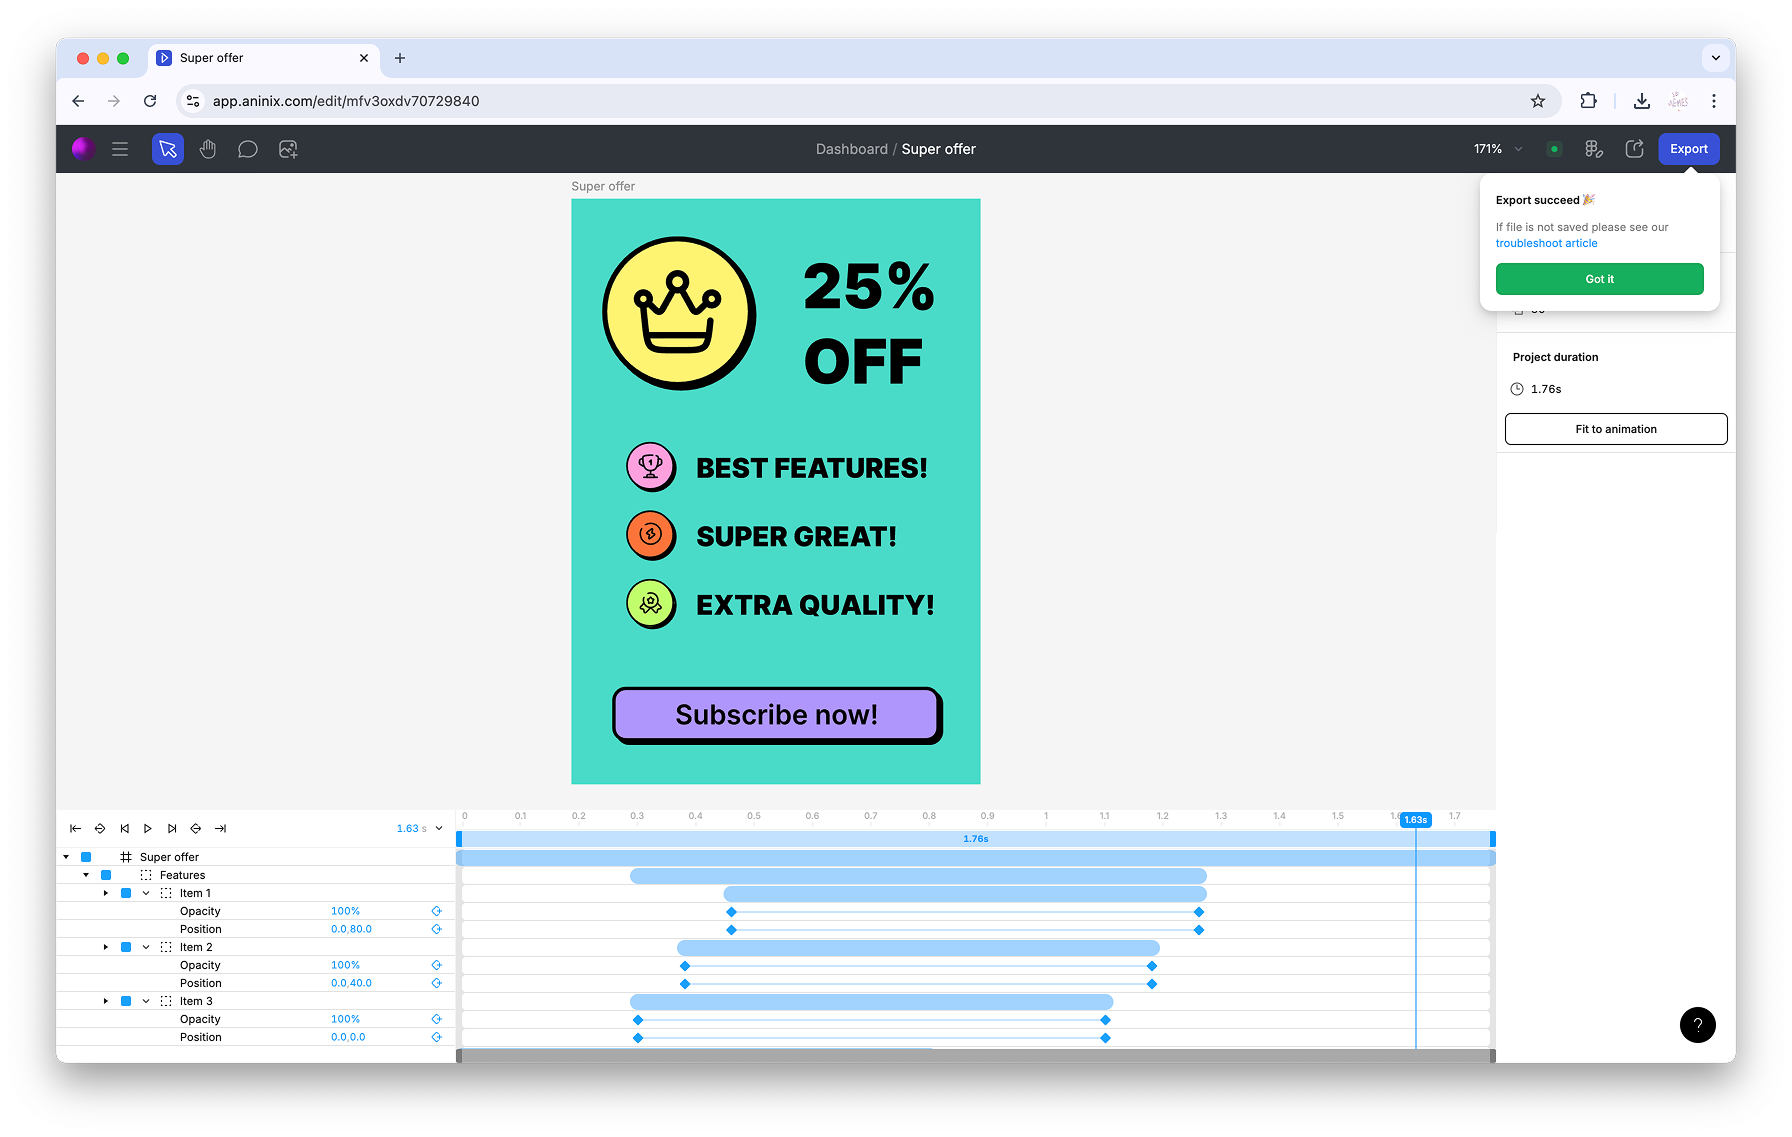
## Step 6: Export Your Animation
### Export as GIF
Perfect for quick previews and sharing:
1. Click the **Export** button
2. Select **GIF** format
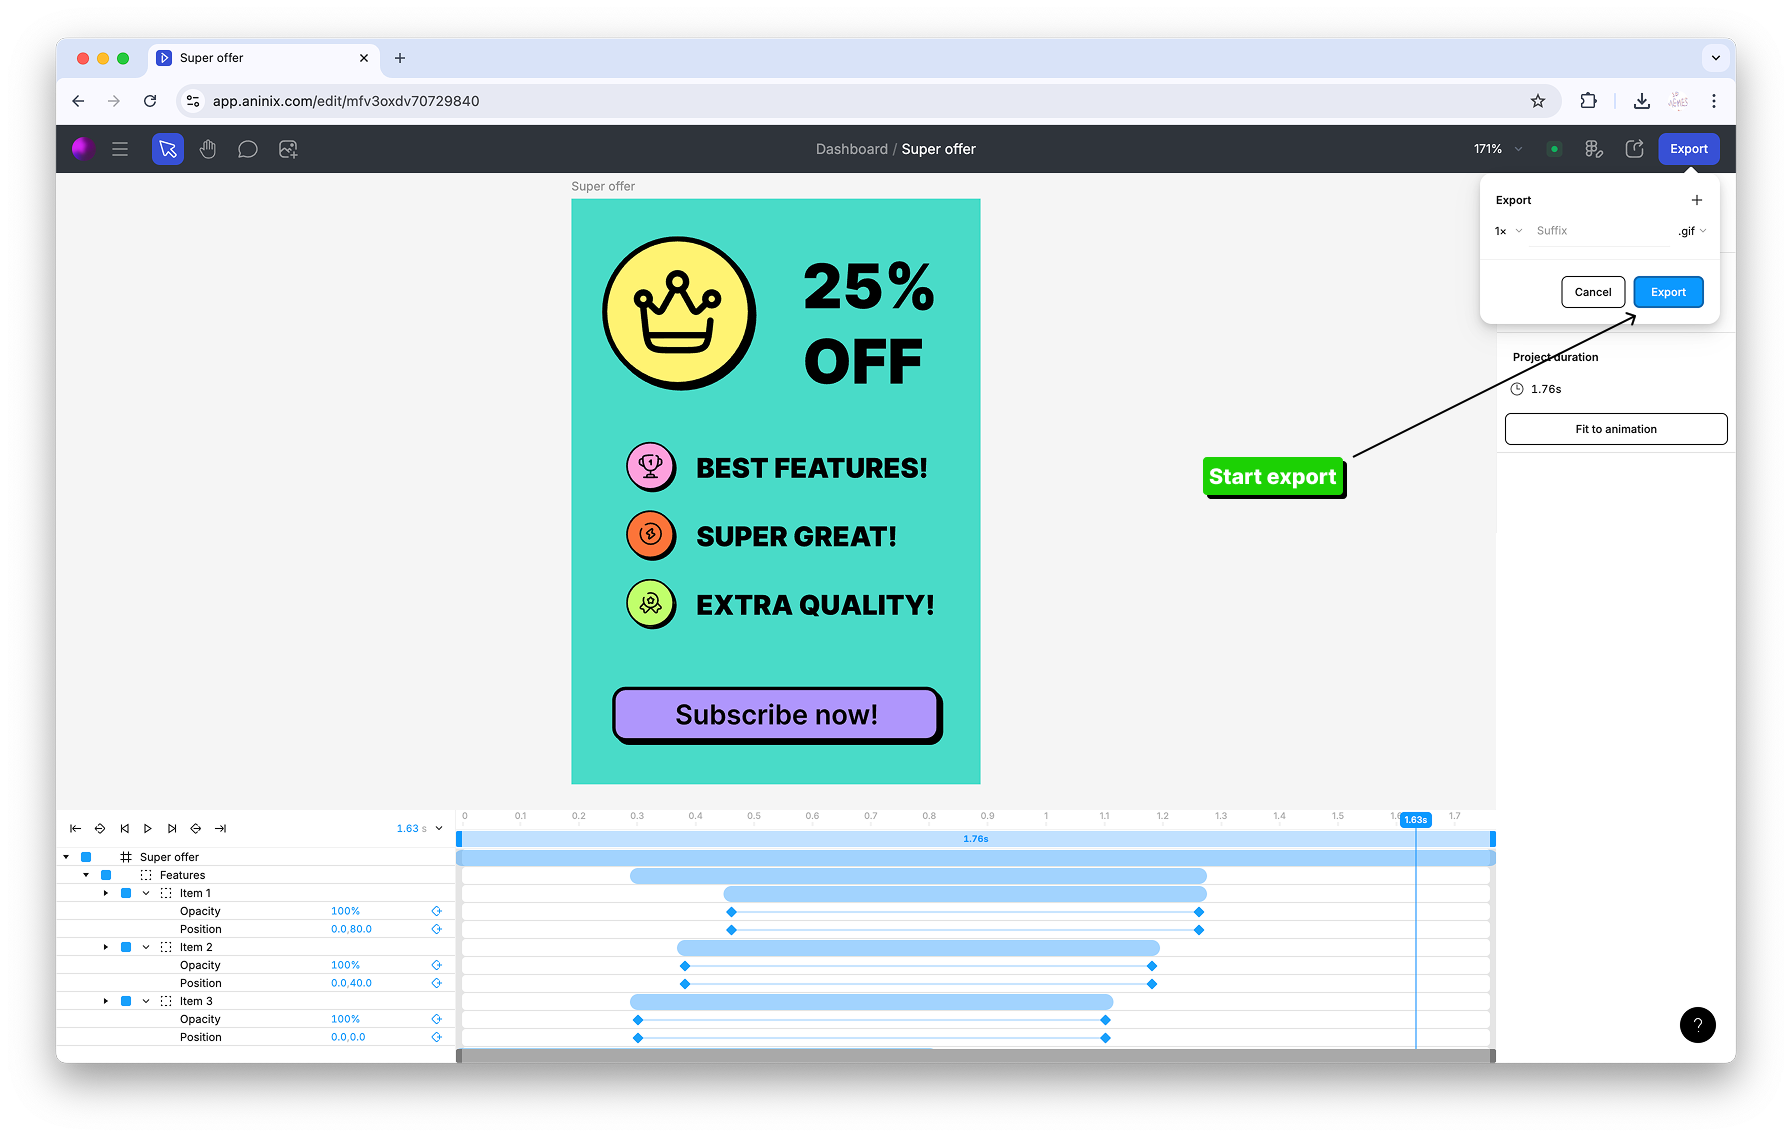
3. Choose your settings and export
Your GIF is ready to use!

### Export as Lottie
Great for web and app integration:
1. Select **Lottie** from export options

2. Preview your animation
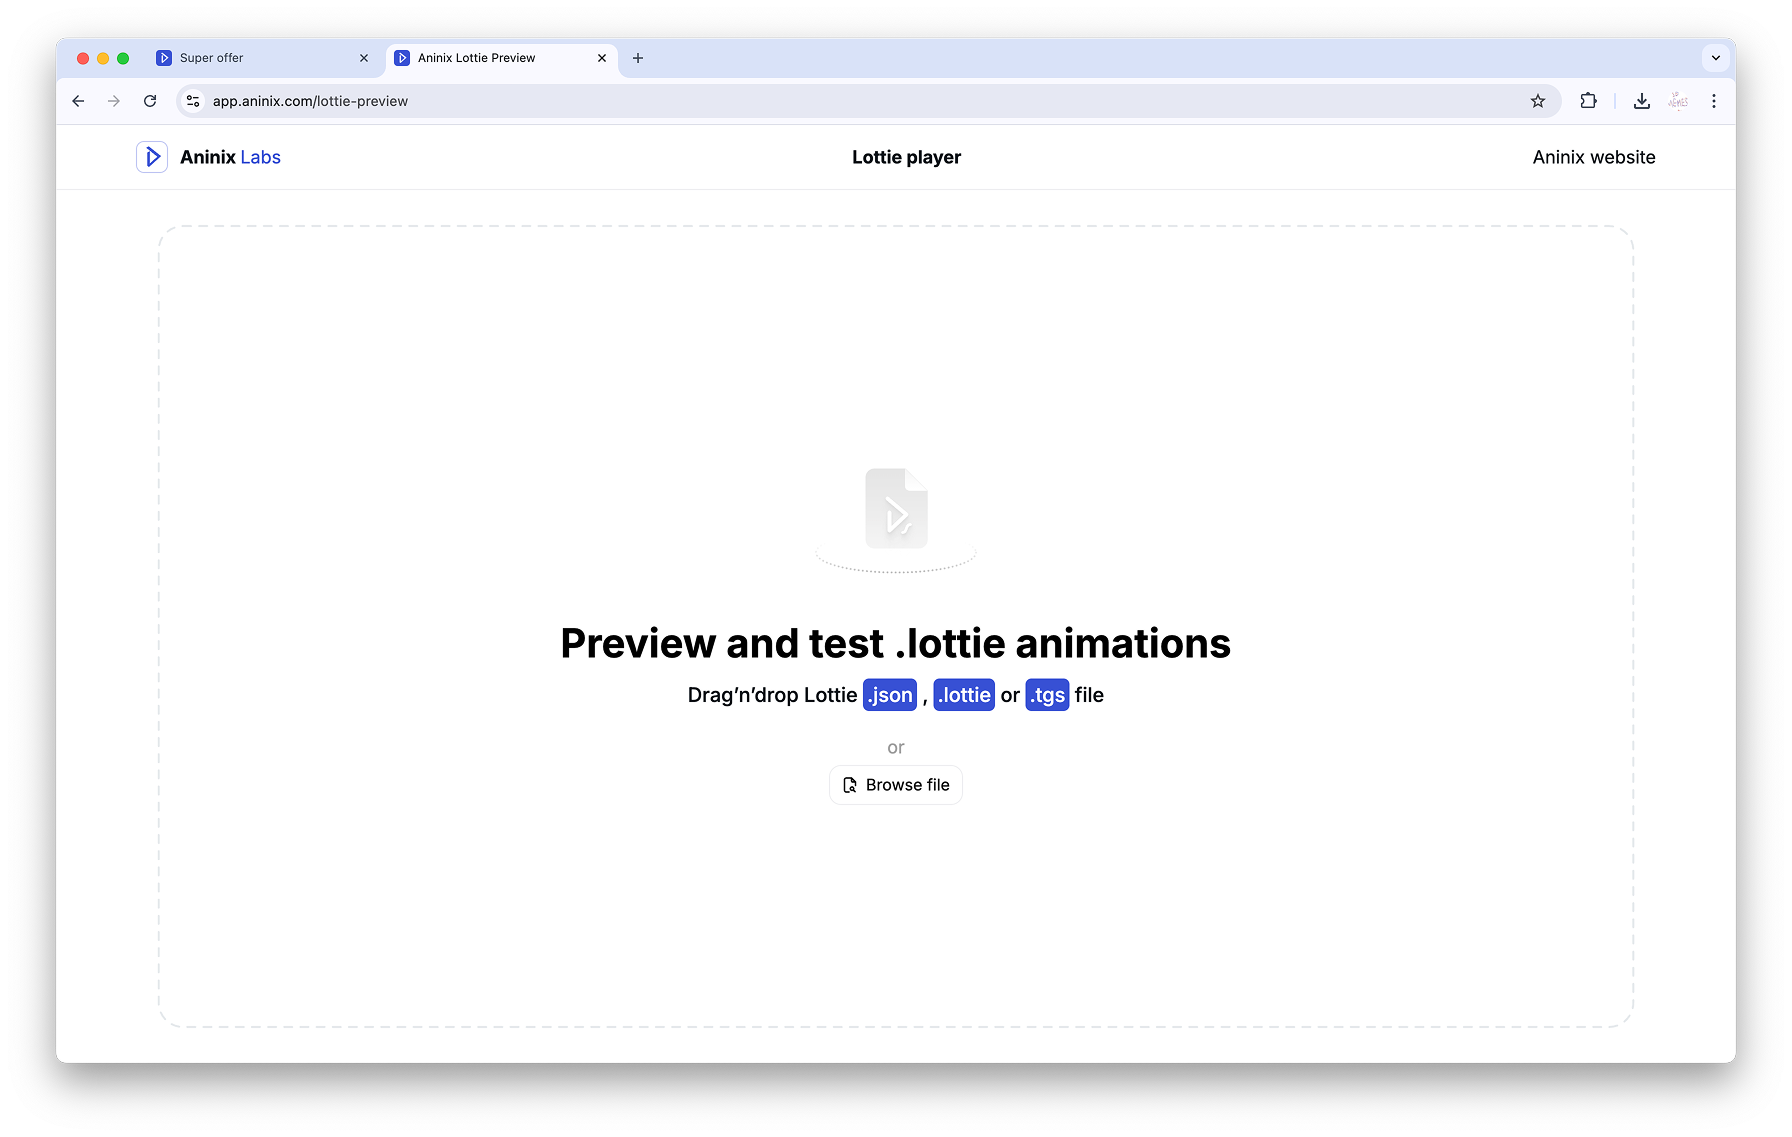
3. Download your Lottie file
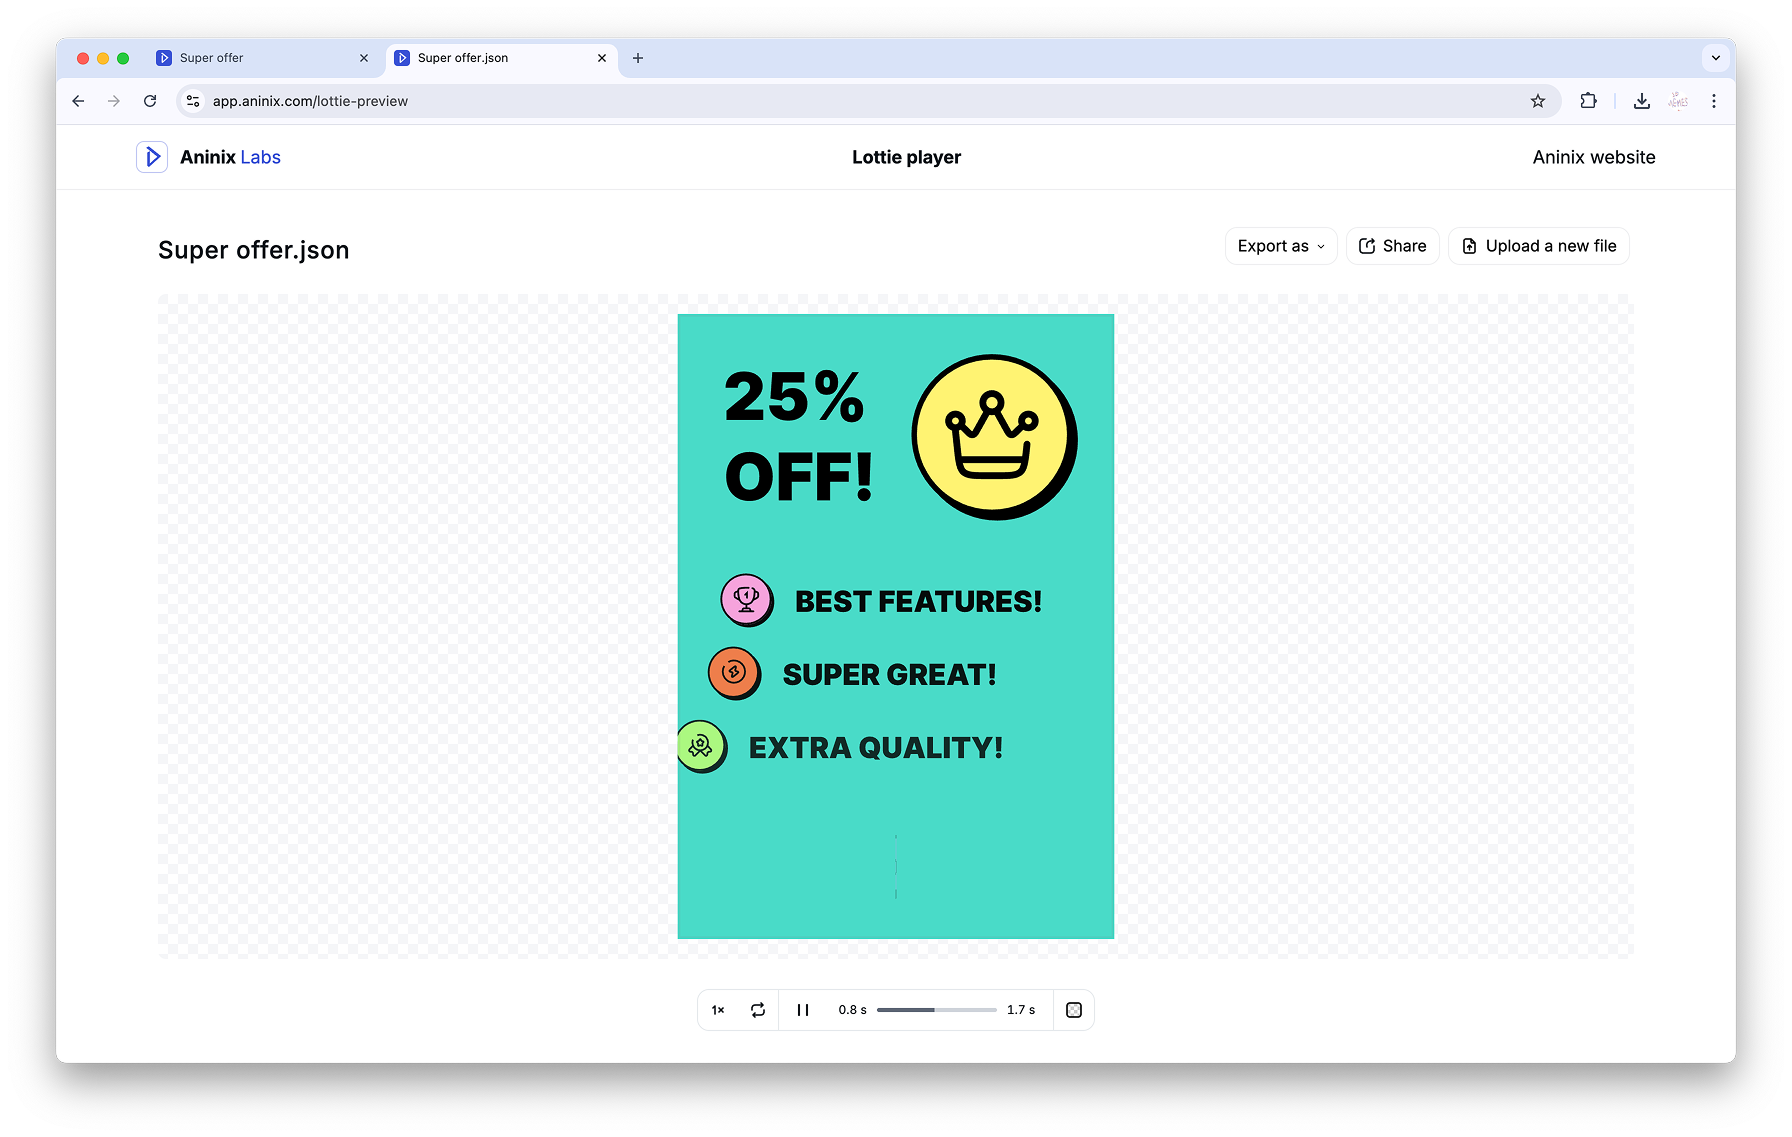
**Bonus Tip**: You can also preview your Lottie animations online at [https://app.aninix.com/lottie-preview](https://app.aninix.com/lottie-preview) to test how they'll look in web applications.
## Tips for Success
- **Start Simple**: Use presets first, then customize later
- **Preview Often**: Check your animation before exporting
- **Mix Presets**: Combine different presets for varied effects
- **Timing Matters**: Adjust duration to match your design's purpose
## What's Next?
Now that you've mastered presets, try:
- Customizing preset timing
- Creating your own keyframes
- Experimenting with different easing curves
Presets are a great way to learn animation principles while creating professional results quickly!
---
*Ready for more advanced techniques? Check out our guide on creating custom keyframe animations.*
© 2021-2025 Aninix Inc. All rights reserved
© 2021-2025 Aninix Inc. All rights reserved
© 2021-2025 Aninix Inc. All rights reserved